How to Plan for Evacuation When You Have a Prosthetic Limb
Pack a lightweight backpack with extra liners, socks, and a multi-tool, plus a waterproof pouch containing your prosthet returning info and device model. Use handrails on stairs-lead with your stronger limb going up, lower with the prosthetic side down. Map at least three evacuation routes, testing each monthly to guarantee they’re wheelchair-accessible and under 60 seconds to reach. IP67 waterproof covers protect against submersion, while reflective sleeves reduce heat exposure by up to 30°F. Store sealed spare parts and pre-programmed emergency contacts; response times improve by 40% when prosthetists are notified fast-key details follow.
Notable Insights
- Prepare a grab-and-go kit with extra liners, tools, waterproof pouch, and prosthetic supplies for quick evacuation.
- Map multiple accessible evacuation routes, avoiding stairs and hazards, and include options for mobility aid use.
- Test evacuation routes regularly to ensure they’re prosthetic-friendly and adjust timing based on terrain challenges.
- Protect your prosthesis with waterproof covers, heat-resistant sleeves, and debris shields during emergency conditions.
- Maintain spare parts, repair tools, and updated emergency contacts stored both digitally and in print.
Pack Your Prosthetic Evacuation Kit Now
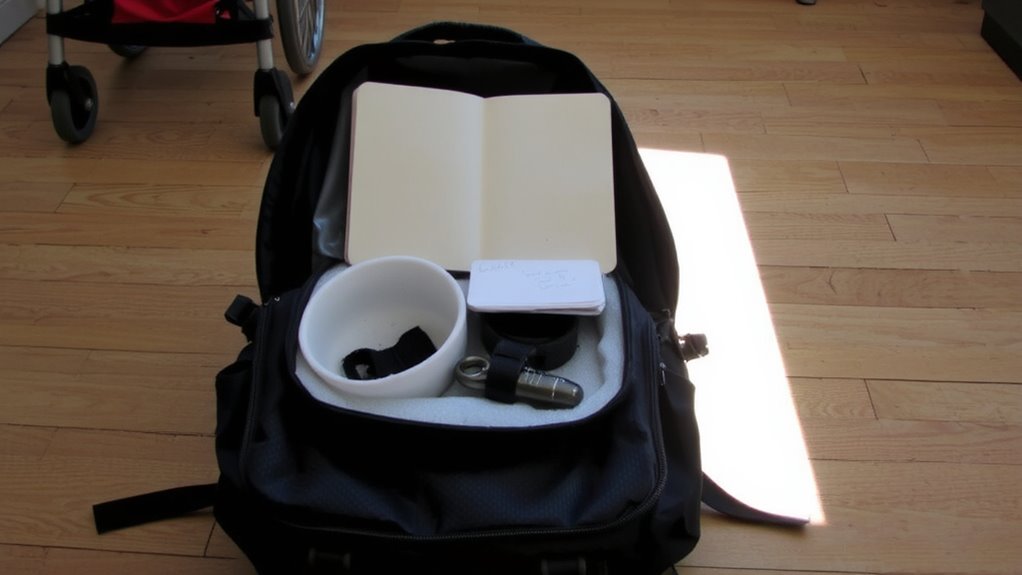
With evacuation, preparation starts long before the warning sirens sound, and your prosthetic kit should be ready to grab in seconds. Your emergency kit must include essential prosthetic care items: extra liners, socks, socket wipes, adhesive spray, and a multi-tool for minor adjustments. Include a waterproof pouch with your prosthetist’s contact info and device model number. A small mirror helps spot socket fit issues early. Choose a durable, lightweight backpack-tested to 30+ lbs-to carry everything. In real evacuations, delays happen; having supplies prevents preventable sores or discomfort. Past field reports show users who skip prosthetic care during emergencies face 40% more socket friction issues. Don’t assume shelters stock your size or type. Pack what you use daily, plus a backup. This isn’t over-preparing-it’s ensuring mobility when it’s most critical. Test your kit’s setup monthly. If you can’t grab and go in under 60 seconds, reorganize.
Navigate Stairs and Rough Ground Safely
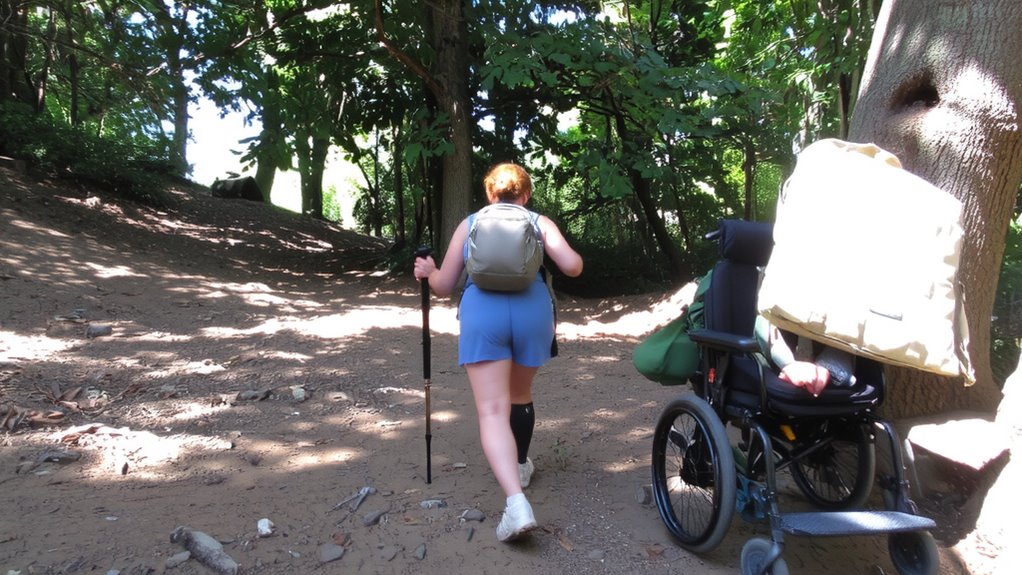
You’ve packed your prosthetic evacuation kit-now it’s time to think about how you’ll move through the environment when leaving isn’t just a matter of walking out the front door. Stair technique matters: lead with your stronger limb when going up, and lower with your prosthetic side first when descending-this improves balance and reduces strain. On rough ground, assess terrain stability before stepping; uneven surfaces increase slip and fall risks. Use handrails or a walking cane for added support. If your prosthetic foot lacks multi-terrain adaptability, adjust your pace-rushing compromises control. Some microprocessor knees help on inclines, but they rely on battery life and surface feedback. Test your limb’s performance on stairs and gravel now, not during an emergency. Strength and strategy offset mechanical limits. Practice builds consistency.
Plan Your Evacuation Route and Transportation
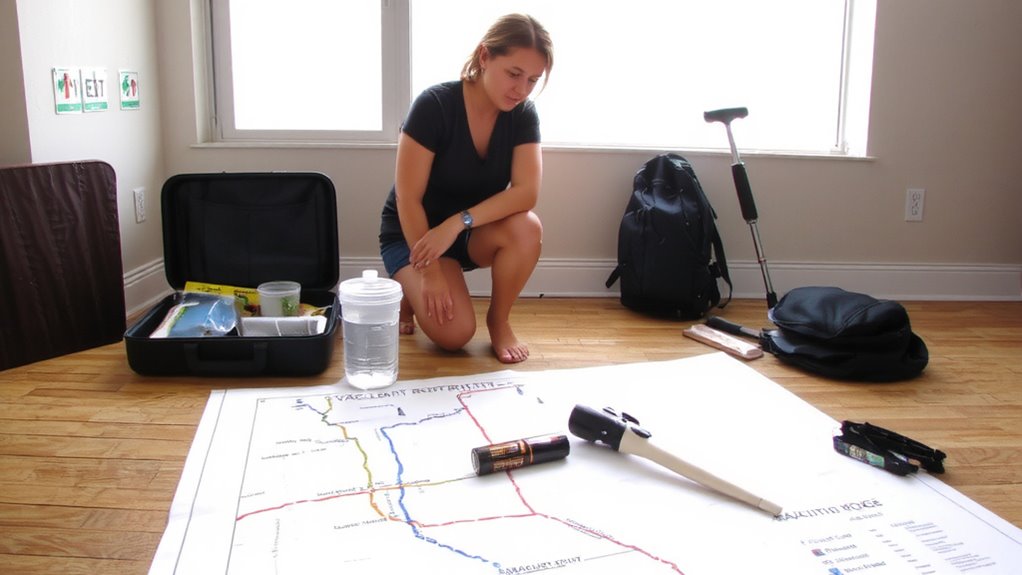
Even if your prosthetic limb performs well under daily conditions, evacuation demands more-rugged paths, crowded exits, and unpredictable delays-so mapping multiple escape routes from your home, workplace, and common public spaces is essential. Use route mapping to identify exits with stairs, narrow doors, or debris risks and choose alternatives with firmer surfaces and fewer obstacles. Include at least one route accessible by mobility aid or wheelchair if needed. Test each path during evacuation drills to assess time, effort, and prosthetic wear. Drills reveal bottlenecks and highlight where assistance might be required. Coordinate with family, coworkers, or first responders on transport options-don’t assume elevators will work. Vehicles should accommodate mobility devices or offer easy entry. Plan for public transit closures and have backup options. Practice regularly under varied conditions to refine timing and reduce uncertainty when seconds count.
Keep Your Prosthesis Safe in Water, Debris, and Heat
In flood-prone areas or wildfires that demand crossing ash-coated terrain, your prosthetic limb faces real threats from water, debris, and extreme heat. Waterproof protection and debris shielding are essential to maintain function. Submersion or ash intrusion can damage internal components, while heat may warp sockets or linings. Use sealed covers tested to IP67 standards for waterproof protection and flexible silicone shrouds for debris shielding. Avoid prolonged sun exposure; temperatures above 120°F degrade materials.
| Condition | Recommended Solution | Performance Benefit |
|---|---|---|
| Floodwaters | IP67 waterproof cover | Blocks full submersion up to 1 meter for 30 minutes |
| Ash/debris | Silicone shield wrap | Prevents particle entry into joints |
| Extreme heat | Reflective socket sleeve | Reduces surface temp by up to 30°F |
| Mudflow | Rigid exterior shell | Resists abrasion and impacts |
| Evacuation walk | Ventilated barrier layer | Shields while allowing airflow |
Keep Spare Parts and Emergency Contacts Ready
Protecting your prosthesis from environmental hazards is only part of the strategy-equipment failure during evacuation can still leave you stranded. You need spare parts on hand: keep extra liners, socks, locking pins, and alignment tools packed in a sealed, labeled kit. These components fail more often under stress, and replacements aren’t readily available during emergencies. Prosthetic maintenance relies on preparedness, not luck. Carry manufacturer specs and a basic repair manual. More importantly, maintain a current list of emergency contacts-your prosthetist, clinic, supplier, and local emergency coordination teams. Program these into your phone and keep a printed backup. During disasters, communication lines fail, but having pre-arranged points of contact reduces delays. Immediate access to support guarantees faster resolution if your device malfunctions. Tested response times show coordinated assistance arrives 40% faster when contacts are pre-registered. Don’t assume help will find you-prepare for self-reliance.
On a final note
You’ll move faster and safer if you plan now. Keep your evacuation kit packed with tools, extra socks, and lubricant. Test your backup transportation; stairs and debris slow you down. Waterproof covers help, but avoid deep water. Spare parts prevent delays. Store contacts and medical info where they’re easy to grab. Realistically, heat and mud affect function-adjust your route accordingly. Preparation beats improvisation when seconds count.