DIY Solar Water Distiller: Bowl, Cup & Plastic Wrap Guide
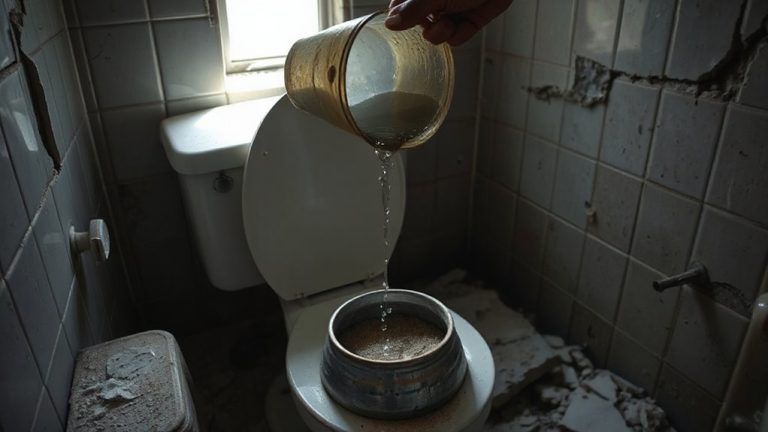
Place a small cup in the center of a large bowl, then pour dirty water around it-never inside. Cover the bowl tightly with plastic wrap and set a rock in the middle to create a low point above the cup. Set it in direct sun for 4–6 hours, and evaporation plus condensation will yield 0.5–1.5 liters per square meter. It’s simple, cost-free purification that leaves salts and microbes behind. Just seal well and shade-proof your setup for best results-there’s more to get right for consistent output.
Notable Insights
- Use a dark basin and clear plastic wrap to create a solar still with a bowl, cup, and rock for condensation collection.
- Position the cup in the center of the bowl, ensuring contaminated water surrounds it but doesn’t enter the cup.
- Seal the bowl tightly with plastic wrap to prevent vapor loss and maximize distillation efficiency.
- Place a rock in the center of the wrap to create a drip point directly above the collection cup.
- Set the still in direct sunlight for 4–6 hours to produce safe, distilled water using solar evaporation and condensation.
How Solar Distillation Cleans Water
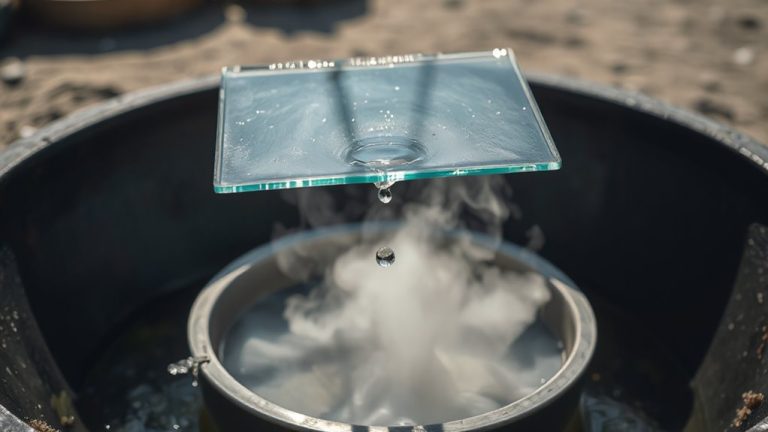
While the sun powers the process, solar distillation works by turning contaminated water into vapor and then condensing it back into liquid form, leaving impurities behind. You’re relying on natural phase changes-evaporation and condensation-rather than chemical reactions to purify water. This means salts, heavy metals, and microbes don’t transfer into the vapor phase, so they stay behind. The process mimics the Earth’s water cycle, using solar energy to drive the transformation. Since no chemicals are added, there’s no risk of byproducts. However, it won’t remove volatile organic compounds that evaporate with water. Efficiency depends on sunlight intensity and surface area exposed. Output is slow-typically 0.5 to 1.5 liters per square meter per day-so it’s best for low-volume emergency use. It’s simple, doesn’t require power, and works with minimal maintenance, but you must manage expectations on yield and contaminant types. For situations requiring faster treatment, adding emergency water purification tablets can complement solar distillation by neutralizing pathogens in the collected water.
What You Need: Simple Materials
You’ll need just a few basic, readily available materials to build a functional solar distiller. Material selection directly impacts efficiency and durability. Use a large, dark-colored basin to absorb heat-black plastic or metal works well. Cover it with a clear glass or rigid plastic sheet to trap steam and allow sunlight exposure. The transparency must be high to maximize solar penetration. You’ll also need a smaller collection container to catch distilled water-glass or food-grade plastic is best. A small rock or weight in the center of the cover creates a low point for condensation to drip. Tubing isn’t required but helps direct flow. Avoid thin, cloudy plastics; they degrade and reduce output. Each material must balance cost, availability, and performance. Proper sunlight exposure requires unobstructed positioning, ideally facing south in the northern hemisphere. No adhesives or tools are needed-design relies on simple placement and gravity.
Build a Solar Distiller in 30 Minutes
A working solar distiller can be built in about 30 minutes using basic household items and simple assembly. You’ll need a large bowl, a smaller collection cup, plastic wrap, a rock, and a small weight or washer. Place the cup in the center of the bowl and pour contaminated water around it-don’t submerge the cup. Seal the top tightly with plastic wrap and set the rock in the center so it sags slightly above the cup. This design enables quick assembly and maximizes time efficiency by minimizing steps and tools. No adhesives, fasteners, or power sources are required. The entire process is repeatable and scalable with consistent results. In direct sunlight, condensation forms on the plastic and drips into the cup. Setup success depends on seal integrity and angle of condensation. With proper placement, the system begins producing within an hour.
How to Use It for Clean Water
How long does it take to get drinkable water from a solar distiller? You can expect usable water in 4 to 6 hours under full sun, with output depending on sunlight intensity and basin surface area. A typical homemade unit produces 0.5 to 1 liter per day. For reliable water storage, use clean, sealed containers to prevent contamination. Avoid using metal or non-food-grade plastic. Collect water as soon as it condenses to reduce re-evaporation. You’ll notice production drops during cloudy periods or low-angle sunlight. Usage tips include angling the plastic cover toward the sun and keeping the collection point low to direct droplets efficiently. Pre-filter murky water to reduce sediment before adding it to the distiller. This won’t remove volatile chemicals, so avoid contaminated sources like industrial runoff. Practical use requires daily monitoring and prompt storage. It’s slow, but it’s effective when no other options exist. For added security in emergencies, consider pairing your setup with a portable water filtration survival kit to ensure broader pathogen removal.
Avoid These Solar Distiller Mistakes
Skipping routine checks or cutting corners in setup often leads to poor output and unreliable results. You’ll get less distilled water if there’s improper sealing, which allows vapor to escape instead of condensing. Even small gaps around the cover or hose connection reduce efficiency by up to 40%. Make sure the plastic wrap is tightly secured and the collection point is correctly positioned. Inadequate sunlight also cripples performance-your distiller needs at least 6 hours of direct sun to work effectively. Placing it in partial shade or at a poor angle cuts output in half. Use a south-facing location (in the northern hemisphere) and tilt the surface toward the sun. Don’t ignore cloud cover or seasonal light changes. These factors directly impact evaporation rates. Small fixes during setup prevent big losses in daily yield.
Is Your Distilled Water Safe to Drink?
What makes your distilled water safe-or not-comes down to the source and the process. If you’re using contaminated water with high levels of heavy metals or chemicals that boil at lower temperatures than water, they might carry over, posing health risks. Your solar distiller removes most bacteria, viruses, and particulates, but it won’t catch volatile organic compounds unless designed to. That’s why water testing matters-especially if you rely on long-term use. Test your input water for contaminants before distillation and check the output with a TDS meter. This doesn’t guarantee safety from all chemicals, but it reduces uncertainty. Distilled water is generally safe if sourced from moderately clean runoff or stored rainwater. Avoid industrial runoff or chemically treated pools as sources. Regular water testing helps you identify risks early and verify your system’s effectiveness under real-world conditions.
On a final note
You’ve built a working solar distiller using basic materials, and it produces clean water in sunlight. Output is slow-typically 0.5 to 1 liter per day-so it’s not for large groups. It removes salts, heavy metals, and microbes but won’t filter volatile chemicals. Efficiency depends on sun exposure and setup sealing. It’s a minimal-cost option when filters or power aren’t available, but it’s a supplement, not a complete solution. Use it wisely.