Raised Platform Shelter for Flood-Prone Valleys: Build Guide
Pick a site at least 3 feet above the highest flood level, on a slope under 10% to reduce erosion. Use compacted clay or loam soil, and avoid sand or organic-rich ground. Build with rot-resistant wood like teak or black locust-avoid untreated pine. Set posts 4 feet deep and brace them diagonally. Keep the floor 18 inches off the ground for airflow and flood clearance. Seal joints with waterproof membrane and add roof vents to cut condensation. You’ll find further details on avoiding common foundation failures in wet zones.
Notable Insights
- Elevate the shelter at least 3 feet above the historical flood level to minimize flood risks.
- Choose a site with a slope under 10% grade to reduce erosion and improve drainage.
- Use rot-resistant materials like teak or pressure-treated wood to withstand moisture and prevent decay.
- Set foundation posts at least 4 feet deep in compacted soil for stable, long-term support.
- Install ventilation under the floor and seal joints to manage moisture and prevent structural damage.
Choose a Safe, Stable Site in Flood-Prone Terrain
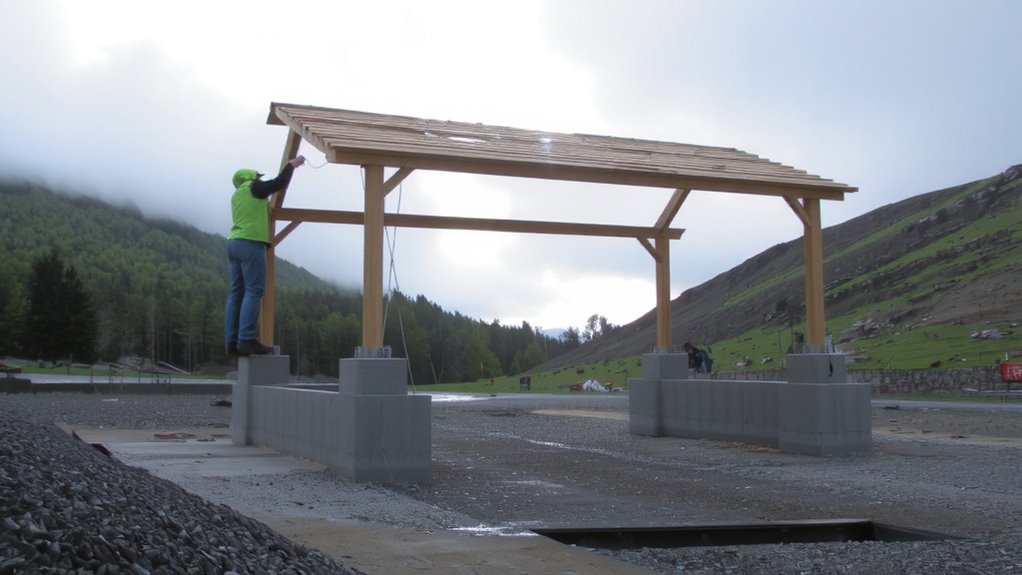
Elevation matters most when picking a spot for your raised platform shelter in flood-prone valleys. You need at least 3 feet above the historical flood level, but higher is safer-check topographic maps or local records. Conduct slope analysis to find areas under 10% grade; steeper slopes increase erosion and structural stress during heavy runoff. Flat ground isn’t ideal either-it can pool water and weaken support posts. Perform basic soil compaction tests by probing the ground with a rod; resistance indicates stability, while soft, yielding soil risks settling. Compacted clay or loam works best; avoid loose sand or organic-rich soil. Drainage patterns matter-never place the shelter below downed trees or in natural washes. Your site must shed water quickly. A poor foundation leads to failure, no matter how sturdy the build. Choose wisely-you’re betting safety on the ground beneath you.
Use Rot-Resistant Materials That Withstand Flooding
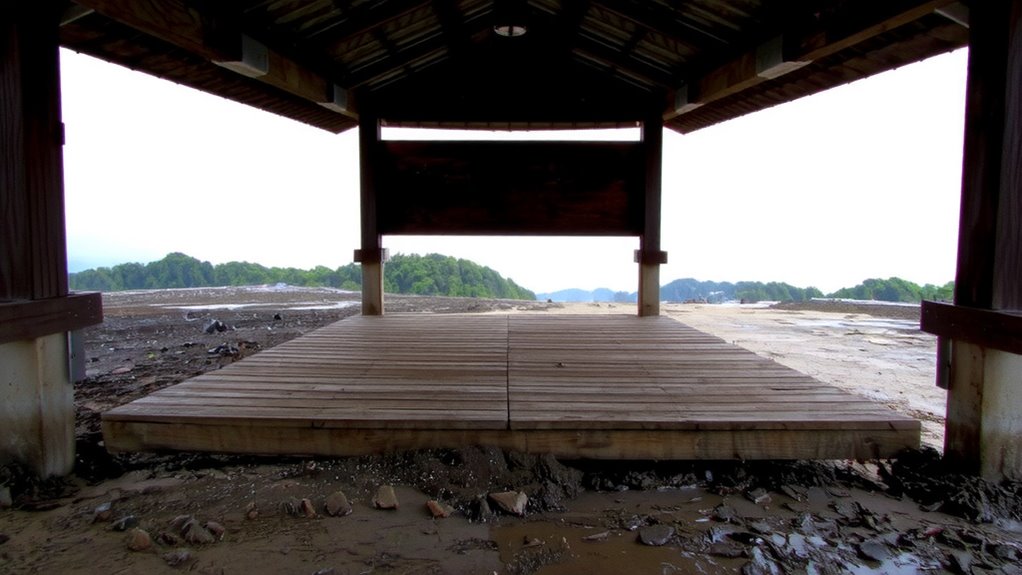
You’ll want materials that hold up when soaked and resist decay over time, so stick with naturally rot-resistant hardwoods like teak, black locust, or white oak-they’ve proven effective in wet conditions with minimal treatment. Your wood selection directly impacts longevity; avoid softwoods like pine unless pressure-treated, and even then, expect shorter service life. These hardwoods resist fungal breakdown and withstand repeated wet-dry cycles without warping severely. Pair your choice with solid foundation drainage to prevent standing water from pooling around supports-this reduces saturation and slows deterioration. Proper grading and gravel layers help channel floodwater away quickly. While rot-resistant species cost more upfront, they reduce maintenance and replacement needs over time. Steel or composite options also work but require careful installation to avoid galvanic corrosion or thermal expansion issues. Prioritize material performance in prolonged moisture, not just initial cost.
Build a Raised Platform Foundation for Long-Term Stability
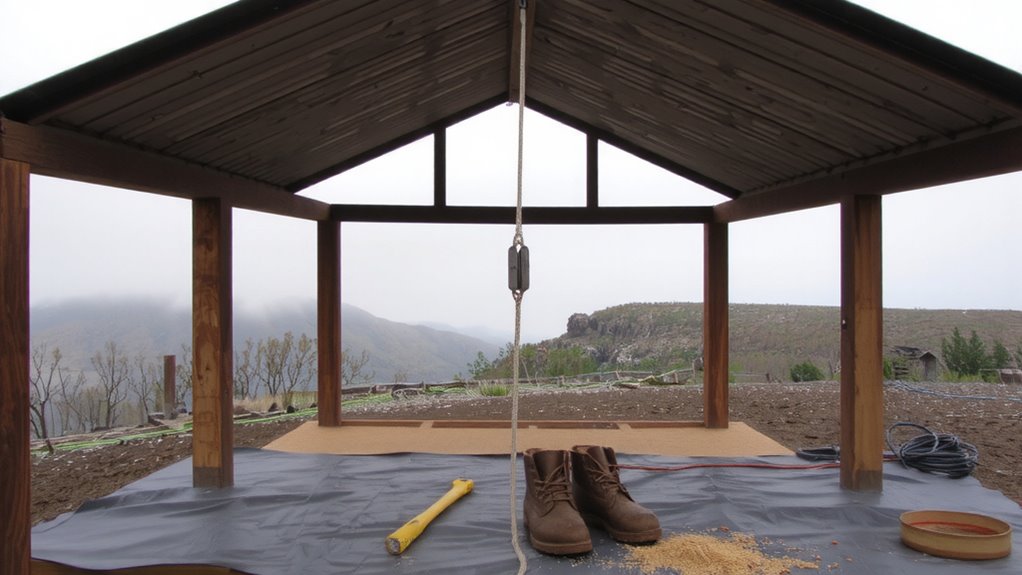
A sturdy foundation starts with smart height. You need enough clearance to avoid flood surges, but raising it too high increases stress and instability. Secure your platform on treated posts set 4 feet deep, ensuring solid soil compaction beneath each support. Without proper compaction, settling will compromise alignment and load distribution over time. Use diagonal structural bracing between posts to resist lateral forces during storms. Anchor the frame with bolted connections-don’t rely on nails. Consider ground slope and drainage patterns when leveling. A stable base won’t shift if built with precision.
| Factor | Low Risk | High Risk |
|---|---|---|
| Height | 3–4 ft above flood level | >6 ft without bracing |
| Soil Compaction | Fully compacted, layered | Loose, uneven |
| Bracing | Diagonal, pressure-treated | None or weak |
| Support Depth | ≥4 feet | <2 feet |
| Frame Fastening | Bolts or brackets | Nails only |
Seal Your Shelter Against Rain and Ground Moisture
With the platform secured and bracing in place to handle flood-level water and wind loads, attention turns to keeping moisture out of the shelter itself. You’ll need to seal all joints in the walls and roof with a waterproof membrane or roofing cement-this stops rain from seeping in during heavy storms. Install weather stripping around doors and windows to close gaps that let in damp air. Use rigid foam insulation under the flooring to reduce ground moisture transfer, then cover it with a vapor barrier. Leave small ventilation gaps near the roof’s peak to allow airflow without compromising protection-these prevent condensation buildup, which can lead to mold. Don’t seal the underside completely; trapped humidity worsens decay. Balanced sealing and controlled ventilation give you dry conditions inside without structural rot. Test seals after rainfall to spot weaknesses early. Consider installing a best rain canopies system to extend protection over entry points and reduce water exposure during storms.
Avoid Common Raised Shelter Mistakes in Wet Zones
Though elevation helps fend off floodwaters, building too low or on unstable ground still risks total failure-aim for at least two feet above the highest recorded flood level, and verify local flood zone data before setting posts. You’ll often see shelters fail due to poor drainage beneath the platform; without clearance, trapped moisture warps wood and accelerates rot. Leave at least 18 inches under the floor for airflow and water passage. Skimping on foundation work leads to weak anchoring-winds and shifting soils can shift or tip the entire structure. Use helical piers or concrete footings anchored below the frost line for stability. Avoid untreated wood; it degrades quickly in wet zones. Metal brackets and corrosion-resistant fasteners last longer. Position the shelter away from natural runoff paths. Test the site after heavy rain to spot drainage issues early.
Why Elevation Is Essential for Flood-Prone Survival Shelters
You’ve seen what happens when shelters fail-foundations submerged, wood rotted from standing moisture, entire platforms shifted by moving soil. Elevation isn’t optional; it’s critical. Flood dynamics change with terrain, and water velocity increases in valleys, turning shallow flows into destructive forces. Raising your shelter alters survival odds by staying above peak flood levels and reducing exposure to debris impact.
| Elevation (ft) | Flood Risk Reduction | Debris/Water Velocity Impact |
|---|---|---|
| 0–2 | Low | High damage likely |
| 3–5 | Moderate | Medium risk, splashing, shift |
| 6+ | High | Low impact, safe interior |
You can’t control flood dynamics, but you can outposition them. A raised platform at 6+ feet avoids most water velocity threats and keeps structural integrity intact. Build high-because when the surge hits, inches won’t save you. Choosing the right camping rain shelter can further protect against prolonged moisture exposure and ensure long-term habitability.
On a final note
You need elevation to survive in flood-prone valleys-flat ground gets swamped fast. A raised platform keeps your shelter dry and stable when waters rise. Use rot-resistant wood like cedar or treated pine; they last longer when wet. Seal seams and gaps to block moisture. Avoid staking low walls-that fails in floods. Elevated posts with anchoring work better. Simple, sturdy design beats complexity every time.