Building a Windbreak Shelter From Snow Blocks and Brush
You can block up to 80% of wind with a snow block windbreak, using 2 ft high, 1 ft deep packed blocks that resist crumbling and reduce airflow. Add spruce or pine boughs on the windward side to cut wind chill by 40% and seal gaps. Place the wall at a 90-degree angle to prevailing winds, ideally near natural shields like tree lines. A slight inward slope and staggered joints increase stability. You’ll stay warmer by minimizing the entrance and sitting on insulation-there’s more to get right for long-term heat retention.
Notable Insights
- Cut firm snow blocks 24” long, 12” high, and 6” wide, ensuring they are stable and durable for stacking.
- Position the windbreak at a 90-degree angle to prevailing winds, typically from the north or northwest.
- Stagger block joints and slope the wall slightly inward to increase structural stability and wind resistance.
- Layer dense spruce or pine boughs on the windward side, overlapping tightly to seal gaps and reduce wind chill.
- Place entrance on the leeward side, keep it small, and use a fabric door to retain heat while allowing ventilation.
How Snow Block Windbreaks Block Wind and Save Heat
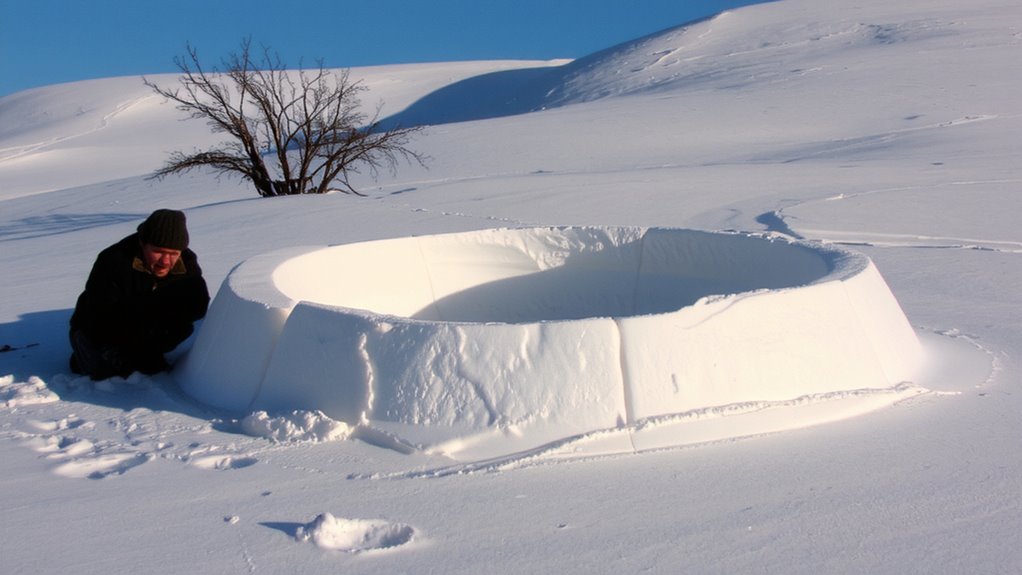
While snow might seem like just an obstacle to deal with in cold weather, a windbreak made from packed snow blocks can actually cut wind speed by up to 80% on the sheltered side, and that matters because less wind means less convective heat loss from your body and gear. Snow has low thermal conductivity, so it slows heat transfer, helping retain warmth near you. A solid windbreak also reduces air infiltration, blocking cold drafts that sweep through gaps in natural cover. You’re not creating an insulated room, but you are stopping the wind that carries heat away fast. Packed snow blocks, roughly 2 feet high and 1 foot deep, form a dense barrier that resists wind penetration better than loose snow or brush alone. This setup won’t heat your space, but it keeps what heat you generate from escaping rapidly. It’s simple physics-less airflow and low thermal conductivity mean noticeably warmer conditions on the leeward side.
Choose the Best Spot for Your Windbreak Shelter
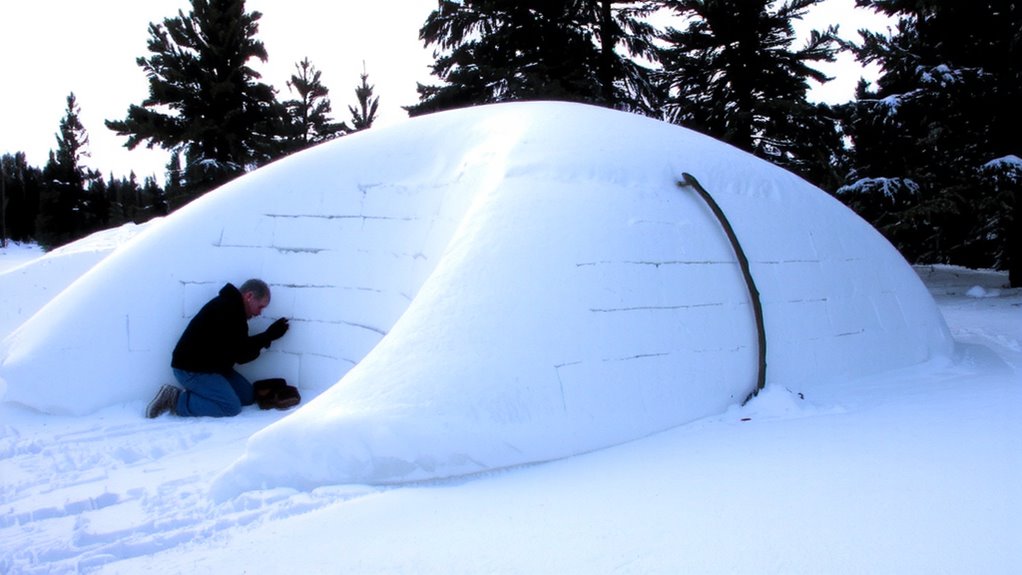
You’ve seen how a solid snow block windbreak slashes wind speed and reduces heat loss, but its effectiveness starts long before you stack the first block-it starts with where you build it. Pick a spot where wind direction favors natural shielding; always position your windbreak at a 90-degree angle to the prevailing wind. In most regions, that means blocking northwesterly or northerly winds. Use terrain features like ridges, banks, or tree lines to your advantage-they reduce exposure and boost stability. Avoid valley bottoms where cold air pools, and stay clear of avalanche-prone slopes. A slight rise with a dense stand of trees downwind works best. Solid ground with packed snow supports block integrity. If the wind shifts often, prioritize the most common direction. Site selection isn’t about perfection-it’s about improving odds. A well-placed windbreak leverages what’s already there, cutting effort and increasing protection with minimal materials.
Cut and Stack Snow Blocks Step by Step
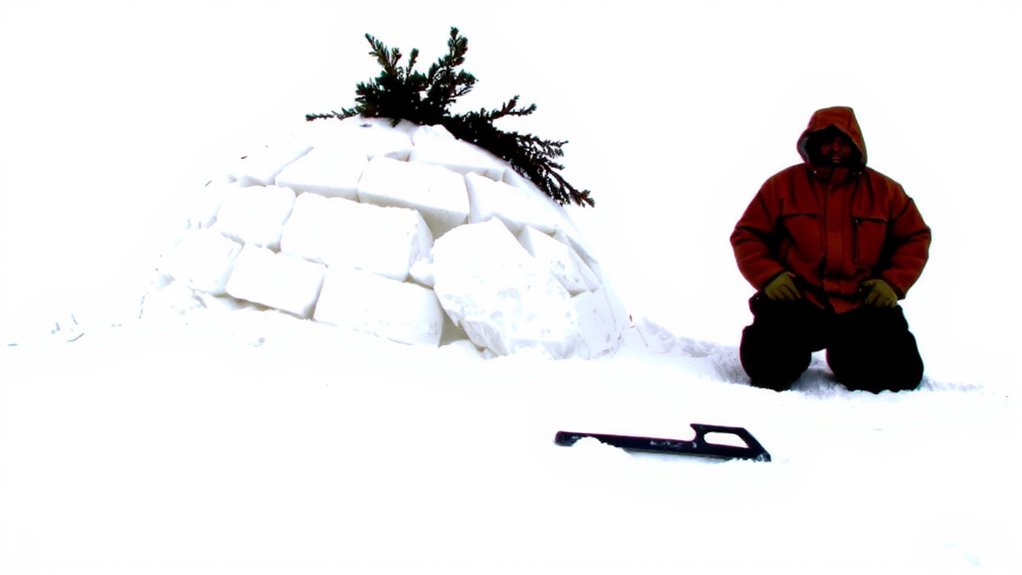
Since snow varies in consistency, start by checking that the surface is firm enough to cut clean blocks without crumbling-ideally 12 to 18 inches deep and well-settled. Use a snow saw or sturdy knife to cut blocks roughly 24” long, 12” high, and 6” wide. Good snow density guarantees structural integrity; if blocks break easily, the snow’s too dry. Stack them like bricks, maintaining solid block alignment to prevent leaning or collapse.
| Step | Action | Purpose |
|---|---|---|
| 1 | Cut uniform blocks | Guarantees stability and fit |
| 2 | Test snow density | Confirms strength for load-bearing |
| 3 | Stagger joints vertically | Improves wall strength |
| 4 | Check alignment with each layer | Prevents structural failure |
Tamp each block into place. Keep the wall slope slightly inward for added support. Work steadily-rushed stacking compromises durability.
Use Brush to Seal and Insulate Your Windbreak
Now that your snow-block wall is stacked and stable, it’s time to boost its effectiveness with brush. Start by gathering spruce, pine, or other dense boughs-you’ll need enough to create a thick, overlapping layer on the windward side. Brush layering blocks drafts and adds mass, reducing heat loss. Use longer branches at the base, stacking shorter ones upward to shed wind. Tuck gaps tightly; even small openings undermine performance. The foliage acts as natural insulation, trapping air and slowing convection. In tests, brush-lined windbreaks reduced wind chill by up to 40% compared to bare snow walls. Natural insulation doesn’t last forever-expect 3–5 days of full effectiveness before compaction reduces performance. It’s lightweight, free, and renewable, but requires more effort than synthetic barriers. Still, in a survival context, brush layering offers reliable thermal improvement with minimal tools. Secure the tops with cord or snow to prevent shifting.
Avoid These Common Windbreak Shelter Mistakes
While building a windbreak might seem straightforward, even small errors can cut its effectiveness by half. You must account for wind direction first-build your barrier on the side the wind hits hardest, or you’ll block nothing. Use snow with good texture-powdery snow won’t hold; it needs compression. Firm, packed snow binds better and resists erosion.
| Mistake | Consequence |
|---|---|
| Wrong windbreak orientation | Reduced protection, increased exposure |
| Poor snow texture selection | Blocks weaken, shelter collapses faster |
Don’t stack blocks unevenly-gaps let gusts through. Brush helps, but if placed before aligning blocks with wind direction, it’s wasted effort. You’re optimizing for stability and airflow deflection, not speed. Take the extra minutes to test block cohesion and align properly. A well-placed windbreak handles 70% of wind force; a misaligned one handles under 30%.
How to Stay Warm Inside Your Snow Windbreak
Even if your windbreak blocks the worst of the wind, staying warm inside still depends on proper insulation and body heat retention. Use packed snow blocks-they trap air and reduce heat loss better than brush alone. Line the interior with spruce boughs; they add insulation and limit direct contact with cold snow. Sit on a foam pad or dry logs to minimize conductive heat loss through the ground. Your body heat is essential-stay dry and wear layered clothing to retain warmth. Thermal radiation from your body reflects off snow walls, slightly boosting ambient temperature. Keep the entrance small and use a fabric door to limit airflow. Avoid overheating, which increases moisture and reduces insulation efficiency. One adult typically produces about 100 watts of body heat-enough to warm a small, well-sealed space slightly above freezing. Ventilation remains necessary to prevent CO2 buildup.
On a final note
You’ll stay warmer with a snow block windbreak because it cuts wind chill and retains body heat. It’s not perfect-insulation is limited-but paired with brush, it blocks drafts and adds stability. Building it takes effort, but the materials are free and available in most winter environments. Expect modest warmth, not comfort. It works in short-term scenarios, but don’t rely on it in extreme cold. Know its limits.