Integrating Digital Maps With Survival Water Purification Planning
You can spot safe water by using high-accuracy topographic maps to identify perennial streams and springs while avoiding stagnant low-lying areas. Pair offline apps like Gaia GPS with pre-downloaded hydrology layers so you’re not caught without signal. Check real-time weather and terrain steepness to anticipate contamination from runoff. Plan purification stops every 8–12 miles at flowing water sources, syncing with rest breaks. A reliable filter backs up your route when risks arise-know where you’ll find water, how clean it’s likely to be, and how to treat it efficiently. You’ll see how each tool fits together to cut risk and keep you moving.
Notable Insights
- Use high-accuracy topographic maps to locate reliable water sources like perennial streams and springs.
- Select offline-capable water apps compatible with your device for uninterrupted navigation and data access.
- Monitor real-time weather and terrain data to anticipate contamination risks from runoff or flooding.
- Design purification routes by overlaying water sources on digital maps and scheduling filter use during rest stops.
- Mark and avoid hazardous sources like stagnant ponds or polluted rivers using map annotations and risk indicators.
How to Spot Safe Water Using Digital Maps
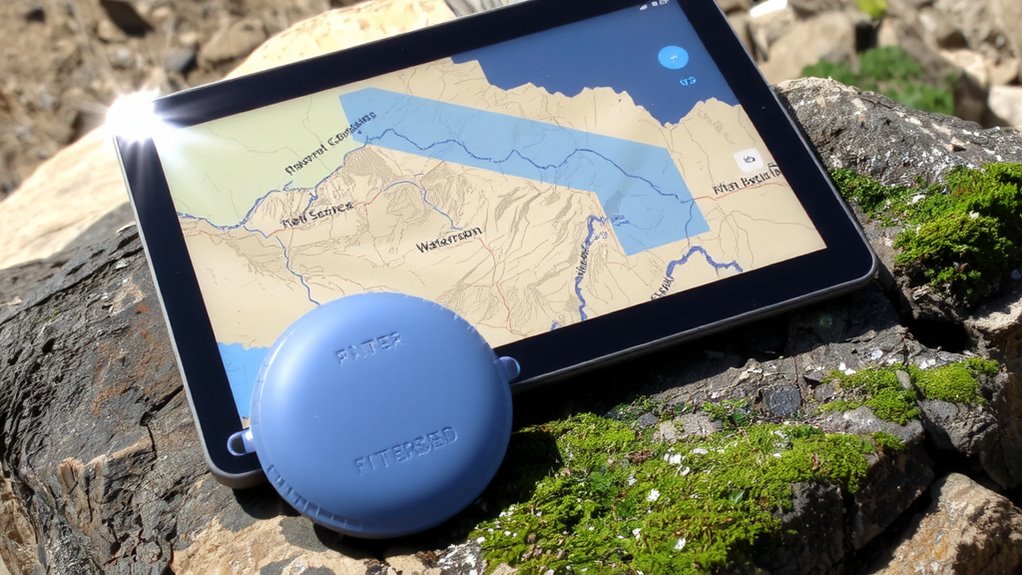
Where can you find water that won’t make you sick? You check digital maps with high map accuracy before heading out. Reliable topographic maps show perennial streams, lakes, and springs-sources more likely to offer water visibility needed for preliminary safety checks. Stagnant or murky water often appears near low-lying, poorly drained areas; accurate maps help you avoid these. Zoom in to spot elevation contours indicating natural watersheds-these usually feed cleaner, flowing sources. Man-made features like trails and campgrounds marked on precise maps often correlate with accessible, treated, or regularly monitored water. But don’t rely solely on symbols-overlay satellite imagery to confirm water visibility and current flow. Outdated or low-resolution maps may mislabel dry gullies as streams, putting you at risk. Always cross-reference map accuracy with real-time conditions. Even with good data, assume all water needs purification-maps guide you to better starting points, not guarantees.
Choose the Best Survival Water Apps for Your Trip
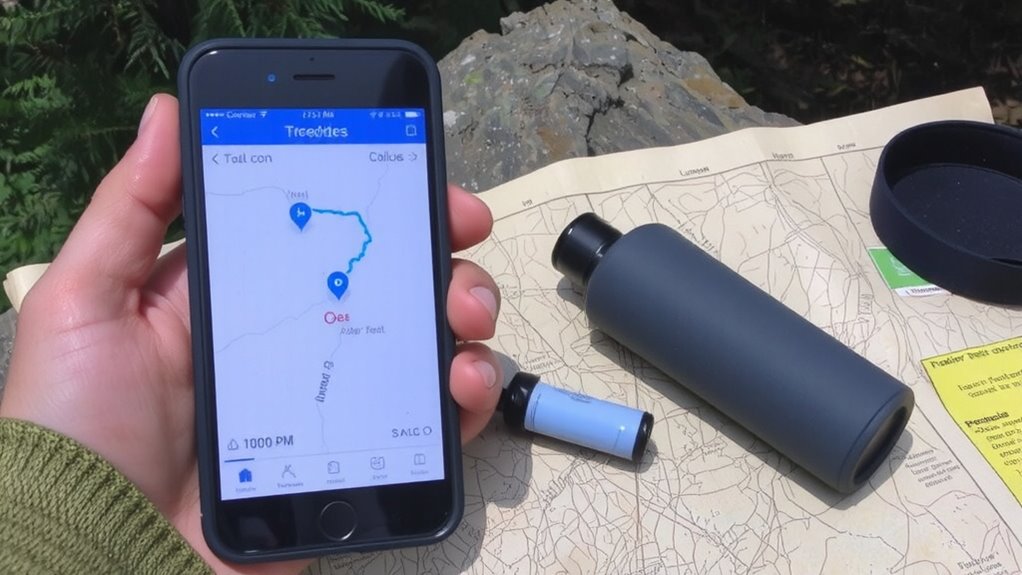
Why risk guessing when you can tap a screen and know exactly where to find the closest water source? Choose survival water apps that offer reliable offline access, so you’re not left stranded without signal in remote areas. You’ll need app compatibility with your device’s operating system-iOS and Android don’t always share the same tools. Not all apps work the same in airplane mode, so test before you go. Gaia GPS and Hydroviv give accurate water source overlays but require pre-downloaded maps for offline access. Some apps drain battery quickly, so check efficiency in real-world use. App compatibility with external GPS units or wearables can be a plus. Pick one that syncs with your gear and loads fast. Don’t assume free versions are enough-they often limit offline access. A good app saves time, reduces risk, and keeps your purification planning precise.
See Real-Time Water Risks With Weather & Terrain
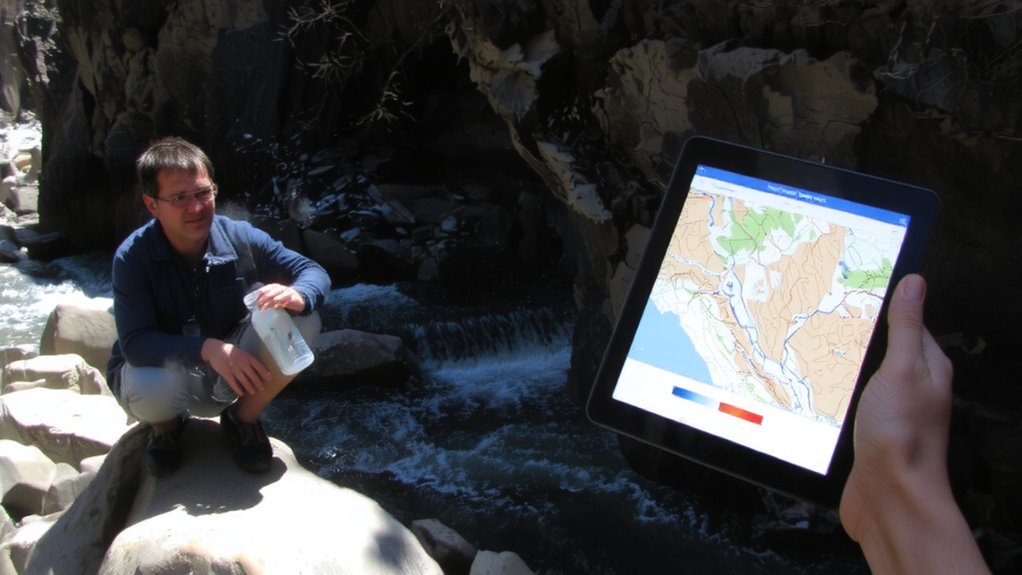
How often does your water source dry up or turn hazardous without warning? With digital maps tied to live weather and terrain data, you can spot risks before they catch you off guard. Flash floods can contaminate rivers or wash out access points-real-time elevation and rainfall layers help you see these threats early. If heavy rains hit upstream, your clear stream could soon carry debris and pathogens. That means higher risk of waterborne diseases like giardia or cholera, even if the water looks fine. Terrain steepness and soil type matter too-steep, barren slopes increase runoff. Apps that overlay weather radar, precipitation forecasts, and topographic detail let you assess contamination likelihood. You’re not guessing-you’re using measurable inputs. This isn’t about fear. It’s about avoiding preventable exposure. Check the data hourly when conditions shift. Staying informed cuts your odds of drinking something dangerous.
Plan Your Purification Route Step by Step
Once you’ve identified potential water sources and assessed their risks, you’ll need to plan a purification route that matches your movement and needs. Start by overlaying water mapping data onto your digital map to mark reliable sources along your path. Use route analysis to balance distance, elevation, and access points, ensuring you don’t stray too far for water. Prioritize flowing sources near trails but avoid detours that cost time or energy. Build in buffer points every 8–12 miles if you’re hiking, so you’re never too far from a backup. Sync your planned stops with purification windows-most filters work best with 30–60 minutes of rest. Test the route on a short trip first; GPS apps with offline mode help track real-world accuracy. Adjust based on terrain difficulty and pack weight. Good planning means less guesswork, fewer delays, and safer hydration. Efficiency comes from precision, not luck.
Avoid These Dangerous Water Sources on Maps
Where on your map looks like a convenient water stop might actually put you at risk-knowing what to avoid is just as important as finding safe sources. Stagnant ponds and polluted rivers are common hazards visible on digital maps, but they’re often misleading. Just because a body of water appears on your route doesn’t mean it’s usable. These sources frequently harbor pathogens, chemicals, or heavy sediment. Always verify water quality indicators before planning stops.
| Source Type | Risk Level | Reason |
|---|---|---|
| Stagnant ponds | High | Bacteria, parasites, low oxygen |
| Polluted rivers | High | Industrial runoff, toxins |
| Fast-moving streams | Low | Natural filtration, aeration |
Avoid zooming in on convenience-prioritize safety. Use map markers to flag and bypass these dangers ahead of time. Clear identification saves time and reduces exposure. A reliable water filter for survival can make otherwise unsafe water sources viable in emergency situations.
Build Your Emergency Water Strategy With GPS
You’ve already learned to spot hazardous water sources on your map, so now it’s time to use GPS tools to build a reliable emergency water plan. Mark known water sources within a 2-mile radius of your location, prioritizing those with flowing water. Use GPS coordinates to log each site, reducing search time during crises. Pair this with lightweight filtration gear and assign waypoints for backup locations. Water testing strips or digital testers help confirm safety before consumption, avoiding reliance on visual cues. Update your digital map regularly-seasonal changes affect water availability. Gear optimization means carrying a 0.5-liter per minute filter instead of bulky purifiers when mobility is key. Balance weight, output, and power needs based on expected usage. GPS tracking combined with real-time water testing improves decision speed and accuracy. Planning isn’t optional; it’s risk reduction through preparation. Your survival depends on reliable data, not guesswork. For optimal results, choose from the best water filters based on flow rate, portability, and contaminant removal efficiency.
On a final note
You’ll save time and reduce risk by pairing digital maps with your water purification plan. Apps like Gaia GPS and CalTopo show water sources and terrain, but they don’t guarantee safety-always verify flow and surroundings. Real-time weather layers help avoid contaminated runoff. GPS helps mark clean points, but filters still need manual use. No app replaces tested gear like a Sawyer Squeeze or chemical treatment. Know the limits-maps guide, but your tools protect.