How to Use a Compact Emergency Shelter for Overnight Stops
Pick a flat, elevated spot and lay down ground insulation before setting up your shelter in the dark or rain. Use color-coded clips or pre-assembled poles for faster setup with gloves. Pair your bivvy with a closed-cell pad and high R-value insulated pad to stay warm. Waterproof your stuff sack, pack it visibly, and keep repair tape accessible. Choose ripstop or Dyneema models that balance weight, durability, and insulation for your trip’s demands-alpine use favors full coverage and vapor barriers. Smart setup and gear choice improve survival odds when conditions worsen. Details on optimizing each step follow.
Notable Insights
- Choose a flat, elevated spot to set up your shelter, preventing water accumulation and ensuring stability in rain or darkness.
- Pre-assemble shelter components at home and use color-coded parts for quicker, error-free setup in low visibility.
- Pair your bivvy with a high-R-value insulated pad and closed-cell mat to minimize heat loss to the ground.
- Use a vapor barrier wisely to manage condensation, avoiding trapped moisture while staying dry during cold overnight stops.
- Pack the shelter in a labeled dry sack in an outer pocket, ready for quick access and rapid deployment when needed.
Set Up Your Emergency Shelter in the Dark or Rain
How do you set up your shelter when you can’t see the tent poles or the rain won’t let up? You rely on practiced moves and simple gear. Start with quick site selection-avoid low spots where water pools and stay clear of dead trees. A flat, elevated area gives better runoff and stability, even in darkness. Once chosen, lay your ground insulation before unpacking the shelter; it marks your spot and keeps your back dry during assembly. Most compact shelters use color-coded clips or snap-on poles to speed setup in poor visibility. You’ll fumble less if you’ve pre-assembled parts at home. Rain-soaked gloves slow you down, so waterproof your shelter bag and use touch-friendly toggles. Bright inner linings help visibility, but don’t count on them. Practice in your backyard at night-you’ll move faster when it counts. Speed, simplicity, and smart placement outweigh fancy features. A well-designed camping rain shelter can make all the difference in staying dry and comfortable during unexpected downpours.
Stay Warm and Dry in a Compact Bivvy
You’re not going to stay warm just because your bivvy looks snug-it has to manage moisture and trap heat without adding bulk. An insulated lining helps retain body heat, but it’s useless if dampness builds up inside. That’s where a vapor barrier comes in: it blocks internal moisture from escaping into the fabric, reducing dampness. However, too much barrier coverage can trap sweat, so balance is key. Pair your bivvy with a closed-cell pad to cut ground chill, which no lining can fix alone. For extended cold-weather trips, consider adding an insulated sleeping pad with a high winter R-value to enhance thermal protection.
| Feature | Effect |
|---|---|
| Insulated lining | Adds minimal warmth; best in dry conditions |
| Vapor barrier | Reduces dampness but risks condensation if overused |
Exit Your Shelter Safely in Bad Weather
Leaving your bivvy in poor conditions starts with preparation long before you unzip. You must guarantee your shelter’s secure entry is free of moisture buildup and ice inside, which could jam the closure during exit. Check that the weather sealing remains intact and properly seated-compromised seals let in wind, snow, or rain the moment you open the entry. Avoid rushing; fumbling in the dark increases risk. Sit up slowly, keeping your head covered, and use gloved hands to test the zipper’s movement. If stiff, apply gentle pressure to avoid tearing. Open just enough to assess outside conditions before fully exiting. A reliable secure entry system allows one-handed operation, critical when managing cold or bulky gloves. Effective weather sealing doesn’t guarantee dryness if opened incorrectly. Always brace the entry edges to prevent flaps from catching wind and flapping open too wide. Your exit should be controlled, deliberate, and practiced under simulated conditions beforehand. Choosing the right shelter matters-consider the best survival tents for durability and weather resistance in extreme conditions.
Pack Your Shelter for Instant Access
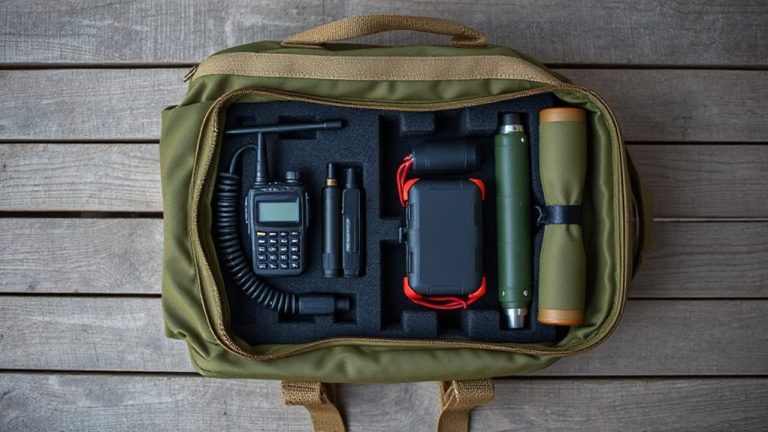
With the right technique, packing your shelter takes under two minutes and guarantees it’s ready when seconds count. Quick retrieval starts with storing your shelter in an outer pocket or top compartment of your pack, not buried beneath gear. Use a dedicated dry sack with color-coded tabs so you can identify it immediately, even in low light. Organized packing means placing items in reverse order of use-your shelter goes on top, stakes above the stuff sack, and repair tape taped to the outside. Nylon compression straps work better than elastic cords-they hold shape and won’t tangle. A fully packed shelter should weigh under 16 oz and fit in a 10 x 5 inch space. Test the setup twice a year to maintain efficiency. This method cuts deployment time by half, which matters when weather turns.
Choose the Right Emergency Bivvy for Your Trip
A good emergency bivvy keeps you alive when plans go wrong, and the best one for your trip depends on weight, insulation, and durability. You need a balance-lighter bivvies save pack space but often sacrifice material durability. If you’re moving fast in rugged terrain, opt for a ripstop nylon or Dyneema model that resists tears. Check the weight capacity, too; some bivvies are built for smaller frames and may not fit taller or broader users comfortably. A 3-season bivvy with a low-emissivity coating offers better heat retention than a basic plastic sack. Waterproof breathability prevents condensation buildup, but adds weight. For alpine or winter trips, prioritize insulation and full coverage. Ultralight silnylon suits weight-conscious backpackers but won’t last long under abrasion. Always match the bivvy’s specs to your typical conditions-durability matters most when survival’s on the line.
On a final note
You’ll rely on your emergency bivvy when conditions are worst, so choose one that packs small but still blocks wind and moisture. A true emergency shelter won’t keep you warm on its own-it reflects body heat, but only if sealed properly. Test it before you need it: set it up in the rain, then crawl out quickly without snagging. Weight matters less than durability and ease of use. A 3-ounce bivvy that fails in wind isn’t worth carrying.