Improvised Cold Packs for Swollen Wounds in the Wild
Soak a clean cotton cloth in cold water for a quick, effective cold pack that reduces swelling. Damp moss or mud from a stream works too, holding moisture and offering mild compression. Apply for 10–15 minutes every hour, using a barrier to protect skin and prevent frostnip. Cold therapy slows inflammation and numbs pain but stop if swelling plateaus or skin turns pale. These methods work within the first 48 hours, and there’s more to contemplate when choosing the best natural coolant for sustained relief.
Notable Insights
- Soak a clean cotton or linen cloth in cold water for a simple, effective cold pack.
- Apply damp moss directly to swelling, using a vine or band to hold it in place.
- Use thin layers of cold mud mixed with stream water to reduce heat trapping.
- Submerge the injured area in cool stream water to temporarily reduce swelling.
- Apply cold packs for 10–15 minutes at a time, then allow skin to rewarm.
Use a Cloth and Cold Water for a Quick Cold Pack
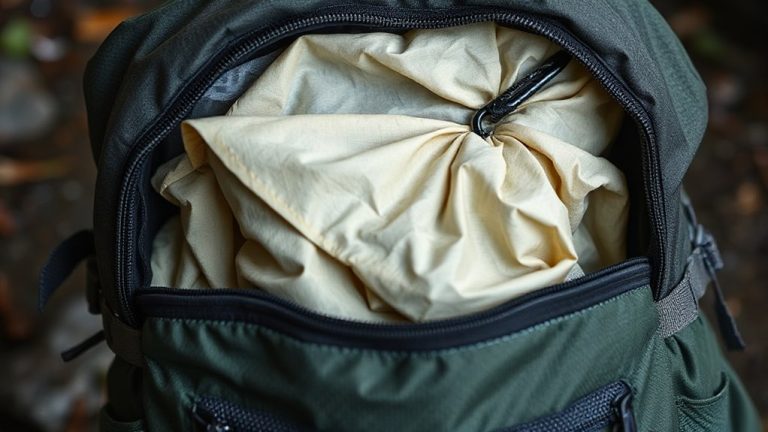
While you might not always have a commercial cold pack on hand, soaking a clean cloth in cold water gives you an effective, no-cost option for immediate relief. A cloth made of natural fibers, like cotton or linen, works best due to its high water absorption and ability to retain moisture against the skin. These materials hold cold water evenly and release it slowly, maintaining a consistent cooling effect for up to 10–15 minutes before re-soaking. Synthetic fabrics often wick moisture too quickly, reducing contact time and effectiveness. Use a thin, tightly woven fabric to limit dripping while maximizing surface coverage. The damp cloth can be wrapped directly on the swollen area, providing mild compression and thermal reduction. It won’t match gel packs in duration, but with frequent re-wetting, it sustains cooling. This method relies on available materials and requires no prep, making it reliable in remote settings.
Make a Cold Pack With Moss, Mud, or Stream Water
You can rely on natural materials like moss, mud, or stream water when no fabric or cold source is available. Moss works well due to its moisture retention and moss insulation properties, which help maintain a cool temperature against the skin. Press damp moss directly onto the swollen area and secure it with a band or vine. It won’t stay cold as long as manufactured packs, but it provides consistent, mild cooling. Mud, when mixed with cold stream water, offers mud cohesion, allowing it to cling to wounds without dripping. Apply a thin layer to avoid trapping heat. Submerging the injury in a cool stream for short durations also reduces swelling, though it’s less controlled. These methods deliver moderate relief when nothing else is available. They’re not sterile or long-lasting, but they’re functional in emergencies. Weigh effectiveness against environmental conditions and injury severity before use.
How to Apply Cold Packs Safely in the Wild
Most cold pack applications in the wild require some direct contact with the skin, so always create a barrier using cloth, moss, or leaves to prevent tissue damage from prolonged cold exposure. You can use damp moss or a cloth soaked in stream water-both hold cold well and reduce risks during ice application. Apply the pack for 10–15 minutes at a time; longer exposure increases chances of frostnip or impaired circulation. Rotate on and off the skin to allow natural rewarming. Temperature monitoring isn’t precise without tools, so rely on touch and observation: check skin color and sensation every few minutes. Pale, numb, or stiff skin means it’s too cold. Avoid placing packs over open wounds directly. Stick to intact skin near swelling. This method controls inflammation without added risk, balancing effectiveness and safety when medical supplies aren’t available.
When to Stop Using Improvised Cold Therapy
How long should you keep using that cold pack? You should stop when you notice no further reduction in swelling progression-typically after 24 to 48 hours. Cold therapy helps control early inflammation, but prolonged use beyond this window offers little added benefit. If swelling worsens or plateaus despite continued application, it’s time to switch strategies. More critically, watch for infection signs like increased redness, warmth, pus, or throbbing pain. These symptoms mean cold therapy alone isn’t enough and may delay proper care. Don’t rely on cold to mask deteriorating conditions. Once the initial acute phase passes or if skin becomes numb or pale, discontinue use to avoid tissue damage. Your goal is to manage symptoms without compromising long-term recovery. Recognizing when to stop is as important as knowing when to start.
Why Cold Therapy Works for Outdoor Injuries
Although inflammation is a natural response to injury, applying cold therapy soon after an outdoor incident like a sprain or contusion helps limit excessive swelling by constricting blood vessels. You reduce blood flow to the area, which in turn slows down tissue damage and supports inflammation control. Cold numbs nerve endings, offering quick pain relief without medication. It’s not magic-just basic physiology working in your favor. You’ll see results within minutes: less swelling, sharper mobility. But don’t overdo it; limit sessions to 15–20 minutes every hour. Prolonged exposure risks tissue damage or numbness that masks serious injury. This method won’t heal fractures, but it stabilizes soft-tissue injuries until help arrives. Use whatever’s cold-snow in a bag, cool stream water, damp cloth. Effectiveness depends on consistent, brief applications. It’s cheap, light, and reliable-ideal for野外 first aid.
On a final note
You’ll need to act fast, but improvised cold packs work well enough when proper gear isn’t available. A damp cloth or moss pack reduces swelling just fine for short use. Don’t apply directly to skin-wrap it. It’s not as cold as ice, but it helps. Lasts 10–15 minutes, then re-wet. It’s slow, and won’t replace medical care, but it’s reliable in a pinch. Know the limits.