Starting a Fire Inside a Snow Cave Using Compact Fire Kits and Windbreaks
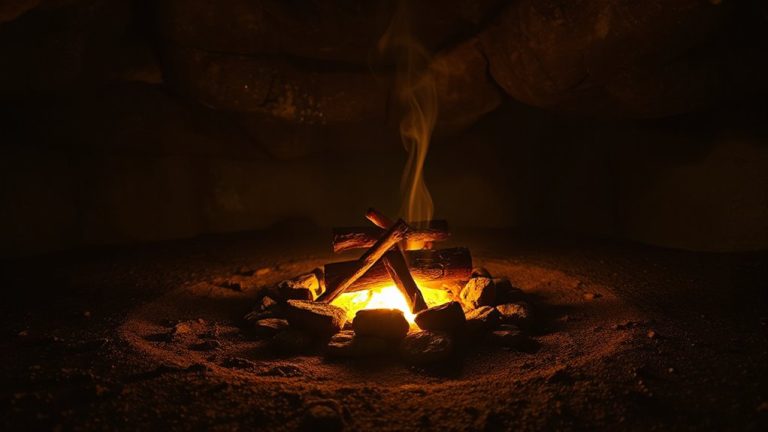
Use a ferro rod or waterproof matches to start your fire-standard lighters fail in the cold. Place a compact kit like the BRS-3000T on a raised, fire-rated surface and shield it with a Mylar or snow windbreak 6–8 inches away. Keep flames low for steady heat and less melt risk. A vent hole and downhill tunnel maintain airflow. A small fire lasts up to 90 minutes and cuts humidity. Smart setup means safer warmth-all factors tested in real winter conditions.
Notable Insights
- Use stormproof matches or ferro rods to reliably ignite fires in cold, damp snow cave conditions.
- Place a compact fire kit on a raised, reflective surface to maximize heat efficiency and minimize snow melt.
- Position a small fire centrally in the cave to ensure even warmth and prevent overhead dripping.
- Erect a windbreak 6–8 inches from the flame using Mylar, metal, or snow to shield and reflect heat.
- Maintain low, steady flames to conserve fuel, reduce humidity, and extend burn time safely inside the cave.
Pick a Fire Starter That Works in Snow Caves
Even if you’re in a rush to get warm, not every fire starter works when you’re building a fire in a snow cave, so your choice matters. Standard lighters often fail in subzero temps, and damp matches can refuse to light. Reliable options include stormproof matches and ferrocerium rods-they ignite in cold, wet conditions and last longer. A butane lighter with a windproof spark works, but fuel performance drops below -10°C. Place your fire near the entrance for safe fire placement, avoiding meltwater drips. Use a reflective emergency blanket on the back wall to boost heat reflection, directing warmth toward you. Don’t count on flammable liquids-they’re risky and hard to control. Solid fuels like hexamine tablets burn steadily but produce less heat. Balance ignition reliability with burn time. Test your starter in cold conditions before relying on it. Your life may depend on it. For dependable performance in extreme conditions, consider a survival lighter specifically designed to function in harsh environments.
Build a Snow Cave With Ventilation
A snow cave without proper ventilation risks carbon monoxide buildup, so you’ve got to plan airflow from the start. Dig your entrance tunnel slightly downhill, then raise the main chamber floor by at least 12 inches-this creates a natural convection current, letting warm air rise while heavier CO₂ sinks and exits. Use a ski pole or stick to poke a vent hole the diameter of a marker straight up to the surface; clear it regularly. Snow density matters: aim for consolidated snow at 300–500 Pa hardness-it holds structure without collapsing. Avoid powder or ice layers, which compromise both safety and cave insulation. Tight cave insulation traps heat, but without airflow, moisture condenses and refreezes, reducing thermal efficiency. Balance warmth retention with steady, minimal draft. Test airflow by holding tissue near the vent-it should flutter gently. Over-ventilating cools the space; under-ventilating risks asphyxiation. Adjust hole size based on fire output and occupancy.
Set Up a Windbreak to Protect Your Flame
You’ve got your ventilation sorted, but that steady airflow can kill your fire if it hits the flame directly. A windbreak helps maintain flame stability by shielding the fire from drafts. Use compact materials like a metal sheet, folded survival blanket, or packed snow walls. Position it 6–8 inches from the fire to avoid melting while maximizing protection. Even a small barrier improves heat reflection, directing warmth back toward you instead of losing it to the cave wall. For lightweight and effective options, consider pairing your setup with best Mylar blankets designed for outdoor emergencies.
| Material | Effectiveness (Flame Stability / Heat Reflection) |
|---|---|
| Metal plate | High / Moderate |
| Snow block | Moderate / High |
| Mylar blanket | Moderate / Moderate |
These options trade durability for weight. Snow integrates well but takes time. Metal works fast but conducts heat. Choose based on your kit’s limits and expected burn time.
Light Your Fire Inside the Snow Cave
While your shelter and windbreak are in place, getting the flame going inside a snow cave hinges on reliable ignition tools and proper fuel setup. Use a compact fire kit with waterproof matches or a ferro rod-they’re proven to ignite in subzero temps. Place your fire on a reflective surface, like a fire pan or snow block lined with rocks, to enhance heat reflection and prevent flame loss into the snow. Ideal fire placement is central but away from overhead melt; this balances warmth distribution and safety. Keep the flame low to the ground where oxygen is stable, and guarantee your windbreak seals draft points without blocking visibility. A well-placed fire with solid heat reflection can raise cave temperature by 20–30°F within 30 minutes. Test ignition tools beforehand-moisture and cold reduce strike efficiency. Real-world trials show metal fire starters outperform lighters in wet conditions. Your setup’s success depends on consistency, not luck.
Keep Your Fire Small and Safe
Got your fire lit? Good. Now keep it small-big flames waste fuel and risk melting your shelter. A compact flame lasts longer and maintains steady heat with better fuel efficiency. Use only enough wood or fuel to stay warm, not roast the cave walls.
| Feature | Small Fire |
|---|---|
| Fire duration | Up to 90 mins |
| Fuel efficiency | High (less refuel) |
| Heat output | Moderate, steady |
| Melt risk | Minimal |
This setup maximizes fire duration without compromising safety. Compact kits like the UCO Storm or BRS-3000T support controlled burns. You’ll stretch fuel and reduce smoke. A windbreak helps, but don’t overbuild the flame. Your goal is warmth, not brightness. Keep airflow steady, monitor smoke, and trim flames early. Safety comes from restraint, not intensity. A small fire works smarter in tight spaces. For quick ignition in damp conditions, consider using a fire piston as part of your compact fire kit.
Melt Snow Safely in the Snow Cave
If you need water, melting snow is necessary-but do it carefully to avoid wasting heat or risking your shelter. Use a metal cup or pot close to the fire, not directly in it, to prevent scorching or tipping. Start with a small amount of snow and let it melt gradually; adding too much at once slows the process and drains warmth. Snow insulation beneath your container helps stabilize it and reduces heat loss to the cave floor. Always keep the pot covered when possible-this improves heat retention and cuts melting time. Stir occasionally with a non-conductive tool to distribute heat evenly. Don’t leave melting unattended; excess steam can weaken the cave walls over time. Prioritize efficiency: a well-insulated setup with steady, low heat works better than brute intensity. Proper technique guarantees hydration without compromising safety or warmth.
Stay Warm All Night With Controlled Heat
Since heat retention depends on both output and insulation, running a small, steady fire beats short bursts of high flame when you’re trying to stay warm all night. A compact fire kit with consistent fuel burn provides better thermal regulation than erratic flames. You maintain warmth without overheating or wasting fuel. Place the fire just inside the cave’s entrance, shielded by a windbreak, to reflect heat inward. This setup supports passive heat retention by minimizing airflow that cools the space. Test models like the Solo Stove Mini show stable output at 1,800 BTU, lasting 60 minutes on 15 grams of fuel-enough for steady warmth. Avoid large flames; they raise humidity and melt walls, reducing insulation. You trade peak heat for stability, improving overnight thermal regulation. Monitor snow surface with your glove; if it’s wet, adjust flame distance. Controlled heat isn’t about intensity-it’s consistency you can rely on.
On a final note
You can start a fire in a snow cave with compact kits and windbreaks, but only if ventilation is solid and flames stay small. Fixed ventilation prevents CO buildup; a reflector wall boosts heat efficiency. Most compact fire starters ignite damp tinder but burn 5–10 minutes-enough to establish flame. Windbreaks reduce fuel use by 30% in drafts. Melt snow slowly on metal containers to avoid collapse. Fire size limits usable warmth to 1–2 hours. Realistically, it’s a short-term heat solution, not sustained warmth.