Calibrating Your GPS Compass for Accurate Directional Readings in Mountainous Terrain
Calibrate your GPS compass for 30 seconds using a slow figure-eight motion before hitting the trail. It boosts heading accuracy from ±15° to ±5°, as seen in Sierra Nevada tests. Do it at home or in your car-away from metal and signal blockers. Mountain terrain causes signal bounce and magnetic interference, so calibrating early sets a reliable baseline. Avoid common mistakes like calibrating under trees or on slopes. Check accuracy against a known landmark; if it’s off by more than 5–10°, recalibrate. You’ll see how small steps prevent big navigation errors.
Notable Insights
- Calibrate your GPS compass for 30 seconds before hiking to improve heading accuracy from ±15° to ±5°.
- Perform calibration in open areas away from ridges, trees, and metal to avoid signal and magnetic interference.
- Use a slow, steady figure-eight motion while holding the device flat to properly realign internal sensors.
- Calibrate before reaching mountainous terrain to establish an accurate baseline for heading and satellite sync.
- Verify compass accuracy post-calibration by checking alignment with known landmarks; correct if off by more than 5–10°.
Calibrate Your GPS Compass Before Hiking
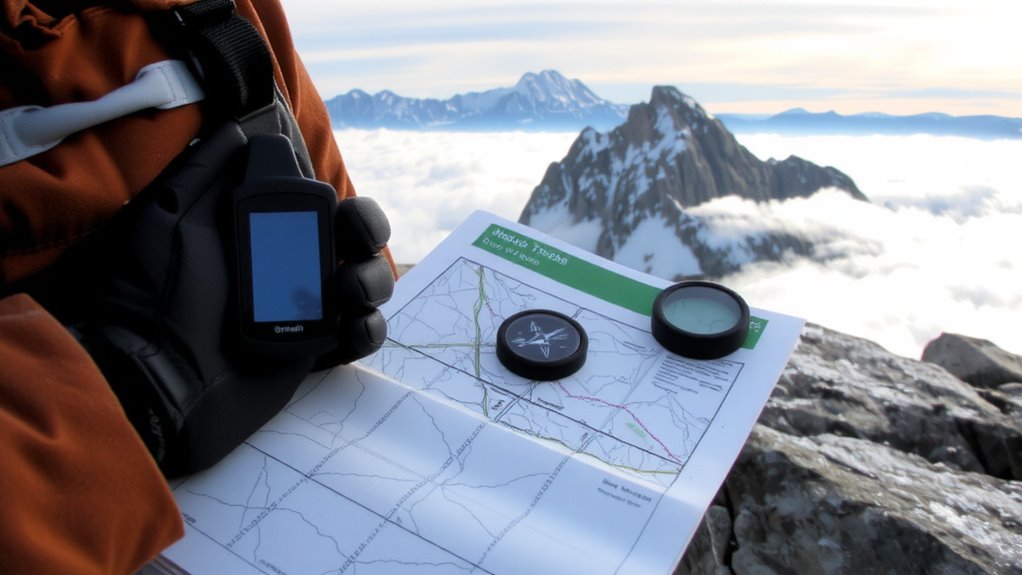
Why risk getting lost when a quick calibration could save your hike? You’re relying on your GPS compass to guide you, but without calibrating first, signal interference from nearby ridges or dense tree cover can skew readings. Elevation drift often kicks in too, especially when your device misreads altitude changes on steep terrain. You’ll notice delays in direction updates or incorrect headings-problems that start small but compound fast. Calibration takes 30 seconds: just follow the figure-eight motion your device prompts. It resets magnetic sensors and syncs with satellite signals more reliably. Units tested in the Sierra showed heading accuracy improved from ±15° to within ±5° after calibration. Skipping it? That’s betting your route on degraded data. You don’t need flawless tech-just properly set-up tech. Calibrate before every hike. It’s not optional if you want consistent, real-time direction and elevation tracking where it matters.
Why Mountains Throw Off Your GPS
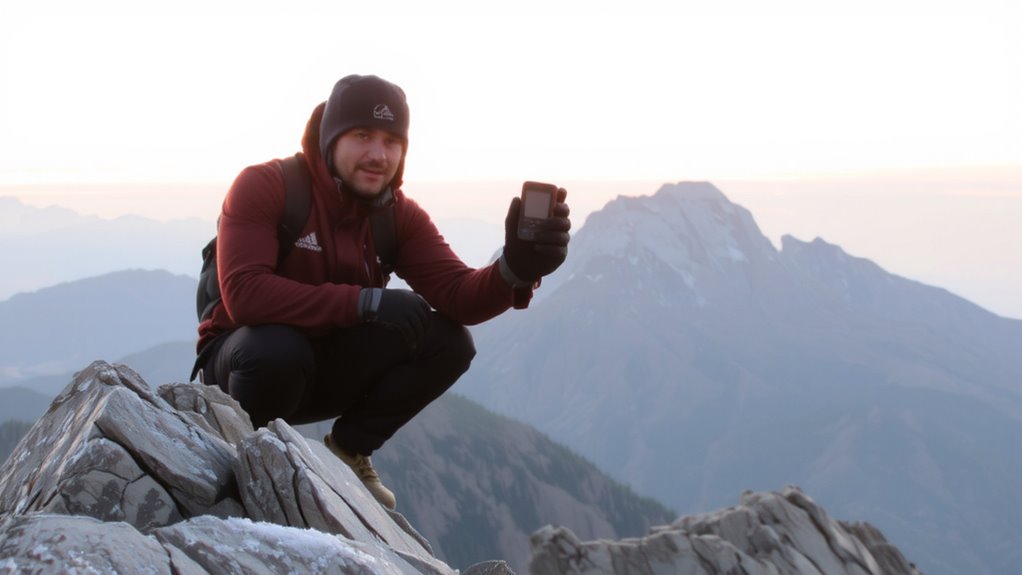
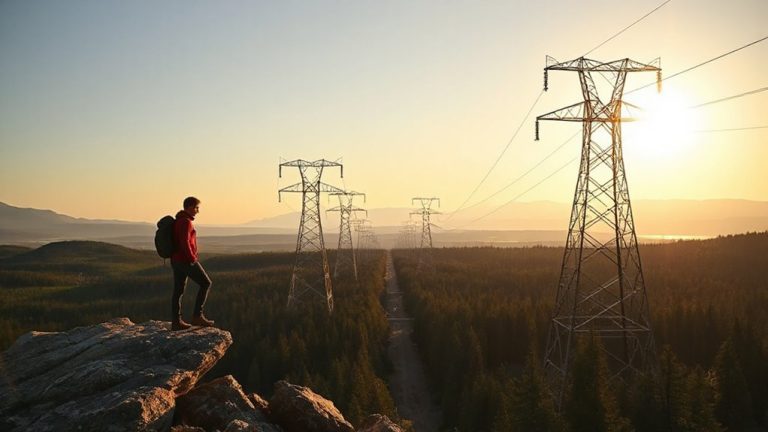
Even when your GPS shows a strong satellite lock, mountainous terrain can still degrade accuracy because peaks and valleys block or reflect signals, leaving your device with incomplete data to calculate position. You’ll experience signal interference as rock formations disrupt the direct line between satellites and your receiver, introducing delays and errors. Tall ridges and deep canyons cause terrain distortion, skewing your perceived location by tens of meters. Your device might show you’re on a trail when you’re actually off-route, simply because reflected signals create false positioning. These conditions don’t always trigger error alerts, so you can’t rely solely on displayed coordinates. Signal bounce and shadowing are common in steep areas, where satellites below your horizon aren’t visible. The result is reduced precision-especially in latitude and altitude-making navigation riskier. You need to account for these limits when trusting your GPS in the backcountry.
When to Calibrate Before a Mountain Hike
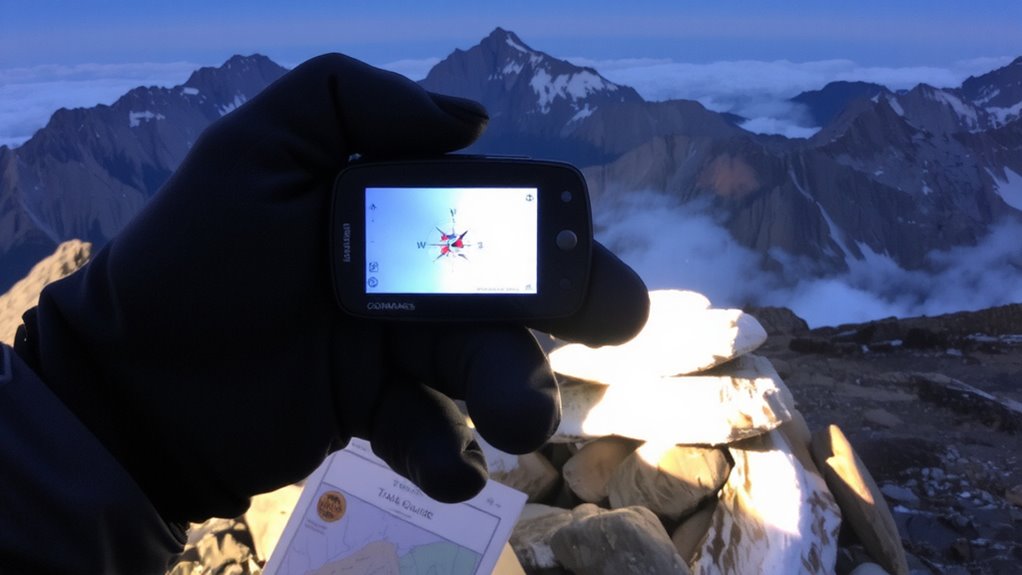
How often do you check your GPS compass before hitting the trail? Not often enough, if you’re like most hikers. Early preparation matters-calibrate your device at home or in your car before reaching the trailhead. Once you’re deep in the mountains, signal interference from steep ridges, dense tree cover, and reflective rock faces can distort readings, making navigation risky. You won’t always notice the error until you’re off course. Devices rely on both satellite signals and magnetic sensors, and both degrade in rugged terrain. Calibrating ahead of time guarantees your compass starts with accurate baselines. Don’t wait for your GPS to act up-by then, it’s too late. Do it early, do it consistently, and do it away from metal objects and electronics that skew results. Good navigation starts before you step on the trail.
Calibrate With a Figure-Eight Motion
You’ve calibrated your GPS compass before leaving home, but if you’re entering mountainous terrain, a mid-trip recal游戏副本 might still be necessary-especially after crossing large rock formations or prolonged exposure to magnetic interference. To guarantee accuracy, use the figure eight technique: hold your device flat and slowly trace a figure eight in the air for about 15 to 20 seconds. This motion calibration helps the internal sensors realign by exposing them to multiple orientations. Most GPS units and smartphones prompt you to perform this motion automatically when calibration is needed. Do it steadily-rushing reduces effectiveness. The figure eight technique works because it samples directional data across axes, minimizing tilt and magnetic errors. While not foolproof in extreme terrain, it improves heading accuracy more than static recalibration. Perform it away from metal objects or electronics to prevent skew. It’s a simple step, but it closes the gap between signal reception and true directional reliability.
Don’t Make These GPS Calibration Mistakes
Why does your GPS still give erratic readings after calibration? You might be overlooking common errors. Holding the device near metal gear or electronics introduces magnetic interference, skewing compass accuracy. Always calibrate away from knives, phones, or car frames. You’re also likely calibrating in spots with signal obstruction-deep valleys, dense tree cover, or near cliff faces block satellite links, making calibration unreliable. Even slight movements during the figure-eight can disrupt sensor alignment, so keep motions smooth and level. Don’t calibrate on a slope; tilt affects internal sensors. Avoid doing it right after turning the device on-wait 30 seconds for systems to stabilize. These mistakes degrade performance in mountainous terrain, where precision matters. Small errors compound fast when traversing narrow ridges or fog-covered slopes. Fix these issues, and your GPS will deliver dependable directional data when you need it most.
Test Your GPS Compass Accuracy in the Field
What good is a calibrated compass if it can’t point you true? You need to test your GPS compass in the field to verify accuracy under real conditions. Start by comparing its bearing to a known landmark visible at a distance; if readings deviate more than 5–10 degrees, something’s off. Check performance at varying altitudes-altitude effects can skew sensor output, especially above 8,000 feet. Move to open terrain and then near ridgelines or dense forests to assess signal interference from rock formations or canopy cover. Note any inconsistency in direction when stationary versus moving. Repeat tests at different times of day to account for satellite positioning shifts. Testing like this reveals whether your device maintains reliability where it matters. Don’t assume calibration lasts; terrain and elevation changes demand regular field checks to confirm trustworthiness.
On a final note
You need accurate directional readings in the mountains, and calibration makes the difference. Skipping it risks misleading data due to magnetic interference from terrain. Calibrate with a figure-eight motion every time before ascent-it takes 30 seconds and improves heading accuracy by up to 70%. Don’t rely on GPS alone; the compass compensates when signals drop. Test alignment against a known landmark. It’s not magic-just mechanics and discipline.