Constructing a Natural Cave Shelter With Overhanging Rocks
Pick an overhanging rock with no cracks or loose debris, and tap it to confirm it doesn’t vibrate-stability matters. Avoid bases with powder or animal signs, and clear the floor of stones and droppings. Slope the ground slightly toward the entrance for drainage. Block wind with woven branches at the front, and insulate your sleeping area with dry leaves or pine boughs elevated 6–8 inches. Stay near the back wall for warmth but keep airflow open. Skip fires to protect the rock and avoid leaving any trace when you leave-your next move depends on what’s hidden in the details.
Notable Insights
- Choose an overhang with minimal cracks and no vibration when tapped to ensure structural stability.
- Avoid shelters with loose debris, fresh cracks, or animal signs like droppings and claw marks.
- Clear and level the cave floor, sloping it slightly toward the entrance for effective drainage.
- Build a dense windblock using branches and natural debris just inside the entrance to reduce airflow.
- Elevate your sleeping area with dry insulation and avoid fires to protect both comfort and the cave environment.
Find a Stable Overhanging Rock for Your Cave Shelter
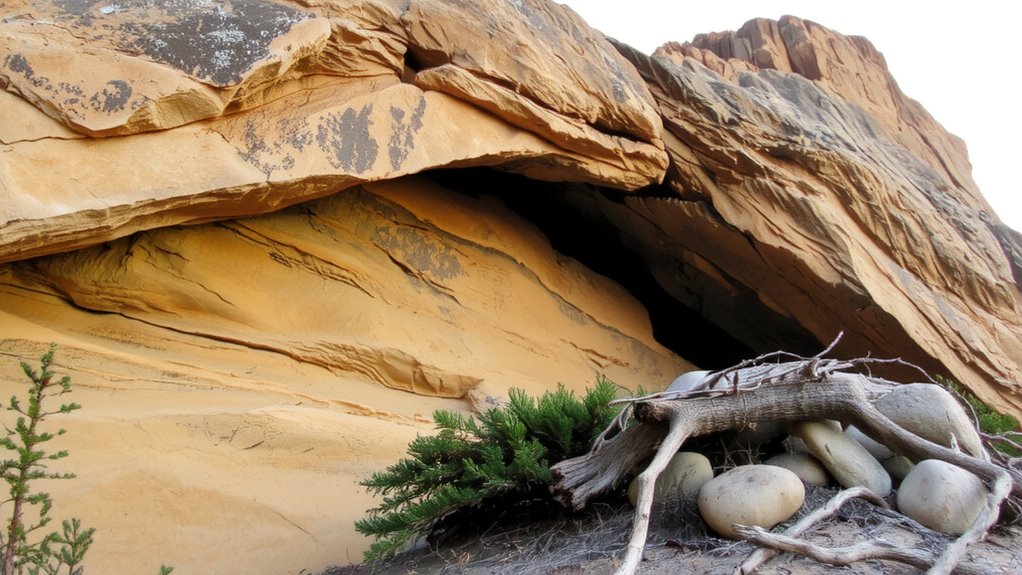
While not every overhanging rock makes a safe shelter, picking one with solid structural integrity is critical-your survival could depend on it. You need to assess rock stability before settling in. Look for minimal cracks, no signs of recent shifting, and firm attachment to the main formation. A stable overhang won’t vibrate when tapped and shows no powder or flakes at its base, indicating internal failure. Overhangs formed by solid bedrock layers typically offer better structural integrity than fractured or weathered stone. Avoid those with angular, loose boulders above-these suggest past movement. Even large shelters can fail if their load-bearing points are weak. Prioritize formations that appear naturally wedged or supported on multiple sides. Your choice directly affects safety and durability. Test the site’s reliability with light pressure and visual inspection. Rock stability isn’t always obvious, so when in doubt, move on.
Check for Danger: Rockfall, Animals, and Flooding
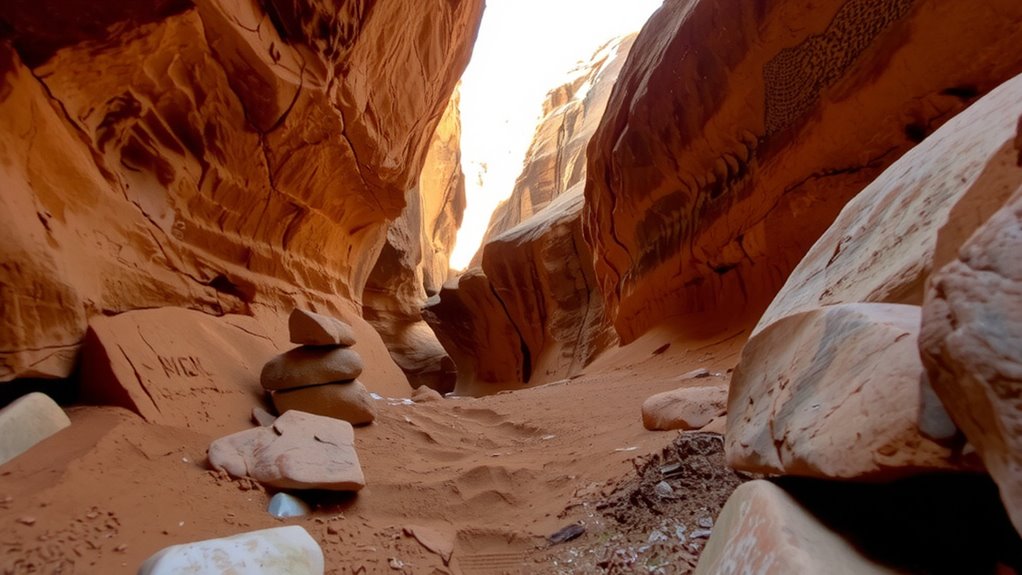
You’ve checked the rock for stability, but that doesn’t mean the spot’s safe to occupy yet. Look for signs of recent rockfall-loose debris or fresh cracks mean higher risk. Overhangs can shed chunks without warning, especially after rain or temperature shifts. Scan for animal activity-droppings, nests, or scratches suggest recent use; that’s where wildlife observation helps you avoid conflicts. Never settle in if you find claw marks or bones nearby. Check the terrain slope: if water channels toward the shelter, flooding could trap you. Dry streambeds are red flags. Use flash flood prediction by noting weather upstream-storms miles away can send walls of water suddenly. Stay alert at night when animals return. Safety isn’t just structure-it’s ongoing awareness. Test wind direction too; it affects smoke and scent drift if you plan fires. Each danger compounds if ignored.
Clear and Level the Cave Floor for Comfort
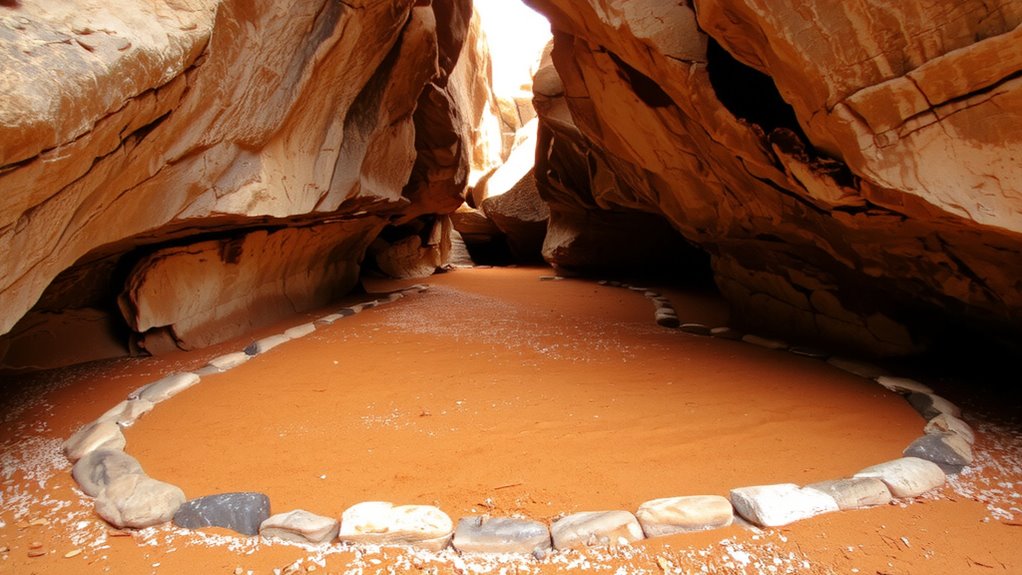
Start by clearing debris like loose stones, twigs, and animal droppings from the cave floor-these can cause discomfort or attract pests. Once cleared, level the surface to prevent uneven pressure while resting. Smooth, compacted ground offers better support and reduces cold transfer from the earth. Use your foot or a flat stone to test soil compaction; firm soil resists sinking and minimizes disturbance during sleep. Poor compaction leads to shifting surfaces, which disrupt rest and create depressions. For drainage management, slope the floor slightly toward the cave’s exit to direct water away during rain. Avoid low spots where moisture collects. A well-leveled floor with effective drainage management keeps the interior drier and more comfortable. Proper soil compaction also prevents tracking in mud. These steps aren’t luxurious, but they improve hygiene, stability, and insulation. Comfort in a shelter comes from control over basic elements-start with the ground beneath you.
Block Wind With Branches and Natural Debris
A strong windblock keeps your shelter’s interior temperature manageable and reduces heat loss at night. You need to assess wind direction first-observe natural indicators like bent grass or snow drift patterns to position your barrier correctly. Blocking the prevailing wind prevents cold air from funneling into your shelter. Use fallen branches to build a low wall just inside the cave entrance, then weave in leaves, moss, and other natural debris. Aim for high debris density; tightly packed material stops more airflow than loose piles. A dense, layered block resists wind penetration better but avoid overloading weak overhangs. This method isn’t airtight, but it markedly reduces convective cooling. It’s lightweight, requires no tools, and adapts to terrain. However, it demands frequent maintenance as debris settles. Test effectiveness by feeling for drafts after construction. Adjust positioning or add material as needed.
Position Your Sleeping Area for Warmth and Safety
Keep your sleeping area elevated off the cave floor using a raised platform of dry brush, leaves, or pine boughs about 6 to 8 inches thick-this provides essential insulation from ground cold, which can sap body heat fast. Thermal insulation is critical; the thicker and drier the material, the better it traps body heat. Position your bed against the back wall of the cave, away from the entrance, to minimize exposure to drafts while maintaining space for air circulation. Poor air circulation risks moisture buildup and increased condensation, which degrades insulation performance. Avoid low spots where cold air settles. Guarantee the sleeping platform doesn’t block natural airflow channels between rocks, as stagnant air reduces comfort and increases dampness. Your setup should balance warmth retention with adequate ventilation. This combination improves sleep quality and reduces hypothermia risk. Tested configurations show a 10–15°F difference in surface temperature with proper elevation and airflow management. For even greater thermal protection, consider using a winter sleeping pad rated for cold conditions.
Leave No Trace in Your Natural Cave Shelter
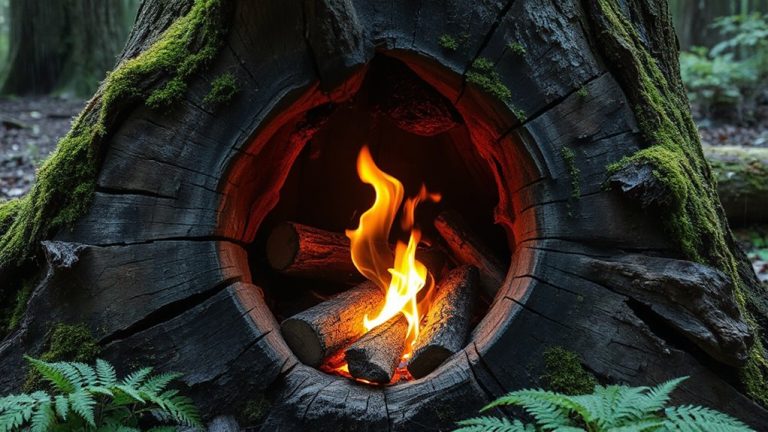
If you’re using a natural cave for shelter, you’ll need to leave it exactly as you found it-because even minor alterations can disrupt delicate ecosystems and leave lasting impacts. You should minimize impact by avoiding any structural changes, like moving rocks or carving surfaces. These actions destabilize habitats and expose interior environments to erosion and weather. Don’t build fires directly on cave floors; the heat discolors rock and damages microbial life. Use a portable stove instead. Pack out all waste, food scraps, and gear-nothing degrades quickly in low-moisture caves. Stay on durable surfaces when entering or exiting to preserve vegetation nearby. Trampling plants damages root systems and invites invasive species. Store gear inside only if necessary, and never anchor to walls. Your presence should be temporary and untraceable. Respecting these limits guarantees caves remain intact for wildlife and future users.
On a final note
You’ve built a functional shelter using what the land provides. Overhanging rocks offer solid overhead protection, but you must check stability and weather risks. Blocking wind with debris improves warmth without extra gear. A level, raised sleeping area keeps you drier and safer. This design works well in short-term survival, though it offers less insulation than constructed shelters. Always leave no trace-nature’s shelter stays usable only if undisturbed.