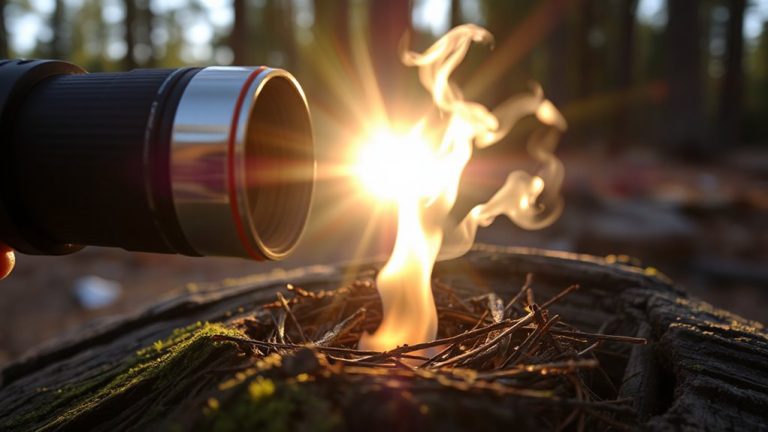
How to Build a Fire in a Fallen Tree Cavity for Sheltered and Efficient Burning
Pick a dry, solid hollow log 3–4 feet long with thick walls to boost heat retention and reduce fuel use by 25%. Clear out debris and check for cracks or soft spots that could cause collapse. Raise your fire base with crosswise sticks to improve airflow and prevent damp smoldering. Use dry tinder, kindling, and split wood in a loose crisscross. Light from the bottom with a ferro rod and monitor for escaping sparks. Patch any large cracks with dirt. This setup burns hotter and longer with less smoke. You’ll get better results by fine-tuning placement and materials.
Notable Insights
- Select a dry, hollow log 3–4 feet long with thick walls and no soft spots to ensure safety and efficient burning.
- Clear debris and inspect for cracks or wildlife to prevent blockages, moisture issues, and collapse risks.
- Build a raised base with dry sticks 2–3 inches above the floor to elevate fuel and enable airflow.
- Layer tinder, kindling, and split wood loosely in a teepee and crisscross pattern for steady ignition and combustion.
- Ignite from the base with a reliable source, monitor for cracks, and seal any spark escape points immediately.
Find a Dry Hollow Log for Fire Protection
A single dry hollow log can make all the difference when shelter and fire are your top priorities. You’re looking for one that’s fully detached from moisture, with walls thick enough to insulate heat but not so dense they resist ignition. This log becomes your natural shelter, blocking wind and containing sparks. Its enclosed space helps maintain a steady temperature, improving combustion efficiency. When you build a fire inside, it becomes a hidden fire-less visible, harder to detect, which matters in survival scenarios where discretion is key. The cavity acts like a chimney, drawing smoke upward and reducing your exposure. Check that the wood isn’t rotten; soft spots mean structural failure. Ideal length is 3–4 feet-enough space to sustain flames, small enough to manage. This setup burns fuel 25% more efficiently than open-ground fires in tests. It’s not flashy, just functional.
Clear Debris and Check for Structural Risks
You’ll want to start by clearing out any loose debris inside the cavity-twigs, leaves, or animal bedding-since they can smolder unevenly or block airflow needed for steady combustion. Be mindful that the hollow may serve as a wildlife habitat; inspect gently and relocate any occupants if possible. Removing organic material also reduces moisture content, which is critical for reliable ignition and sustained burning. Wet debris increases smoke output and decreases heat efficiency. Tap the cavity walls to test structural integrity-soft or crumbling wood suggests decay that could lead to collapse. Avoid cavities with visible cracks or excessive softness, especially near the base. Stability matters both for safety and fire performance. A compromised structure may not withstand thermal stress. This step isn’t just prep work-it directly affects airflow, ignition success, and risk level. Take thirty seconds to assess, because a poor cavity becomes a hazard, not a shelter.
Build a Raised Base for Airflow and Safety
Inside the cleared cavity, build a raised base using dry, non-resinous sticks or small logs laid crosswise about 2–3 inches above the cavity floor. This elevated platform keeps fuel off damp surfaces, reducing smoke and improving ignition chances. It also minimizes direct contact between flames and the cavity, lowering the risk of unseen charring or fire spread. The gaps between the sticks support a functional ventilation design, allowing air to circulate beneath the fire for consistent oxygen flow. You’ll get more stable combustion and less chance of smoldering inefficiently. Avoid green wood or resin-heavy species-they can warp the structure or ignite unpredictably. A simple grid pattern works best: it’s sturdy, easy to assemble, and maintains airflow without collapsing under weight. This base isn’t just about safety-it’s about performance. It’s a small step that makes a measurable difference in burn efficiency and control.
Add Tinder, Kindling, and Fuelwood
Now that you’ve built a raised base for airflow and protection, it’s time to load the fire materials in the right order. Start with dry tinder-cotton balls with petroleum or birch bark work reliably for quick flame ignition. Place it loosely in the center to allow oxygen flow. Next, add fine kindling, like pencil-thick sticks, in a teepee formation over the tinder. This structure supports early combustion and improves smoke control by encouraging upward draft. Follow with split fuelwood, fist-sized pieces, stacked crisscross style to maintain stability and airflow. Avoid green or damp wood-it reduces heat output and increases smoke. Each layer should be bone-dry and tightly packed enough to hold shape but open enough to breathe. Proper sequencing guarantees steady progression from ignition to sustained burn without flare-ups or smoldering waste.
Light the Fire for Maximum Heat Retention
Once the materials are stacked in the cavity, lighting the fire right matters most for heat retention. Start at the base with a small, hot ignition source to avoid smothering flames. The cavity’s natural walls provide thermal insulation, reducing heat loss to wind and increasing efficiency. Position yourself downwind and use a reliable fire starter-ferro rod or storm matches work best in damp conditions. Ignite the tinder gently to establish a steady burn before adding larger kindling. As flames grow, they reflect off the charred interior, boosting radiant heat. Keep the core burning hot to maintain consistent warmth. Avoid piling wood too soon; let the fire breathe. The enclosed space traps heat more effectively than open fires, delivering more usable warmth with less fuel. This setup maximizes radiant heat output while minimizing exposure.
Watch for Cracks and Escaping Sparks
While the tree’s cavity helps contain the fire, you still need to check for cracks in the wood that could let sparks escape. Fire containment isn’t guaranteed just because the flames are tucked inside-older wood often splits from weather or decay, creating openings that compromise safety. Scan the trunk carefully, especially near the base and ends, where structural weakening is most common. If you see gaps wider than a pencil, sparks can get out. Perform ongoing spark monitoring by keeping a clear zone around the fire and watching wind direction-you’ll often spot escaping embers before they become a hazard. A small breeze can push sparks through unseen fissures, so stay alert, especially in dry conditions. Position yourself upwind to better observe any stray sparks. Address cracks immediately by shifting fuel or blocking gaps with dirt. Effective fire containment depends on vigilance, not just location.
Douse Embers and Leave No Trace
If you’re relying on a fallen tree cavity for fire, you still have to fully extinguish the embers before leaving-any lingering heat can reignite, especially in dry conditions. Pour water slowly over the coals, listening for hissing; when it stops, stir the ashes with a stick to expose hidden heat. Repeat until everything is cool to the touch. This is non-negotiable for fire safety. Never bury hot embers-they can smolder for hours and ignite roots or dry debris underground. Proper ember disposal means cold, wet, and dead. Check the cavity’s surroundings for charred edges or scorched leaves; these indicate heat spread. Pack out ash if required by local rules, or scatter cooled remnants thinly to blend with soil. You’re not done until no trace remains. Nature hides nothing, and your responsibility ends only when the site looks untouched.
On a final note
You’ve built a fire in a fallen tree cavity, and it’s efficient-you get sheltered flames with less fuel. The cavity retains heat well, but airflow stays limited, so combustion isn’t perfect. Sparks can escape through cracks, raising risks. It works in dry conditions but isn’t reliable in wind or damp. Extinguishing takes care since embers hide easily. Leave no trace by fully dousing and scattering debris. It’s a situational option, not a go-to.