Dakota Fire Hole: Step-by-Step Build Guide (12-Inch Hole)
Dig a 12-inch-deep fire hole and a 6-inch-deep air hole at ground level, connecting them horizontally beneath the surface. Use dry tinder to ignite the flame inside the inner chamber, letting the earth conceal light and heat. The design funnels oxygen through the tunnel, burning hotter with 50% less fuel and resisting wind. Control the flame by adjusting airflow with dirt or rocks. It’s stealthy, efficient, and leaves no trace when properly buried-key for survival situations where discretion matters. There’s more to get right if you want it to perform under pressure.
Notable Insights
- Dig a 12-inch deep fire hole and a 6-inch deep air hole, connecting them horizontally at the base for optimal airflow.
- Use a spark source and dry tinder at the fire hole’s base to ignite the flame underground for concealment.
- Position the air hole at ground level to channel oxygen efficiently and maintain combustion in windy conditions.
- Regulate burn intensity by adjusting airflow with partial blockage using dirt or a rock over the air hole.
- Extinguish completely with water, stir coals, refill the hole, and camouflage to leave no trace.
Why Use the Dakota Fire Hole
While most fire pits waste heat and expose flames to wind, the Dakota fire hole burns hotter and more efficiently by funneling oxygen directly into the base through an underground tunnel. You benefit from its superior thermal efficiency, as the design concentrates heat where it’s needed and reduces fuel consumption by up to 50% compared to open fires. The historical origins trace back to Indigenous Plains tribes who needed concealed, reliable fire sources during hunting and warfare. This method hides light and smoke, making it ideal for stealth in survival scenarios. It performs well in windy conditions where other fires fail, though digging takes effort. You trade setup time for sustained, controllable heat. There’s no need for extra equipment. It works with dry or green wood, though dry performs better. This isn’t a quick spark solution-it’s a long-term heat strategy. You gain control, not convenience.
Dig the Fire and Air Holes
Start with a sturdy shovel or digging tool-your success depends on clean, precise holes. Dig two adjacent holes: one 12 inches deep for the fire, the other 6 inches deep for airflow, both about 6 inches wide. Position the air hole at ground level, connecting horizontally to the fire hole’s base. Your digging techniques matter-use short, controlled strokes to maintain hole integrity, especially in loose soil composition. If the soil is sandy or rocky, reinforce the walls with stones to prevent collapse. Clay-rich soil holds shape better but requires more effort to break. Keep the tunnel between holes clear and compact to guarantee proper draft. Work efficiently to minimize visibility and physical strain. The depth and alignment directly affect combustion efficiency, so accuracy improves performance. Proper excavation reduces smoke and increases heat retention. This setup works reliably across varying terrain when dug correctly. A reliable camping shovel makes digging in tough conditions significantly easier.
Light and Control the Flame
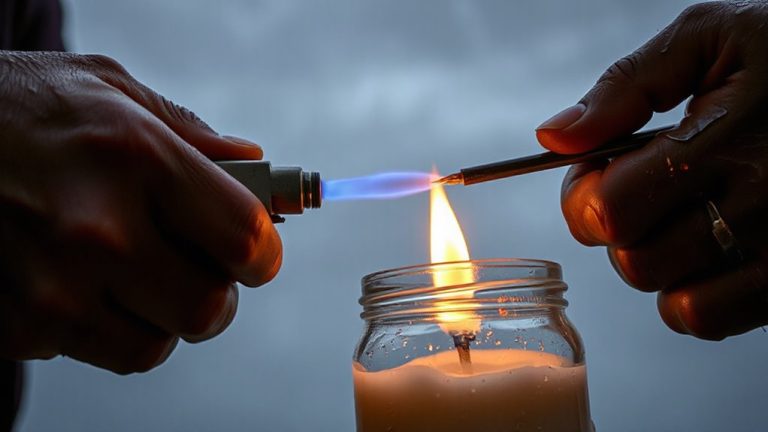
How do you get a flame that burns hot but stays hidden? You start with dry tinder and a spark source-reliable ignition guarantees control from the beginning. Place your flame at the base of the inner fire hole, where the surrounding earth naturally shields light and heat. Flame intensity builds quickly in this enclosed space, so monitor it closely. Use the air hole to regulate oxygen flow-partial blockage reduces combustion, while opening it fully increases burn rate. Airflow regulation is critical: too much oxygen and the fire grows visible; too little and it suffocates. Adjust with small dirt shifts or a rock cover on the air shaft. This balance keeps heat high while minimizing smoke and glow. The design limits radiant signature, making it effective in stealth scenarios. Fine-tune airflow early to maintain efficiency. The system’s performance depends on your control-not luck. For a dependable ignition method, consider using a top fire piston to produce a quick, controlled ember without matches or lighters.
Cook and Signal With the Fire
You’ve got the flame under control, and now it’s time to use that heat for something practical. The Dakota fire hole’s design focuses heat upward, making it efficient for cooking techniques like suspending a pot over the flame or using a grill grate. The compact fire reduces fuel use while maintaining steady heat, ideal for boiling water or heating meals. For signal methods, add green vegetation or damp materials to generate smoke during daylight. At night, the concentrated flame is visible from a distance if unobstructed. Position signal efforts upwind and in open areas to maximize effectiveness. While the fire’s low profile limits visibility, pairing it with reflective materials improves detection. Cooking directly over the hole requires minimal adjustment, but avoid blocking airflow. The fire’s containment allows safer proximity for setup, though stability of supports matters. Use what you have-rocks, sticks, scrap metal-to improvise. Balance practicality and visibility without compromising stealth.
Extinguish and Hide the Fire
Once the fire has served its purpose, extinguishing it completely is essential to prevent re-ignition and leave no trace. Douse the coals with water, stirring them to guarantee all embers are cooled-smokeless and cold to the touch means it’s safe. Then, perform fire burial by folding the displaced soil back into the hole, tamping it down to match the surrounding ground level. This minimizes evidence of digging and restores natural drainage. For site camouflage, scatter leaf litter, moss, or debris over the refilled area to blend it with the terrain. Avoid leaving unnatural patterns or footprints nearby. A well-hidden site shows no signs of disturbance after restoration. Fire burial and site camouflage aren’t optional-they’re critical for operational stealth and environmental responsibility. Complete extinguishing prevents wildfires; proper concealment guarantees no trace remains. Both steps are measurable, necessary, and easily verified with close inspection.
On a final note
You’ve built a fire that burns hotter with less fuel and stays hidden from view. The Dakota fire hole works-airflow from the intake tunnel feeds combustion efficiently, even in wind. It’s not fast, but stability and stealth matter more in survival. Extinguishing takes minutes with dirt and water. Just one shovel cuts refilling time. Yes, digging takes effort, but the trade-off-reduced smoke, better control, and minimal trace-is worth it. Tested in dry, compact soil, it outperforms surface fires.