How to Properly Fit a Bug-Out Backpack to Prevent Injury During Extended Hikes
Start by measuring your torso from your neck to your hip bones, then match it to your pack’s size-this keeps your spine aligned and reduces fatigue. Snug the hip belt over your iliac crest so 80% of the weight sits on your hips. Adjust shoulder straps to sit an inch below your shoulders, tight enough to prevent sway but not dig in. Set load lifters at 45 degrees to transfer weight smoothly and position the sternum strap just below your collarbones for stability without restricting breath. Fine-tune each point with a loaded pack during movement; small shifts can prevent long-term strain. Proper setup today means fewer adjustments when every mile counts.
Notable Insights
- Measure torso length from C7 vertebra to hip bones to select the correct pack frame size for spinal alignment.
- Position the hip belt securely on the iliac crest to transfer up to 80% of pack weight to the hips.
- Adjust shoulder straps so the pack sits snugly against the back, just below the shoulders, to prevent slippage.
- Set load lifter straps at a 45-degree angle to keep the pack stable and reduce shoulder strain.
- Place the sternum strap just below the collarbones to enhance stability without restricting breathing.
Find Your Torso Length for a Proper Backpack Fit
Proper fit starts with your torso length-skip this step, and even the best bug-out backpack will ride poorly. Your torso measurement determines how the pack sits on your back, affecting comfort and load handling. To measure, tilt your head forward and find the bony bump at the base of your neck; that’s your C7 vertebra. From there, measure down to the top of your hip bones. That number is your torso length. Most manufacturers sizing packs in small, medium, or large based on this. A correct torso measurement guarantees the backpack’s frame follows your spine alignment, reducing sway and improving balance. If the pack is too long or short, pressure points develop, and stability drops. Adjustable harness systems help, but only within limits. A well-matched torso length means the load stays close to your center of gravity, making movement more efficient and less fatiguing over distance. Choosing a pack with a design tailored to your torso ensures optimal weight distribution, especially when carrying essentials like day hike backpacks on extended treks.
Secure the Hip Belt to Transfer Weight to Your Hips
Most of the pack’s weight-up to 80%-should rest on your hips, not your shoulders, and that starts with a correctly fitted hip belt. Proper hip support reduces fatigue and prevents back strain during long hikes. Wrap the belt snugly around your iliac crest, not your waist, so it sits on your hips where your body can handle load efficiently. Tighten the buckle securely-loose belts shift and reduce weight transfer. A well-fitted belt will stay in place without digging in, allowing stable load carriage. Foam padding and stiff internal frames enhance weight transfer but add bulk-choose based on your load size and frame preference. If the belt rides up or slips, readjust or consider a different size. Consistent contact guarantees ideal force distribution. Test it with a loaded pack before committing to long distances. Effective hip support is essential for endurance and injury prevention. Lightweight backpacks with minimalist designs often prioritize hip belt functionality to maximize comfort and efficiency on the trail through proper weight distribution.
Adjust Shoulder Straps for Comfort and Support
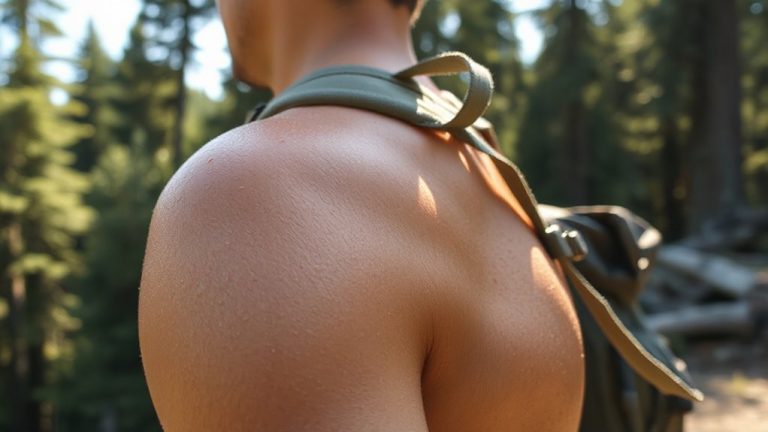
Once the hip belt’s in place and carrying the bulk of the load, you can fine-tune the shoulder straps to keep the pack stable without overloading your upper body. Adjust the strap length so the pack rides snug against your back, sitting about an inch below your shoulders. Straps that are too loose let the pack shift; too tight, and you’ll strain your shoulders. Look for padding thickness between ¾ and 1 inch-it offers enough cushion without adding bulk or overheating. Thin padding compresses quickly under load, reducing comfort over time. Thicker padding may feel soft at first but can restrict movement. The right balance supports weight distribution while allowing airflow. Test the fit by walking with the pack on; minor slippage is normal, but constant slipping means the straps need shortening. Proper strap length and effective padding thickness work together to maintain comfort and reduce fatigue on long hauls. A well-fitted pack should also align with your torso length, so selecting a model with adjustable suspension like those found in the best hunting day packs ensures optimal torso fit.
Tune the Load Lifters to Relieve Shoulder Pressure
A well-positioned load-lifter strap can cut shoulder strain by shifting weight toward your hips and frame. You’ll see immediate improvement in load management when these straps form a 45-degree angle from the top of your shoulders to the backpack frame. Proper strap tension matters-too loose, and the pack pulls away from your back; too tight, and you restrict movement. Aim for snug, not compressed. This alignment transfers more weight to the hipbelt, reducing shoulder fatigue on long hikes. Test the fit by leaning side to side and forward-adjust until the pack stays close without bouncing. Minor tweaks in load-lifter tension can make a measurable difference in comfort and balance. These straps aren’t secondary; they’re key to efficient weight distribution. Poor setup increases pressure on soft tissues, raising injury risk. With smart tuning, you gain endurance and stability. Fine-tune them after fully loading your pack, since empty adjustments don’t reflect real-world conditions.
Set the Sternum Strap for Stability and Breathing Room
Why is your pack swaying side to side with every step? It’s likely because the sternum strap isn’t set right. Proper strap positioning stabilizes shoulder straps, reducing lateral movement without restricting your chest. Attach the sternum strap and slide it to sit just below your collarbones-this height improves breathing ease and keeps the pack anchored. Too low, and it presses on your ribcage; too high, and it rubs your neck. Adjust the tension until movement is minimized but your shoulders can still move freely. Test it by walking briskly. Here’s how different settings affect performance:
| Position | Stability | Breathing Ease |
|---|---|---|
| Low | Poor | Restricted |
| Middle | Good | Ideal |
| High | Fair | Slightly Impeded |
Fine-tune for balance-secure load control without sacrificing comfort.
Balance the Load for Even Front-to-Back Weight Distribution
The key to a comfortable and stable carry lies in balancing your bug-out backpack’s weight front to back. If the load pulls you backward, you’ll lean forward awkwardly, straining your lower back. If it’s too far forward, the pack rocks ahead and throws off balance. Proper load positioning keeps the center of gravity close to your body. Place heavier gear-like your water supply or cooking system-between your shoulder blades, not at the top or bottom. Use front pockets for lighter, frequently needed items to maintain gear placement symmetry. Many tested packs with off-center weight performed worse on inclines, increasing fatigue. A balanced pack stays stable whether you’re moving fast or traversing rough terrain. Adjust as needed when reloading mid-trip. You won’t eliminate fatigue completely, but correct front-to-back distribution reduces strain and improves control, which matters most during long escapes.
On a final note
You’ve adjusted the fit, but it’s not done until you test it. Walk with the loaded pack on varied terrain for at least 30 minutes. Check for hotspots, shifting weight, or strain. A well-fitted pack rides close to your back, sits above your hips, and moves with you. If shoulders ache, tighten load lifters; if it sways, secure the hip belt. Fine-tune as needed-it’s not one-size-fits-all.