Raised Debris Shelter for Swamps: Build It 18-24″ Off the Ground
You need to elevate your shelter fast in swamps-raise it 18–24 inches on a stable platform to avoid pooling water and saturated ground. Pick firm spots where your heel doesn’t sink, and anchor hardwood beams into solid soil. Use diagonal braces and saplings lashed with paracord to support up to 200 lbs. Insulate with 5–6 inches of dry debris under your mat and add bark layers to shed moisture. Keep heat in at night with a Mylar liner and radiant fire placement-there’s more to optimizing each layer efficiently.
Notable Insights
- Elevate the shelter 18–24 inches using a simple frame to avoid pooling water and ground moisture in swamps.
- Choose a firm, slightly elevated spot where the ground doesn’t sink or release water when stepped on.
- Build a stable raised platform with anchored support beams and diagonal braces to prevent shifting on soft ground.
- Insulate the platform and walls with 5–6 inches of dry debris to create a thermal and moisture barrier.
- Position the shelter opening away from wind and use radiant heat from a nearby fire to manage overnight temperature.
Skip the Wet Floor: Elevate Fast
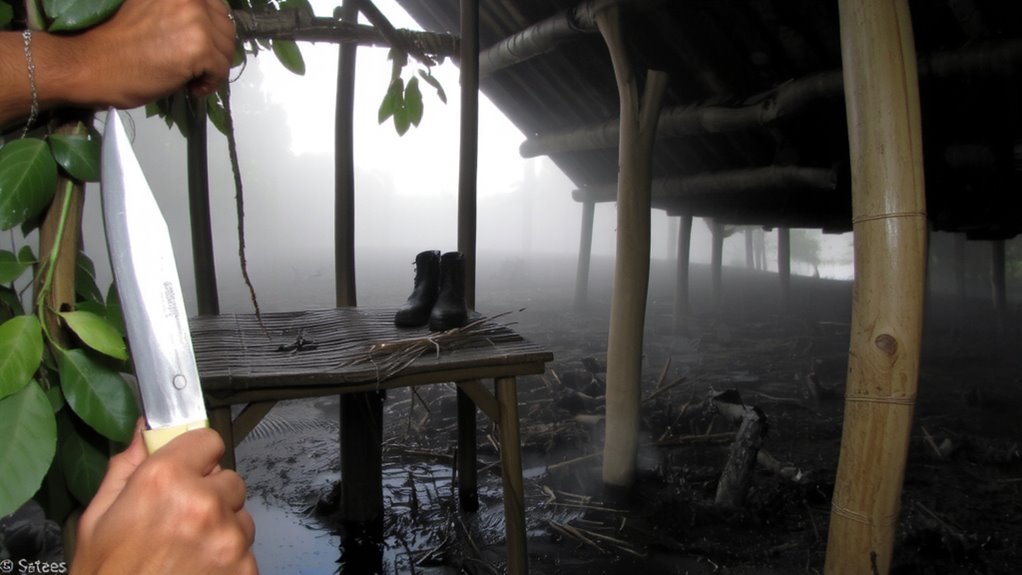
While staying dry in a swamp might seem obvious, skipping the wet floor starts with how fast you can elevate your shelter-and that’s where speed and simplicity matter. You need an elevate frame that goes up fast and stays stable under debris. A well-designed frame lifts you 18–24 inches, enough to avoid pooling water and ground saturation. Quick assembly is critical-each minute counts when weather shifts or insects swarm. Simple lashings and forked stakes reduce setup time to under 30 minutes with basic tools. Tested models using saplings and paracord support up to 200 lbs without sagging. Avoid overbuilding; added weight slows deployment and offers minimal benefit. Prioritize lightweight, flexible poles that bend rather than break under load. A minimalist A-frame with diagonal crossbeams balances speed and strength. The right system lets you elevate fast without precision or experience. In practice, quick assembly beats perfect form when night falls and humidity rises.
Pick a Stable, Dry Spot
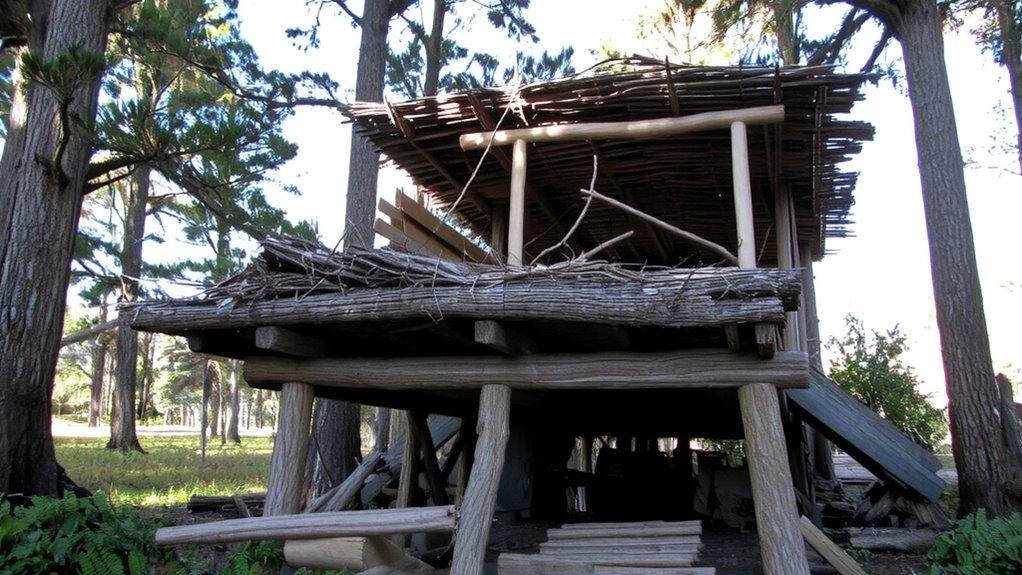
Even if the ground looks dry, swamps can hide saturated soil beneath a thin crust, so test each potential spot by pressing down with your heel to check for softness or water seepage. Choose firmer areas where your foot doesn’t sink or displace moisture. Prioritize slight elevations or natural berms, as they support better drainage planning and reduce standing water risk. Avoid depressions, tree bases with root heaves, or places surrounded by dense reeds-they trap moisture. Site orientation matters: position the shelter’s opening away from prevailing winds and direct rain exposure to stay drier. A spot with partial tree cover helps, but avoid limbs that could fall. You’re balancing stability and dryness, not perfection. Firmness underfoot is non-negotiable. Poor site choice undermines even the best structure. Good drainage planning starts here-before you lay a single pole. Site orientation affects long-term comfort and shelter integrity. Pick wisely.
Build a Stable Raised Platform on Soft Ground
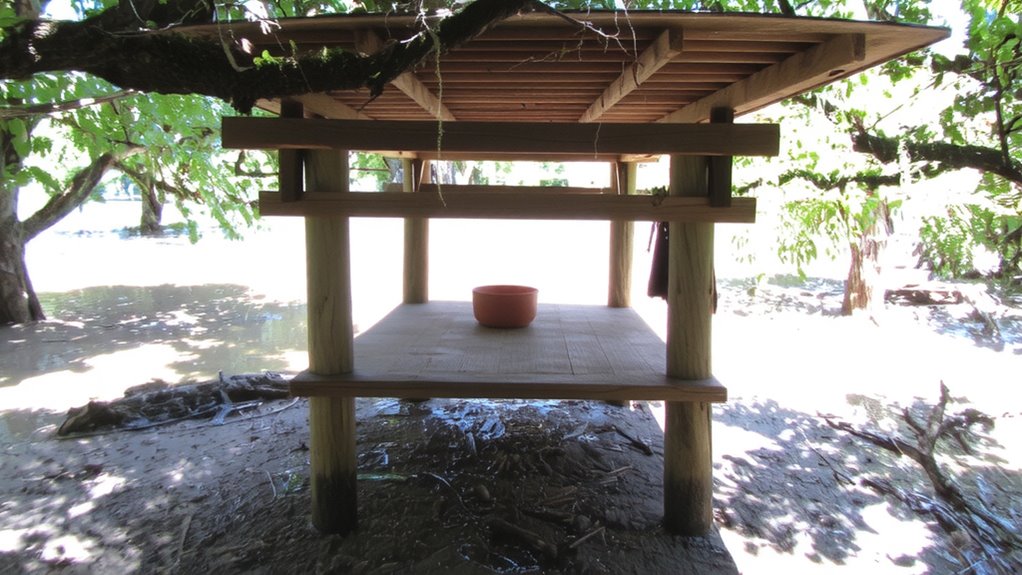
If you’re dealing with soft, unstable swamp ground, raising your platform at least 12 inches off the surface keeps you above moisture and shifting soil, using it as a base that prevents sagging and improves airflow underneath. Achieving platform stability means anchoring support beams deeply into firmer soil layers. Use diagonal braces and cross-ties for structural reinforcement to resist lateral movement. Spread load-bearing weight with wide base plates or logs beneath support posts.
| Material | Stability Rating (1–5) |
|---|---|
| Green wood | 3 |
| Hardwood logs | 4 |
| Bamboo bundles | 2 |
| Metal stakes | 4 |
| Composite beams | 5 |
Hardwood and composites offer the best long-term performance. Green wood settles over time, requiring mid-term adjustments. Secure all joints with lashings or bolts to maintain rigidity. Test platform stability by applying body weight gradually before adding debris layers.
Insulate Your Raised Debris Shelter
You’ve built a stable raised platform to stay above the damp and shifting swamp floor, so now it’s time to lock in warmth and weather protection by insulating your debris shelter. Start with thermal layering: pile dry leaves, moss, or grass between the platform and your sleeping mat-five to six inches thick works best for trapping body heat. Add a second layer of debris against the shelter’s walls, sealing gaps without compressing materials, which reduces insulating value. Use bark or broad leaves as a moisture barrier on top. Maintain ventilation control by leaving small openings near the top to reduce condensation, but close larger gaps that let cold air sweep through. Poor ventilation causes dampness; too little airflow risks overheating. Balance is key. These steps won’t eliminate cold, but they improve heat retention markedly when tested in 40–50°F swamp conditions. Effective insulation relies on material thickness, dryness, and airflow management-prioritize all three. A durable backpacking trowel helps maintain your shelter’s integrity by allowing precise adjustments to drainage and insulation layers.
Stop Overnight Chill in a Swamp Shelter
When temperatures drop after dark, your shelter’s insulation alone won’t keep you warm-active heat management makes the difference. Position your shelter near, but not against, a small fire to capture fire warmth without risk of sparks or carbon buildup. Maintain a steady flame using dry tinder and hardwoods; they produce longer-lasting radiant heat. Place a reflective barrier, like a survival blanket or rock wall, between the fire and shelter to bounce heat inward. Inside, minimize air gaps in your debris bedding-this traps body heat more effectively. Wear dry layers and use a hat to reduce heat loss; your head radiates significant body heat. Avoid overheating, which causes sweating and wet clothing-dampness increases chill. Share shelter space with others if possible; their body heat adds to warmth retention. Test airflow by feeling for cold drafts at waist and neck level. Adjust insulation or fire position until internal temperature stabilizes. For added thermal efficiency, include a best Mylar blankets option as part of your inner insulation layer.
On a final note
You’ll stay drier and warmer by elevating your shelter. A raised platform limits ground moisture exposure and improves insulation. Simple materials like saplings and debris work if securely lashed. Insulation thickness matters-6+ inches of dry leaves or pine boughs cut conductive heat loss. Ventilation prevents condensation but avoid drafts. It’s not a tent, but it’s lighter and site-adaptable. Trade setup time for long-term comfort. Test stability in mud; reinforce legs if they sink.