How to Use Digital Elevation Models in CalTopo to Plan Survival Evacuation Routes
You can use CalTopo’s DEM layers like SRTM or Topo to see real elevation details for safer evacuation routes. Turn them on through the Base Maps menu under Terrain. Tight contour lines and shadow patterns show steep slopes-avoid anything over 30% if walking, less for vehicles. North-facing slopes above treeline are riskier in snow. Match your route to your mode: ATVs need 20% max slope and 24” width, 2WD trucks require 15% and 60” clearance. Smoother gradients save energy and reduce danger-there’s more to how terrain shape直接影响 survival decisions.
Notable Insights
- Enable DEM layers in CalTopo under “Terrain” to visualize elevation and improve route planning accuracy.
- Use contour line density and shading patterns to identify steep slopes and potential terrain hazards.
- Avoid slopes over 30 degrees, especially north- and east-facing ones, to reduce avalanche and travel risks.
- Match evacuation routes to your travel mode’s slope limit, such as 12% for bikes or 15% for 2WD trucks.
- Stay at least 100 feet from cliff bases to minimize exposure to rockfall in rugged terrain.
Why Elevation Maps Save Lives in Survival Routes
How often do you consider elevation when planning a backcountry route? It’s easy to overlook, but elevation accuracy directly impacts your survival odds. Steep slopes, sudden drops, or false flats can turn a manageable trek into a life-threatening situation. Using elevation maps improves terrain analysis by revealing exact gradients, drainage patterns, and potential obstacles. You can spot safer paths and avoid terrain traps like avalanche zones or impassable ravines. In survival scenarios, every calorie counts-knowing the elevation gain saves energy and prevents exhaustion. Without accurate data, you risk wrong route choices that cost time and safety. CalTopo’s elevation tools rely on high-resolution DEMs, giving you dependable elevation accuracy. This isn’t about convenience-it’s about making decisions based on facts, not guesses. When seconds matter, precise terrain analysis could be the difference between making it out or not.
Enable DEMs in CalTopo (Step by Step)
You’ll need to turn on Digital Elevation Models (DEMs) in CalTopo to see accurate terrain height and slope details. Start by opening your map and clicking the “Base Maps” menu at the top right. Scroll down to the “Terrain” section and select a DEM layer, like “Topo (Demographics)” or “SRTM.” These layers use DEM resolution ranging from 30 to 90 meters, affecting how fine or blocky the terrain appears. Higher resolution gives more detail but may load slower on weak connections. Once enabled, you’ll notice smoother elevation shading and more precise contour intervals-usually 10, 20, or 40 feet-depending on zoom level and source data. This helps you judge elevation changes accurately. Adjusting DEMs lets you balance clarity and performance based on your planning needs. There’s no automatic setting-your choice impacts route analysis directly, so pick based on terrain complexity and map use.
Spot Dangerous Slopes and Hazards on DEMs
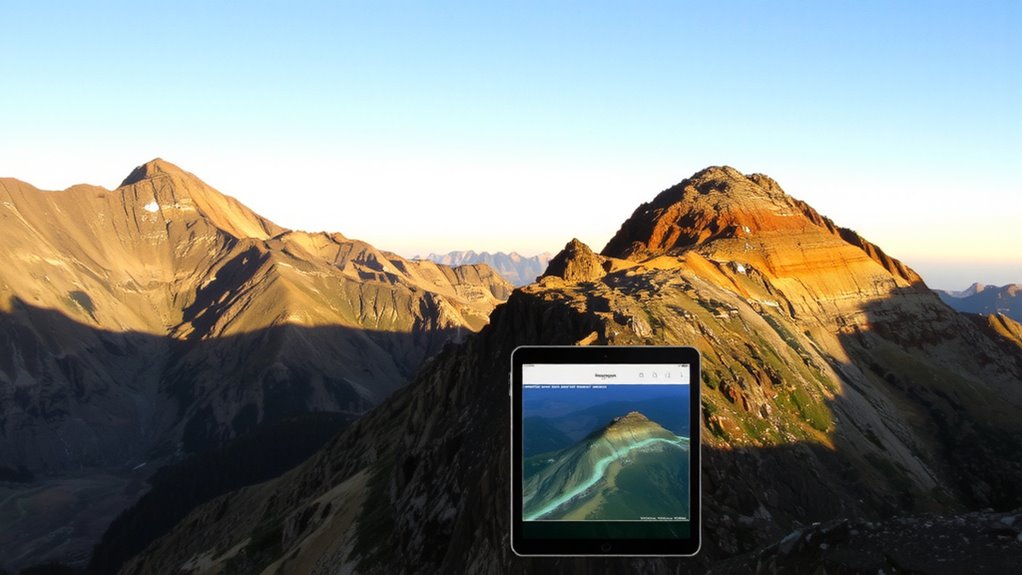
Terrain steepness stands out clearly when you use DEMs, letting you identify slopes above 30 degrees that increase avalanche risk and travel difficulty. You can spot these areas fast by checking shadow patterns and contour line density-tight lines mean steeper ground. Focus on north- and east-facing slopes above treeline, where avalanche risk is higher due to snow accumulation and weak layer formation. Rockfall zones often appear below cliff bands or fractured ridgelines, especially in alpine regions with freeze-thaw cycles. On DEMs, these zones show as jagged elevation shifts and irregular textures downslope. Avoid paths running directly beneath them. You’ll reduce exposure by staying 100+ feet from the base of steep walls. These features won’t always be labeled, so interpreting slope angle and terrain shape becomes critical. Using DEMs this way helps you detect real physical dangers before you’re on the move.
Build Safer Evacuation Paths Using Slope Data
When you’re mapping an escape route, starting with slope data from a DEM gives you a clear edge in avoiding dangerous terrain. You can identify inclines over 30 degrees, where slope accuracy matters most-errors here could mislead you into unstable ground. Steeper slopes often mean reduced terrain stability, especially after rain or during freeze-thaw cycles. CalTopo’s color-coded slope shading lets you visually separate moderate gradients (15–30 degrees) from high-risk zones, so you can prioritize safer paths. Areas with consistent low slopes-under 15 degrees-are generally more reliable for sustained movement. Use contour spacing to confirm slope accuracy; tighter lines mean steeper, less stable ground. Don’t assume uniform risk across a hillside-terrain stability varies with aspect, vegetation, and soil type, but slope data narrows uncertainty. Rely on it early in planning to filter out hazardous options fast. This step reduces exposure and increases control when seconds count.
Adapt Your Route for Walking or Driving
Slope limits aren’t the same for feet and tires-what’s walkable may be impassable for a vehicle. You need to adjust your route based on travel mode. Hiking lets you tackle steeper slopes-up to 30% is manageable for most-while vehicles struggle beyond 15%. Trail width and vehicle clearance become critical when traversing narrow or overgrown paths.
| Mode | Max Slope | Notes |
|---|---|---|
| Walking | 30% | Steady pace, rough terrain ok |
| ATV | 20% | Needs 24” trail width minimum |
| 2WD Truck | 15% | Requires 60” width, high clearance |
| 4WD SUV | 18% | Better clearance, tighter turns |
| Bike | 12% | Narrow trails, low clearance |
Check CalTopo’s DEM layers to assess slope and overlay trail data for width. Vehicle clearance issues often arise from hidden obstacles-not just grade. Match your route to your transport’s real limits.
On a final note
You now know how to use DEMs in CalTopo to plan effective evacuation routes. Enable the elevation layer, check slope steepness, and avoid hazardous terrain. Flatter paths under 15% grade work better for walking; trails over 20% slow progress and increase fatigue. For vehicles, stick to grades below 10%. Always verify with contour lines and real-world conditions. DEMs give you accurate terrain insight-use them to make faster, safer decisions when it matters most.