Step-by-Step Guide to Canning Wild Elderberries Without Risk of Spoilage
Pick only ripe, dark purple elderberries away from pollution, and cook them with a rolling boil for 15 minutes to destroy harmful cyanogenic glycosides. Use sterilized jars and new lids, keeping everything hot to prevent cracks. Fill with ½ inch headspace, wipe rims clean, and seal fingertip-tight. Process pints 15 minutes, quarts 20, adjusting for altitude. Properly sealed jars last up to 18 months; check for safety signs before storing-further details reveal key pitfalls to avoid.
Notable Insights
- Harvest only fully ripe elderberries in late summer to early fall, avoiding polluted areas to reduce contamination risk.
- Cook elderberries with a rolling boil for at least 15 minutes to destroy cyanogenic glycosides and ensure safety.
- Sterilize jars and lids by boiling for 10 minutes and keep them hot to prevent breakage during filling.
- Fill jars with cooked elderberries, leaving ½ inch headspace, and wipe rims clean before sealing with new lids.
- Process filled jars in a boiling water bath-15 minutes for pints, 20 minutes for quarts-and adjust for elevation to ensure shelf stability.
Harvest Wild Elderberries Safely
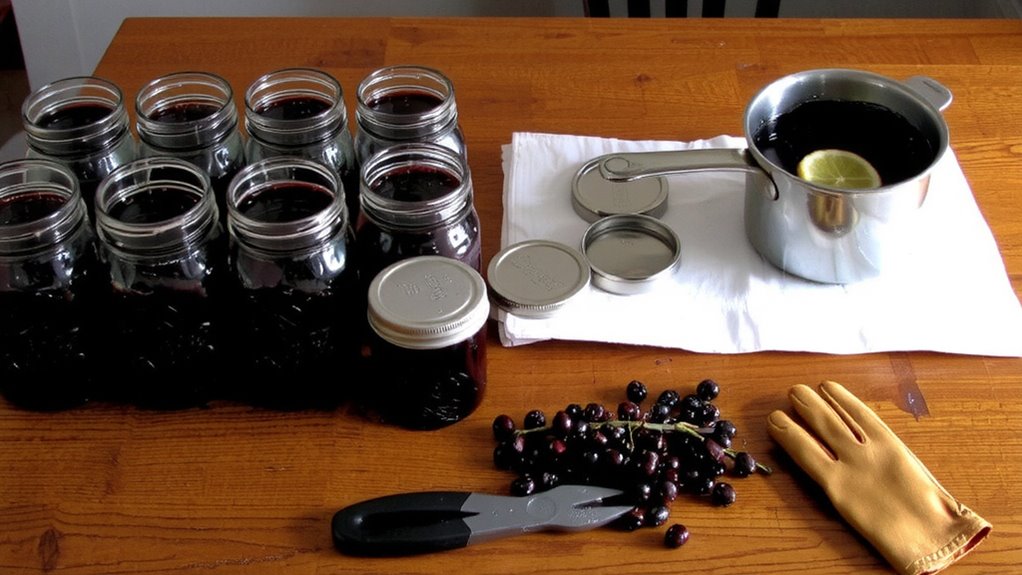
Your best bet for safe harvesting starts with proper identification-mistaking look-alikes like water hemlock or elderberry impostors can ruin a season’s effort and worse, your health. You must confirm clusters of creamy-white flowers turning to dark purple berries, flat-topped umbels, and a bitter-astringent raw taste. Harvest only when fully ripe; unripe berries increase toxin risk. Seasonal timing matters-late summer to early fall, depending on your region, guarantees peak ripeness and nutrient content. Avoid roadside or polluted areas. Follow foraging ethics: take no more than a third of a patch, leave stems intact, and respect wildlife reliance. Use gloves and sharp snips to prevent skin irritation and plant damage. Proper collection improves yield and sustainability. You’re not just gathering food-you’re working within an ecosystem. Accuracy and restraint reduce risk and support long-term availability.
Cook Elderberries to Destroy Toxins
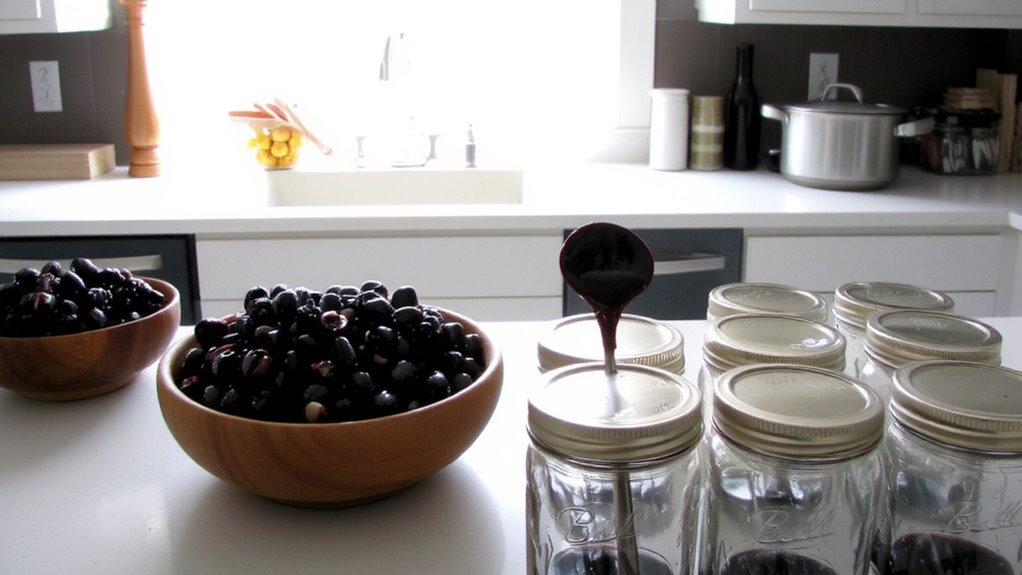
Safety is non-negotiable when handling wild elderberries, and cooking them is the only reliable way to neutral conflating naturally occurring cyanogenic glycosides. You can’t rely on elderberry myths that claim raw consumption is safe-those compounds can release cyanide and make you sick. Traditional remedies often used cooked berries, not raw ones, for good reason. Always bring the berries to a rolling boil for at least 15 minutes to fully destroy toxins. Skip shortcuts like steeping or slow heating; they don’t deliver consistent results. Simmering guarantees even heat penetration, which testing shows reliably reduces toxin levels to safe thresholds. There’s no benefit to raw consumption that outweighs the risk. Stick to proven methods: heat eliminates danger. You’re preserving health, not just fruit, so follow science-backed prep every time. Cooking doesn’t weaken the beneficial compounds in finished syrups or preserves-measured outcomes confirm this. Your process matters more than you think.
Sterilize Jars Before Canning
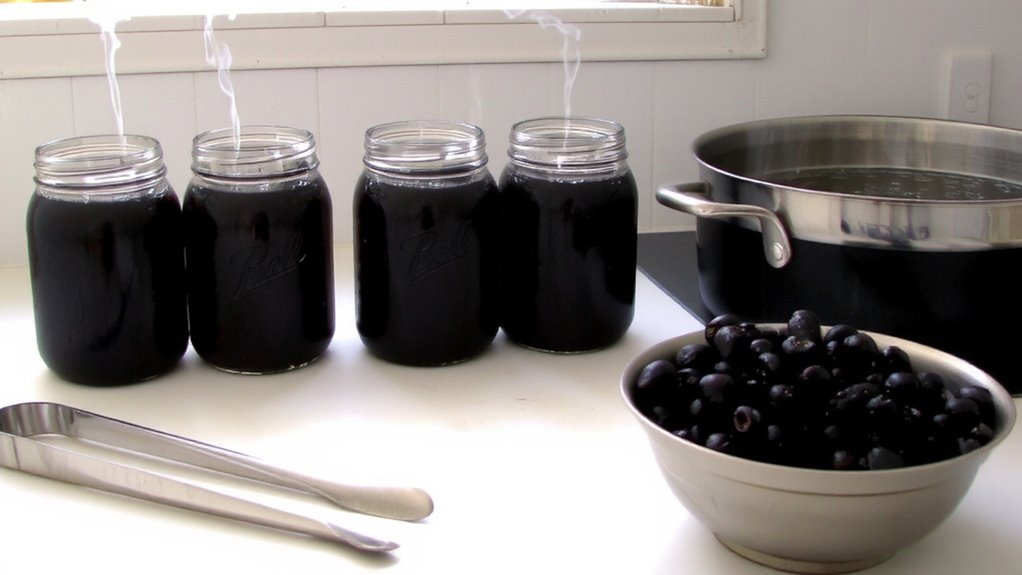
Once the elderberries are fully cooked and toxins are neutralized, it’s time to prep your jars-because clean isn’t enough, they need to be sterile. Start with jar inspection: check each one for cracks, chips, or flaws that could compromise the seal. Even a hairline fracture can cause failure. Use only flawless jars to guarantee safety during storage. Submerge them in boiling water for at least 10 minutes to achieve proper sterilization-this step kills bacteria, yeasts, and molds that lead to spoilage. While jars boil, begin lid preparation: place new lids in a separate simmering pot (not boiling) to activate the sealing compound. Rings can be reused if undamaged, but always use fresh lids. Keep jars and lids hot until filling; sudden temperature shifts can break glass. Proper sterilization reduces risk and supports long-term preservation-skip it, and you risk contamination, no matter how well you cook the berries.
Fill and Seal Jars With Proper Headspace
Leave about ½ inch of headspace when filling each jar-it’s enough room to allow for expansion during processing without risking overflow or seal failure. Use a canning funnel to fill jars evenly and wipe the rims clean with a damp cloth to guarantee a proper seal. Check each jar before sealing: look for chips, cracks, or flaws during jar inspection, as even small defects can prevent sealing. Use new lids every time and screw bands on fingertip-tight-over-tightening can lead to seal failure. Once sealed, the jars should sit undisturbed for 12 to 24 hours before you do seal checking. Press the center of each lid; if it doesn’t flex, the seal is secure. A popped sound during cooling is a good sign. Discard any jars that don’t seal properly-they’re not shelf-stable.
Process in a Water Bath for Shelf Stability
You’ve filled and sealed your jars with clean rims and proper headspace-now it’s time to process them in a water bath to guarantee long-term shelf stability. Place jars in the canner with a rack, making sure they’re covered by at least 1 inch of water. Bring to a rolling boil and start tracking water bath timing: 15 minutes for pints, 20 for quarts. These times destroy yeasts, molds, and bacteria that cause spoilage. If you’re above 1,000 feet in elevation, you’ll need elevation adjustments-add 5 minutes for every 1,000 feet beyond that threshold. Higher elevations lower boiling temperature, reducing microbial kill efficiency. Use a reliable timer and maintain steady heat. Don’t skip this step-undertreated jars risk spoilage even if sealed. Proper processing assures safety and shelf stability for up to 18 months in a cool, dark space.
On a final note
You’ve minimized spoilage risk by following proven steps. Cooking neutralizes toxins, and water bath processing guarantees seal integrity. Proper headspace prevents leaks, while sterilized jars reduce contamination. These aren’t shortcuts-they’re non-negotiables. Skip one, and shelf stability fails. Done right, canned elderberries last a year or more at room temperature. Test seals after cooling; discard any unsealed jars. It’s not complicated, just precise. That precision keeps you safe.