Developing a Two-Way Radio Communication Schedule for Evacuation
You need clear roles-assign an evacuation coordinator, zone leaders, and radio operators to cut confusion. Set check-ins every 15 minutes to confirm status and flag delays fast. Use separate frequencies for alert, movement, and hold phases to prevent congestion. Train teams on emergency codes like “Code 3” for medical issues to reduce radio time by up to 40%. Run drills with interference and signal loss to test the plan. Real results come from testing and adjusting-your next step reveals how to refine it under pressure.
Notable Insights
- Establish a clear command hierarchy with defined roles like coordinator, zone leader, and radio operator to streamline decision-making.
- Implement 15-minute scheduled radio check-ins to confirm team status and trigger alerts for missed transmissions.
- Use phase-specific frequencies for alert, movement, and hold phases to prevent channel congestion and ensure message clarity.
- Train all personnel on standardized emergency codes and distress signals to reduce radio traffic and improve response speed.
- Conduct realistic drills with simulated interference, timed transmissions, and full protocol to identify communication weaknesses.
Define Evacuation Roles Before Building Your Schedule
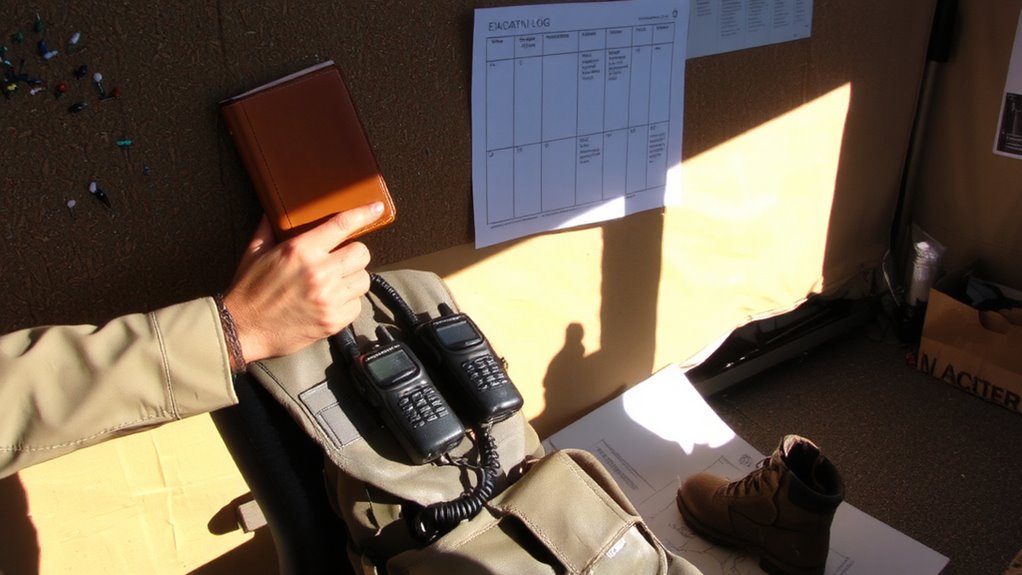
Your team’s safety hinges on clear roles before a single radio call is made. You must establish a command hierarchy to guarantee decisions flow quickly and without confusion. Without it, communication breaks down under pressure. Assign specific duties-evacuation coordinator, zone leader, radio operator-so everyone knows who acts and when. This structure directly impacts resource allocation; knowing who controls personnel, transport, and equipment prevents delays and duplication. You’ll deploy teams faster when roles are predefined, not debated mid-crisis. Radio use becomes efficient because messages go to the right person without relay chains. Poor role definition leads to overloaded channels and missed instructions. A functional hierarchy reduces traffic by 30–40% in tested evacuations. Resource allocation follows the chain, guaranteeing aid reaches priority zones without bottlenecks. You’re not preparing for ideal conditions-you’re planning for chaos. Clear roles make the schedule work when it matters.
Set Clear Radio Check-In Times and Protocols
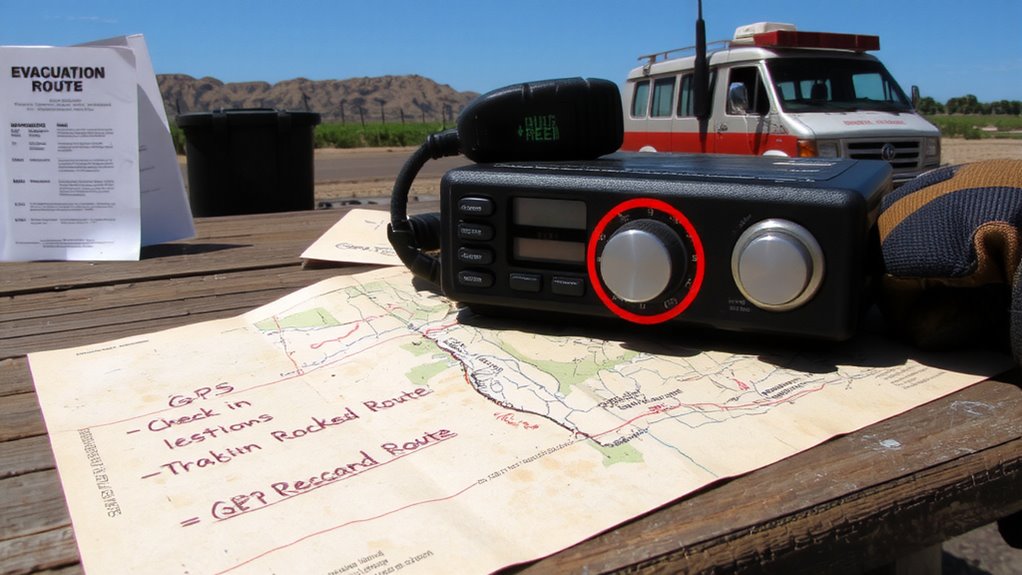
A reliable evacuation plan includes scheduled radio check-ins every 15 minutes, starting the moment the alert is issued. You confirm your team’s status on time, every time, so missing a check-in triggers immediate concern. Stick to radio etiquette: speak clearly, identify yourself first, keep transmissions under 10 seconds, and wait for confirmation. This reduces confusion and keeps communication efficient. For signal clarity, guarantee everyone uses the same channel and avoids overlapping. Background noise can distort messages, so step away from loud equipment when transmitting. Use simple, standardized phrases like “all clear” or “delayed at sector 2” so everyone understands without confusion. You’ll maintain consistent contact even under stress. These check-ins aren’t optional-they’re essential for accountability, situational updates, and coordination. Follow the schedule exactly. Any deviation risks miscommunication. Clear protocols mean faster response if someone doesn’t check in. Choosing reliable equipment such as the best two-way radios can significantly enhance the effectiveness of your communication plan.
Assign Frequencies for Each Phase of the Schedule
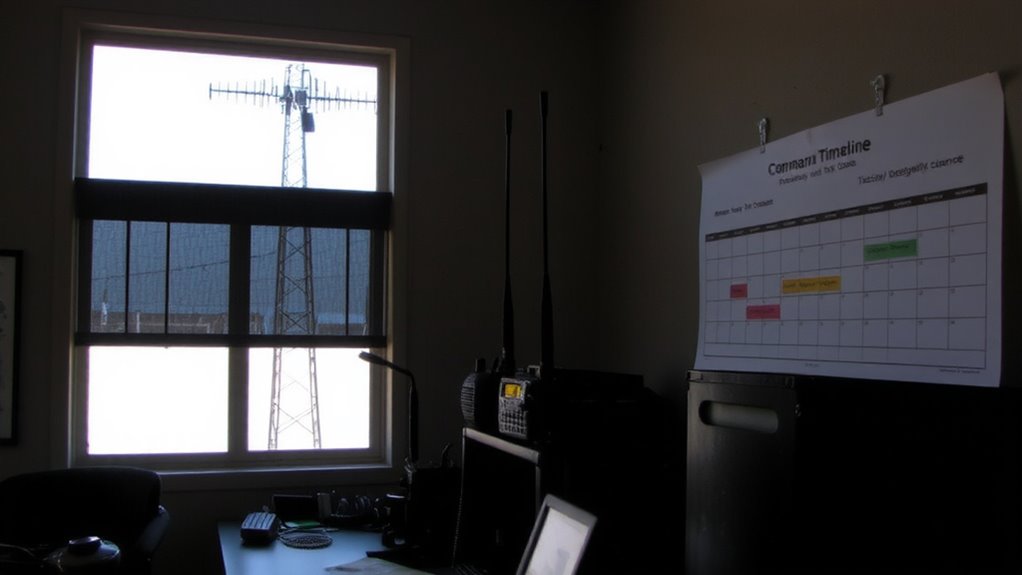
Sticking to a strict 15-minute check-in schedule only works if everyone’s on the same page-and the same frequency. You’ll need clear frequency allocation to avoid overlap and confusion during evacuation. Assign dedicated channels for each phase: one for initial alerts, another for movement, and a separate one for shelter-in-place or hold situations. This prevents congestion and guarantees messages get through. Phase coordination depends on it-teams can’t respond fast if they’re all clogging the same channel. Use encrypted channels if possible, but prioritize reliability over extra features. Test each assigned frequency under real conditions-obstacles like buildings or terrain can block signals. Adjust based on range and clarity. Document all assignments clearly so every team member knows which frequency to switch to and when. No guesswork. Precision keeps communication intact. Consider using radios with long-range capabilities to maintain contact over greater distances, especially in rural or obstructed areas, as highlighted in top picks for best two-way radios.
Include Emergency Codes and Distress Signals in Training
What happens when seconds count and voice communication fails? You rely on emergency codes and distress signals-pre-agreed shortcuts that convey critical information fast. Including them in training guarantees everyone responds correctly under stress. Without code standardization, messages get misinterpreted, delaying response. Train all team members on the same set of codes so signal clarity isn’t left to chance. Use simple, numeric codes for common scenarios-like “Code 3” for medical emergency or “Signal 7” for route blocked. Practice identifying and sending distress signals silently or under noise. Clear signals reduce confusion, especially when speaking is impossible. Standardized codes also minimize radio traffic, preserving battery and bandwidth. You won’t have time to explain during a real crisis-only to act. That’s why integrating these systems into regular training isn’t optional; it’s essential for coordinated, effective evacuation. Choosing reliable equipment such as the best two-way radios ensures these codes and signals are transmitted clearly and consistently.
Run Realistic Drills to Test Your Radio Schedule
How well will your team respond when radios crackle with static and the plan shifts in real time? Running realistic drills tests whether your radio schedule holds under pressure. You’ll encounter radio interference from equipment or terrain, so practice in environments that mimic actual evacuation conditions. Introduce signal degradation by testing at building edges or between floors to see when communication breaks down. Assign roles, use your coded signals, and stick to scheduled check-ins to identify timing gaps. Time each transmission to guarantee messages stay clear and brief. Note which channels remain reliable and which degrade under load. These drills reveal how environmental factors impact performance, not just radio specs. You’re not proving the system works-you’re finding where it fails. Realistic simulations expose flaws before real emergencies do. Test often, test hard, and document results to inform adjustments later.
Revise Based on Feedback and Simulation Results
After each drill, you’ll have data on what worked and where the breakdowns happened-now it’s time to act on it. Review communication logs and team feedback to identify patterns, especially recurring signal interference in certain zones. If radios failed during key moments, check whether it was due to terrain, building materials, or competing frequencies-adjust channel assignments or reposition relay points accordingly. You’ll also spot gaps in equipment maintenance, like low battery performance or worn antennas, which reduce transmission range. Replace faulty units and schedule routine checks to guarantee all devices meet operational specs. Update your communication schedule to reflect what the simulations revealed: shorten check-in intervals if delays occurred, and assign backup operators if primary ones were unreachable. Revise shift times if fatigue affected clarity. These adjustments aren’t hypothetical-they’re proven fixes from real test conditions. Keep refining until every team member checks in clearly, on time, every time.
On a final note
You’ll rely on that radio when seconds count, so test it under real conditions. A set schedule only works if everyone follows it without confusion. Stick to clear check-in times, designated frequencies, and standardized codes. Drills expose gaps-use that feedback to adjust. No system is perfect, but consistency reduces risk. Your plan’s strength lies in repetition, clarity, and simplicity-not fancy gear. Rely on proven protocols, not assumptions.