Creating a Personalized Emergency Plan for People With Disabilities
You need a plan that accounts for mobility aids, medical devices, and sensory needs during emergencies. Map and test evacuation routes with your wheelchair or walker-gravel and thresholds can block escape. Pack a 72-hour kit with spare batteries, meds, and non-electric communication tools. Use portable power: a 600-watt battery runs a CPAP for up to 16 hours. Assign clear roles to reliable helpers and practice together. Real drills reveal gaps you’ll want to fix before the real event.
Notable Insights
- Identify emergency risks specific to your disability, including mobility, communication, or medical device needs during power outages or evacuations.
- Map and test accessible evacuation routes in your home or workplace, noting barriers like stairs, narrow doors, or uneven surfaces.
- Prepare a 72-hour emergency kit with labeled medications, extra mobility aids, non-electric communication tools, and personal identifiers.
- Secure backup power for medical devices using generators, portable batteries, or solar chargers, and test them regularly for compatibility and runtime.
- Build a support network of family, neighbors, or disability organizations, assign specific tasks, and conduct regular emergency drills together.
Identify Your Disability-Specific Emergency Risks
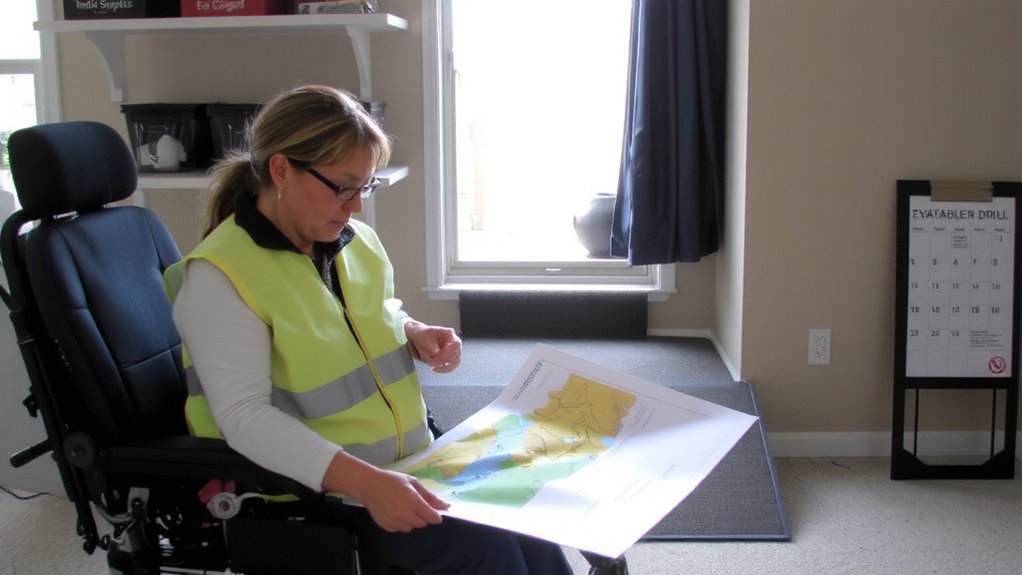
If you rely on mobility aids like wheelchairs or walkers, know that evacuation during a power outage or structural damage becomes markedly harder, so you need to assess how your specific device performs in common emergency scenarios. Battery-dependent devices fail without backup power, and manual models may lack the strength support you need on uneven terrain. Communication barriers arise if you use text-to-speech tools and networks go down, leaving you unable to convey urgent needs. Sensory limitations, like low vision or hearing loss, reduce your ability to detect alarms or interpret emergency instructions quickly. You must map out risks tied directly to your disability-for example, medication refrigeration needs or panic triggers in high-noise shelters. Real-world testing matters: try moving your wheelchair on gravel or during a simulated blackout. Know the limits of your equipment and environment. Planning around these factors isn’t precautionary-it’s essential for survival.
Plan Accessible Evacuation Routes Now
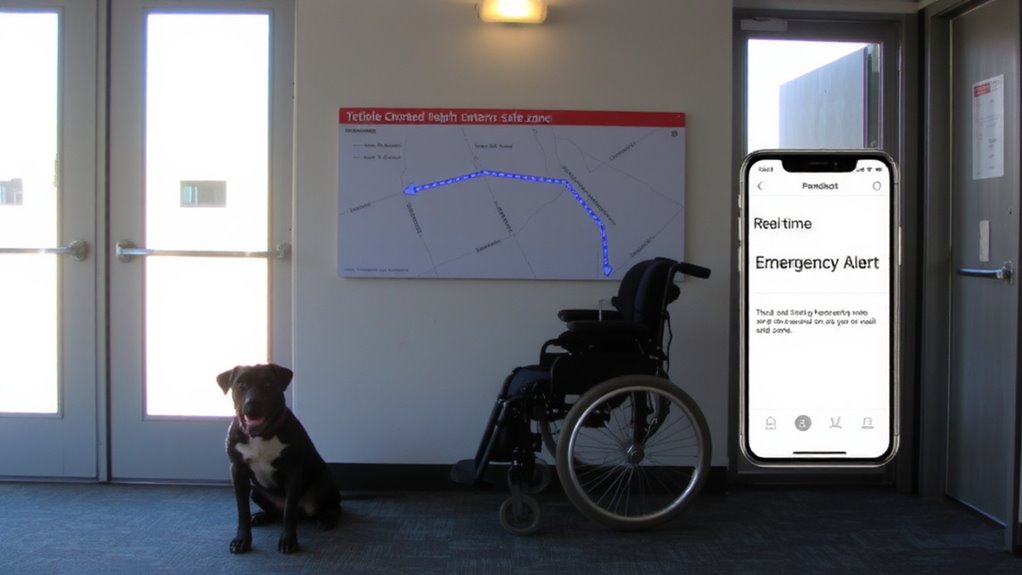
Accessibility isn’t automatic-your evacuation route must handle your mobility needs every step of the way. Start with route mapping to identify pathways free of stairs, narrow doors, or uneven surfaces. Confirm elevators are in accessible areas and backup plans exist if power fails. Practice your plan regularly through evacuation drills to spot obstacles early. Drills reveal delays, bottlenecks, or inaccessible exits under real pressure.
| Step | Action |
|---|---|
| 1 | Map all exits in your home or workplace |
| 2 | Test each route using your mobility device |
| 3 | Note barriers like rugs, tight turns, or thresholds |
| 4 | Revise routes and retest after each drill |
Update your maps after any environment change. Rely tow memory isn’t enough-documented route mapping guarantees consistency. Evacuation drills build muscle memory and expose flaws no checklist can predict.
Prepare a Kit for Your Medical and Mobility Needs
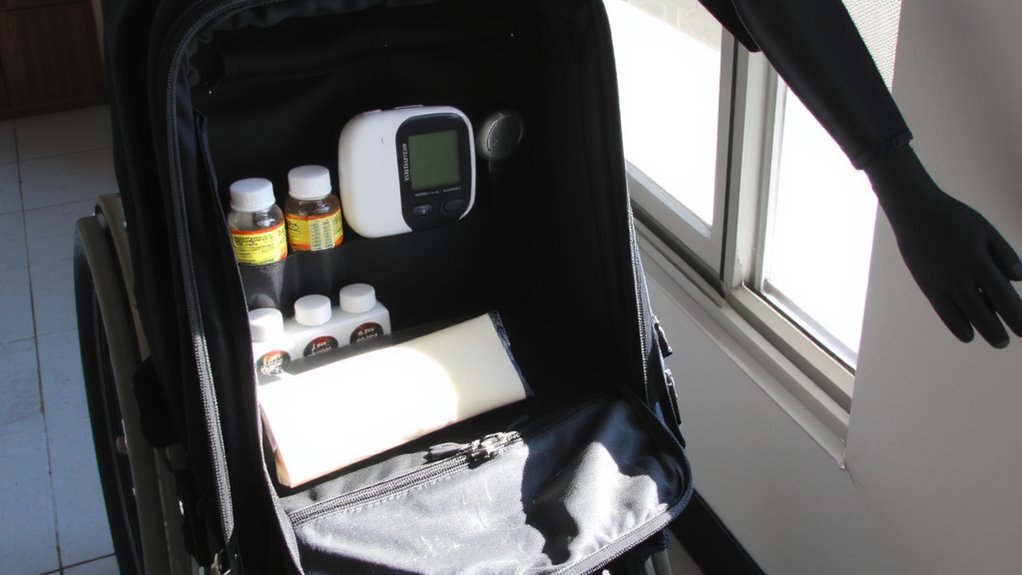
You’ve mapped your escape routes and practiced your evacuation-now it’s time to make sure you can stay safe and functional once you’re out. Pack a kit with essentials that support your medical and mobility needs for at least 72 hours. Include medications in labeled containers, spare batteries for devices, and extra mobility aids like canes or transfer boards. Choose communication methods that work without power-written cards, pre-charged phones, or voice amplifiers-and test them regularly. Add personal identifiers such as medical alert tags, braille labels, or ID cards listing your condition and needs. These help responders assist you accurately. Store everything in a durable, easy-to-carry bag you can grab quickly. Waterproof compartments protect supplies. Consider weight versus necessity: too little risks function, too much limits mobility. Replace expired items every six months. Keep copies of prescriptions and device models in the kit.
Secure Power for Critical Medical Devices
When the grid goes down, your medical devices won’t work unless you’ve planned for backup power, so rely on tested solutions, not guesses. Backup generators provide sustained power for high-draw devices like oxygen concentrators, but they’re loud, require fuel, and need outdoor use to avoid carbon monoxide. Portable batteries are quieter and more convenient for low-power devices such as CPAPs or wheelchairs, and many models offer 8–16 hours of runtime. Test your setup ahead time to confirm compatibility and runtime. A 1,000-watt inverter generator can run most medical equipment for 8–12 hours on a full tank, while lithium portable batteries weighing under 20 pounds typically deliver 300–600 watt-hours. Consider runtime, weight, and recharging method. Solar panels can recharge some batteries, but cloudy days limit effectiveness. Prioritize reliability and simplicity to keep your devices running when it matters most. For dependable performance, choose from the best portable generators based on expert testing and real-world use.
Build Your Emergency Support Team
Who can you count on when an emergency hits and you need help fast? Start by identifying reliable people nearby-family, neighbors, or friends-who can assist within minutes. These trust connections should know your needs and how to respond. Confirm their availability regularly, because people move or change routines. Include at least two backups in case one can’t respond. Community support groups or local disability organizations can fill gaps when personal contacts aren’t enough. They often offer trained volunteers and established check-in systems. Assign specific tasks-like grabbing your emergency kit or helping with mobility-so roles are clear. Make sure each team member has your emergency plan and knows how to use key devices. Test the team with a quick drill. A strong team works not because it’s large, but because it’s coordinated and dependable.
Share Your Plan With First Responders
Your emergency support team helps on the ground, but first responders are the ones who arrive when seconds count. Share your plan with local fire, police, and EMS so they know your needs before a crisis. Provide clear communication protocols, like how to interact if you’re nonverbal or use assistive tech. Label your home and devices so information is quickly accessible. Effective response coordination starts with pre-established details-give responders a written summary of mobility aids, medical equipment, and evacuation routes. Include contacts from your support team. This isn’t extra paperwork; it’s essential data that reduces confusion and speeds help. Some communities offer registries for residents with disabilities-use them. Others rely on informal check-ins with nearby stations. Either way, verified information improves response accuracy. When responders know what to expect, delays drop and outcomes improve. Make sure your plan is legible, up to date, and stored where it’s easily retrieved.
Practice and Update Your Emergency Plan Regularly
Regularly practicing and updating your emergency plan guarantees it actually works when needed. You should run emergency drills at least twice a year to test response times, communication methods, and assistive device accessibility. These drills reveal gaps-like unclear exit routes or incompatible alert systems-so you can fix them early. Pair each drill with a plan review to confirm contacts, medical details, and shelter locations are current. Technology changes, needs evolve, and services move; your plan must reflect that. Include caregivers or household members in these sessions so everyone knows their role. A five-minute update every three months beats a full rewrite during a crisis. Written documentation should match your actions-drills without updates lead to outdated responses. Real-world testing trumps theory. Update formats, like digital vs. printed copies, based on access needs. Consistency matters more than complexity. Practice and review keep your plan functional, not just paperwork.
On a final note
You know your needs better than anyone. Tailor your plan around your specific risks and equipment. Test evacuation routes monthly; time them. Stock a 72-hour kit with extra meds, batteries, and backup power. Confirm responders have your plan. Update it every six months or after any change in health or meds. A working plan isn’t perfect-it’s practiced, simple, and ready when seconds count.