Constructing a Leaf-Lined Shelter in Deciduous Forests
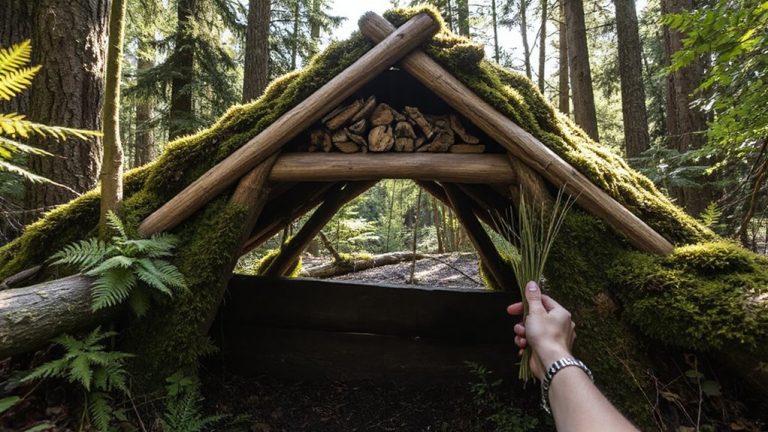
Pick a dry, sheltered spot on high ground, using natural windbreaks for protection. Gather plenty of dry, loose leaves-especially from hardwoods-and transport them in bulk with a tarp. Build a raised frame at least 6 inches off the ground, spacing supports 12 inches apart for stability. Layer leaves 3 feet deep; they compress under weight and lose insulation if wet. Face the entrance away from wind and add a slanted roof to shed rain. You’ll stay warmer with the right setup-details on optimizing each layer follow.
Notable Insights
- Choose a dry, elevated site under hardwood trees, avoiding moisture and hazards like dead branches.
- Gather ample dry leaves from the forest floor, focusing on loose, recently fallen deciduous foliage.
- Build a raised frame with sturdy supports spaced closely and anchored securely to prevent collapse.
- Insulate the shelter with a 3-foot layer of leaves, ensuring depth for compression and warmth.
- Orient the entrance away from wind and construct a sloped, leaf-covered roof to shed rain.
Choose a Dry, Sheltered Spot for Your Leaf Shelter
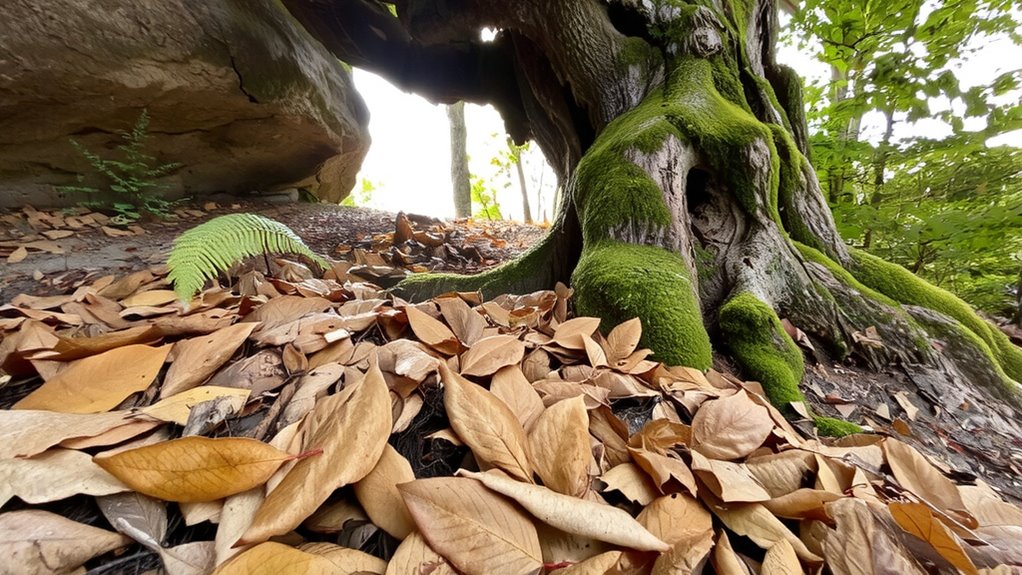
You’ll want to pick a spot that’s both dry and protected-because setting up in a low-lying area might leave you sleeping in a puddle if it rains. Look for high ground with natural windbreaks like rock formations or dense tree clusters. Check the forest floor carefully; it should feel dry underfoot and not spongy, which indicates trapped moisture. Avoid spots beneath dead trees or loose branches-safety outweighs convenience. Observe leaf color: brown, crumpled leaves suggest dryness and good insulation potential, while damp, dark leaves mean poor drainage. A mix of dry litter and firm ground offers stability and moisture resistance. Guarantee the site allows quick access to gathering areas without extra effort. This balance-dryness, safety, and usability-is measurable and critical. Choose wrong, and your shelter fails before you build it. Get it right, and the rest follows.
Collect Dry, Loose Leaves in Bulk

Gathering several large armfuls of dry, loose leaves is essential-wet or compacted material won’t insulate well and will collapse under weight. For effective leaf collection, focus on recently fallen leaves under hardwood trees; they’re loose, dry, and trap air efficiently. Bulk gathering saves time and boosts thermal performance. Use a tarp or pack to scoop and transport-speed matters before weather changes. Avoid leaves stuck in damp layers; they add weight without warmth.
| Leaf Type | Insulation Effectiveness (1–5) |
|---|---|
| Oak (dry) | 5 |
| Maple (dry) | 4 |
| Wet/compressed | 1 |
Leaf collection quality directly impacts your shelter’s warmth. Prioritize volume and dryness-bulk gathering guarantees a thick, resilient layer that resists compression and retains heat through the night.
Build a Raised Frame to Block Ground Cold
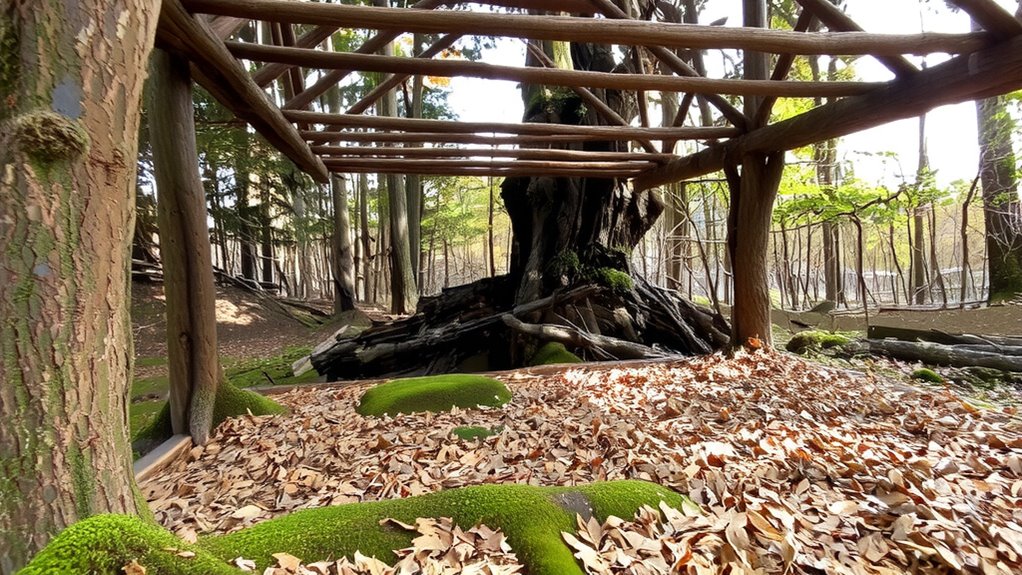
While insulation from leaves matters, staying off the cold ground is just as critical-because direct contact drains body heat fast. Build a raised frame using sturdy logs or branches spaced no more than 12 inches apart to support your platform. This elevates you above freezing soil, improving thermal insulation by reducing conductive heat loss. Use live trees or solid anchor points to guarantee structural stability, especially under body weight. The frame must hold firm without shifting, so test it before adding insulation. A stable base also keeps the leaf layer uncompressed, maintaining its insulating value. Aim for at least 6 inches of clearance beneath you. Natural materials work, but avoid flimsy or rotten wood-it fails when loaded. This frame isn’t just support; it’s a critical barrier that maximizes warmth retention and minimizes overnight energy loss in cold conditions.
Layer Leaves 3 Feet Deep for Warmth
Three feet of leaf coverage isn’t excessive-it’s the depth needed to stop heat loss when air temperatures drop below freezing. You’re relying on leaf insulation to trap body heat and maintain thermal retention through the night. Shallow layers compress quickly, leaving you exposed to cold ground and frigid air. A 3-foot depth guarantees enough loft remains after settling. Broad, dry deciduous leaves work best-oak and beech hold structure longer than brittle foliage. Wet or compacted leaves reduce effectiveness by half. Test your layer by pressing down; if you feel firm resistance within inches, it’s too thin. This depth accounts for compression from your body weight and wind settling. Leaf insulation at this volume mimics a standard sleeping pad’s R-value in dry conditions. It’s heavy to gather, but the trade-off in warmth is measurable and reliable. Prioritize volume, not speed.
Shield Your Shelter From Wind and Rain
Your shelter’s survival hinges on its ability to block wind and shed rain, not just pile on insulation. Position the entrance opposite the prevailing wind direction to reduce exposure. Use overlapping branches and leaves like shingles to manage rain runoff and prevent seepage. A sloped roof is essential-water must move away from you, not pool above.
| Feature | Why It Matters | Trade-Off |
|---|---|---|
| Sloped roof | Improves rain runoff | Needs more materials |
| Windbreak wall | Blocks wind direction | Slows construction |
| Raised base | Reduces ground moisture | Adds digging effort |
Test the shelter in drizzle first. Adjust leaf density if water penetrates. Stability matters more than speed-build once, stay dry. For added protection, consider the design principles behind effective camping rain shelters.
On a final note
You’ve built a functional leaf shelter using proven insulation principles. Three feet of dry leaves provide effective thermal resistance, while the raised frame reduces conductive heat loss. A well-shielded entrance blocks wind, maintaining internal temperature. It won’t outperform a modern tent in heavy rain, but it’s reliable in dry, cold conditions. Durability depends on leaf quality and shelter placement. This method works-it’s lightweight, free, and uses abundant materials where trees shed leaves annually.