Developing a No-Talk Evacuation Protocol for High-Risk Areas
You move faster and quieter when you stay silent. Map primary and backup routes, like Hall A to Exit 3, and mark choke points. Use hand signals-flat hand left means go, two fingers to eyes means target seen. Assign a point person, rear guard, and accountability role, with clear succession. Run monthly drills in low light or smoke. Teams using this cut evacuation time by 30%. Adjust based on timing and errors. You’ll refine coordination and response with each iteration.
Notable Insights
- Prioritize silence by using hand signals, eye contact, and controlled movements to avoid detection during evacuations.
- Assign and rotate critical roles like point person, rear guard, and accountability leader for clear command structure.
- Pre-map multiple evacuation routes with minimal choke points and test them in low visibility or smoke conditions.
- Use standardized, visible hand signals to communicate movement, threats, and status without sound.
- Conduct monthly silent drills in realistic environments and refine protocols based on performance evaluations.
Prioritize Silence to Prevent Detection
If you’re moving during a no-talk evacuation, keeping quiet isn’t just smart-it’s essential for staying undetected. Silent coordination guarantees everyone advances without verbal cues, reducing noise that could draw attention. Hand signals, pre-established gestures, and eye contact replace speech, allowing movement to remain fluid and controlled. You rely on practiced routines because hesitation or confusion increases risk. Threat awareness is maintained through constant environmental scanning-listening for suspicious sounds, watching for movement, and identifying cover or escape routes. Silence amplifies sensory input, giving you a clearer picture of danger. Even breathing should be regulated to avoid detection in close quarters. Tools with quiet operation-like non-clicking flashlights or noise-dampened gear-are preferred. Each action is deliberate, minimizing rustling, scraping, or footfalls. You accept reduced communication speed for increased survivability. In high-risk zones, silence isn’t ideal-it’s required. Performance depends on discipline, not equipment.
Define Who Does What in a No-Talk Evacuation
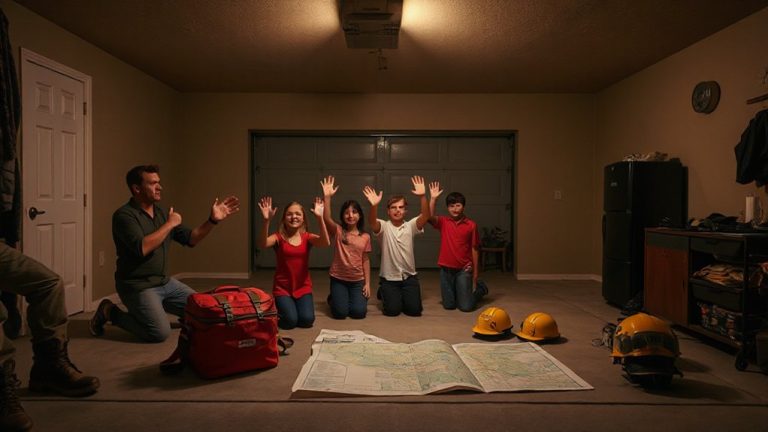
You’ve committed to silence, and now every action must carry meaning-roles within the group become the backbone of execution. You assign each member a clear responsibility before movement begins. One person leads as the point, maintaining the chain of command and making silent decisions. Another takes rear guard, guaranteeing no one is left behind. A third handles emergency accountability, using hand signals to confirm headcount at checkpoints. Roles are practiced under stress so reactions become automatic. You rotate assignments during drills to build adaptability. No role is permanent, but all must understand the hierarchy. If the leader is compromised, the next in line assumes control without hesitation. Accountability isn’t delayed-missing members trigger preplanned responses, not panic. Every task is stripped to necessity: movement, awareness, headcount. You eliminate ambiguity because hesitation in silence can be fatal. Define who does what, and guarantee they can do it without speaking.
Map Silent Evacuation Routes in Advance
Silence starts with the map. You need clear route mapping to guarantee everyone can move fast without speaking. Plan multiple paths from each high-risk zone to safe assembly points. Use floor plans to mark primary and backup corridors, doors, and obstacles. This preparation enables silent navigation under stress. Visibility, distance, and congestion risks matter-choose routes with minimal turns and choke points. Test each path during drills to confirm they work in low light or smoke. Update maps when layouts change.
| Zone | Primary Route | Backup Route |
|---|---|---|
| North Wing | Hall A → Exit 3 | Stairwell → Exit 2 |
| Lab Area | Hall B → Exit 1 | Hall C → Exit 4 |
| Storage | Direct → Exit 2 | Hall A → Exit 3 |
Good route mapping cuts confusion. Silent navigation keeps you alive.
Create Hand Signals for Critical Commands
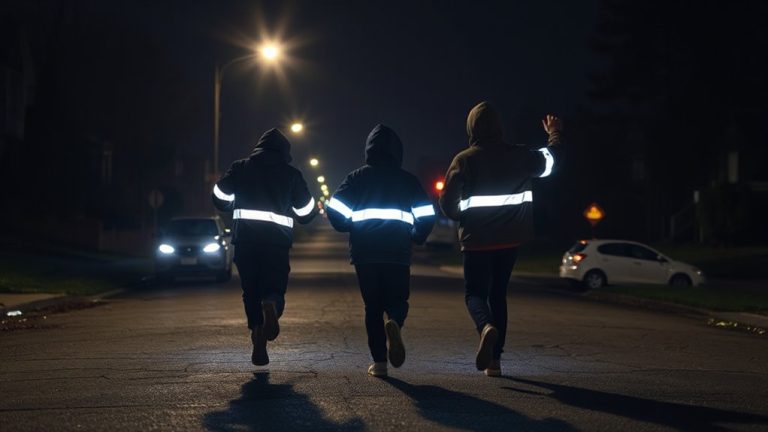
A well-designed hand signal system is essential when voices can’t be used. You need clear, unambiguous gestures that work in low light and at a distance. Start with hand sign standardization-everyone must interpret each signal the same way. Use simple motions like a flat hand sweeping left for “move,” or two fingers to the eyes followed by a point to indicate “target seen.” Standardization reduces confusion and speeds response. Next, conduct visual signal testing under real conditions: smoke, darkness, and tight spaces. Test how far away a signal remains legible and adjust size or shape accordingly. Some signals may require high-visibility gloves or reflective tape. Balance clarity with subtlety-overly large movements can draw unwanted attention. Revise based on test feedback. A functional set of hand signals isn’t about complexity-it’s about reliability, consistency, and speed under stress.
Run Silent Evacuation Drills Monthly
Once hand signals are standardized and tested, putting them into practice during realistic scenarios becomes the next step. You need to run silent evacuation drills monthly to maintain effective drill frequency-this consistency builds muscle memory without overwhelming your team. Each drill tests your communication system under stress, revealing gaps in timing or interpretation. Monthly practice supports better team coordination, ensuring everyone moves in unison without verbal cues. You’ll notice smoother exits and fewer hesitations over time. Skipping months reduces reliability; too frequent drills may cause complacency. Monthly strikes a balance, keeping procedures fresh while allowing time to address issues. Use real building layouts, include obstacles, and simulate low-light conditions. Evaluate speed and signal accuracy afterward. This isn’t about perfect performance-it’s about consistent improvement. Drills must reflect actual threat conditions to remain practical. Your team’s response becomes instinctive only through repeated, structured practice.
Adjust Your No-Talk Plan After Drills and Real Threats
When you’ve run enough drills or faced real incidents, you’ll see where the plan falls short-timing glitches, misunderstood signals, or bottlenecks in movement-so update the protocol based on those specific breakdowns. Post drill adjustments aren’t optional; they’re necessary for closing gaps in execution. If a signal was missed by 30% of staff during a drill, test a louder or visual alternative. After each simulation or actual threat, document what slowed movement or caused confusion. Use those records to make threat response refinements that target weak points. Maybe exits get congested or roles aren’t clear-fix those with retrained hand signals or staggered release points. Adjustments should be specific, documented, and retested. A no-talk plan isn’t static; it evolves with experience. Real-world performance matters more than theory, so prioritize changes that improve speed, clarity, and coordination under silence. Test again. Repeat.
On a final note
You keep your team alive by staying silent-sound gives you away. Your hand signals work if everyone practices them monthly. Evacuation routes get clogged if not mapped and rechecked. This protocol cuts decision time during threats. You trade speed for stealth, but in high-risk zones, silence beats speed. Adjust the plan after each drill or real event. It’s not perfect, but it’s measurable, testable, and proven to reduce detection.