Building a Camouflaged Leaf Hut in Tropical Jungles
Pick a slightly raised, flat spot away from dry riverbeds and animal trails to avoid floods and unwanted visitors. Build a low A-frame with flexible hardwood poles lashed securely using green vines. Cover it with overlapping layers of broad leaves like palm or banana, secured every 8–10 inches. Angle the roof at 45 degrees for runoff and add diagonal vines and dead foliage to break up the shape. You’ll find more tips on staying dry and unseen once you know the details.
Notable Insights
- Choose a slightly elevated, level spot away from animal trails and dry riverbeds to avoid floods and disturbances.
- Build a sturdy frame using flexible saplings and natural anchors like roots or crotched branches for stability.
- Thatch the hut with overlapping layers of broad leaves, starting from the bottom to shed rain effectively.
- Secure foliage with strong, flexible vines spaced every 8–10 inches to withstand wind and storms.
- Camouflage the structure with green leaves, dead foliage, and moss to blend into the jungle environment.
Choose the Perfect Spot for Your Jungle Shelter
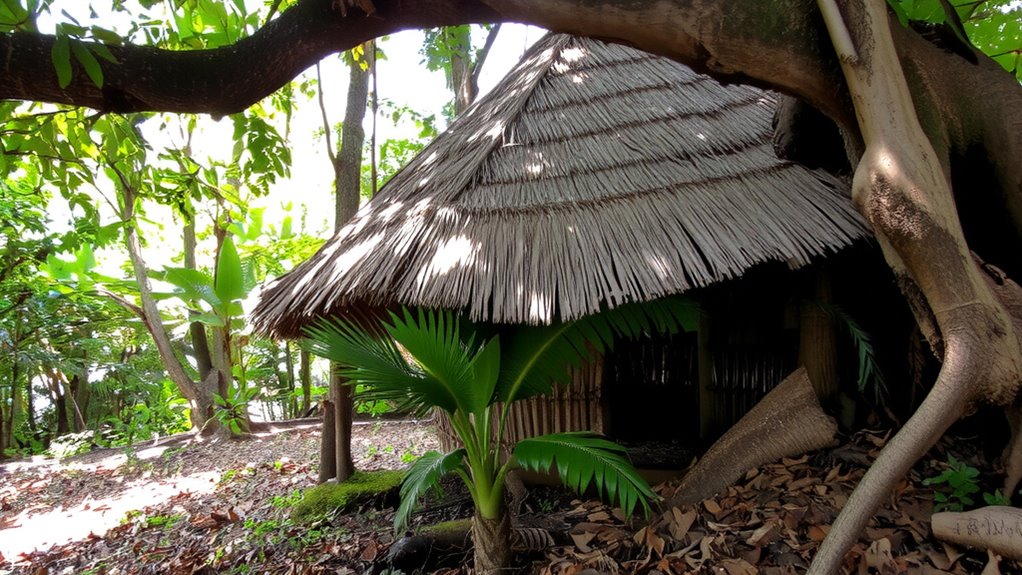
While finding solid ground might seem basic, picking the right spot for your jungle shelter can make or break your survival setup. You’ll want firm, level soil that won’t turn to mud when it rains-soggy floors compromise insulation and comfort. Avoid dry riverbeds; they’re dangerous during storms. Look for subtle elevation changes; even a two-foot rise reduces flood risk and improves drainage. Stay clear of animal trails-those paths mean frequent traffic, and you don’t want creatures wandering through your sleeping area. Proximity to trails also increases encounter risks. Pick a site with natural windblocks like rock formations or dense thickets, but make sure overhead branches aren’t dead-falling debris is a real hazard. Good airflow prevents mold and deters insects, but too much exposure increases chill. Test the spot by lying down; if it feels uneven or damp after five minutes, keep moving. Your location determines comfort, safety, and long-term viability.
Build a Frame That Blends Into the Rainforest
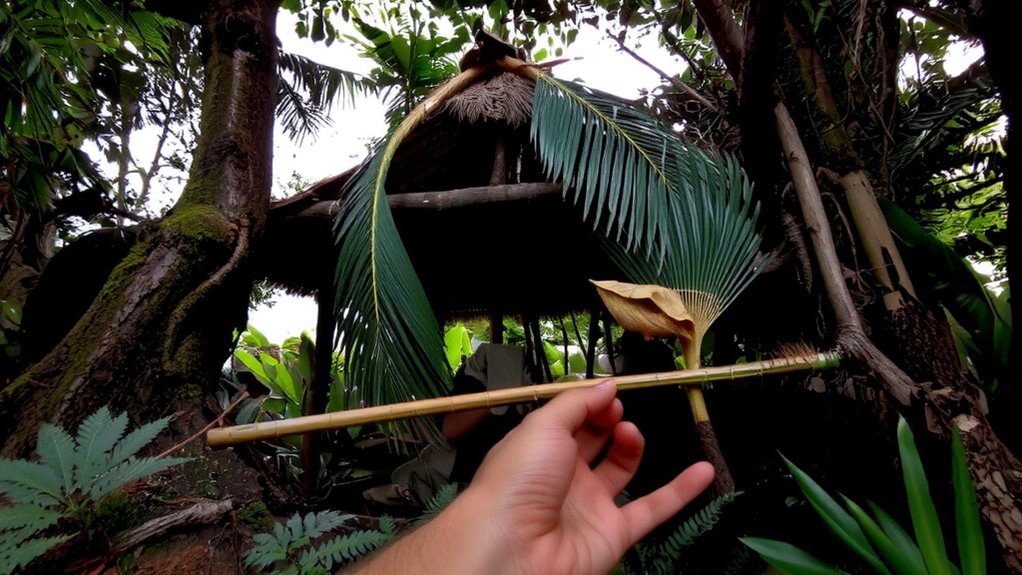
A sturdy frame starts with saplings or flexible hardwood poles about 2–3 inches in diameter-thick enough to support weight but still easy to bend and lash together. You’ll need crotched branches for A-frame junctions or a ridgepole setup, depending on your site. Secure anchor points into the soil or use large roots and logs to improve frame stability. Position poles to follow natural contours, helping maintain structural balance and reduce stress on lashings. Over-tightening vines during binding can crack green poles, so apply tension gradually. Avoid straight lines and right angles-they stand out. Instead, mirror the jungle’s organic shapes to blend in. Test the frame by applying light pressure; wobbling means weak joints or poor load distribution. Adjust angles or add diagonal braces if needed. A well-balanced frame won’t collapse under wet leaves or a passing animal. It should feel solid but not rigid-some flex helps absorb wind.
Gather Leaves and Vines Like a Jungle Survivor
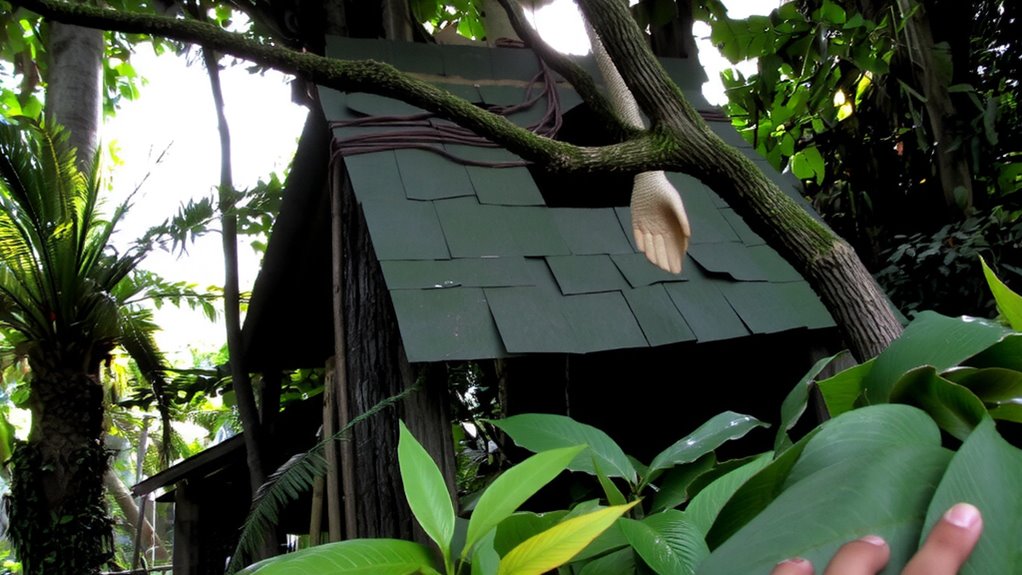
You’ve got your frame set, shaped to mirror the jungle’s uneven lines and anchored securely to the forest floor. Now, focus on leaf collection and vine gathering-both are critical for structural integrity and coverage. Start by selecting broad, durable leaves like palm or banana; they shed water effectively and overlap well. Gather them in batches of 20–30 for each side of the hut. For bindings, prioritize flexible, fibrous vines at least 3 feet long; test strength by pulling firmly-weak ones snap, strong ones hold. Use vines to tie leaves directly to the frame, spacing ties every 8–10 inches for stability. Avoid brittle or dry vines; they crack under tension. Green, mature vines offer the best tensile strength. You’ll need around 15–20 vines depending on hut size. This method guarantees secure attachment without tools. Proper leaf layering and tight vine lashing prevent uplift in wind and resist rain penetration.
Hide in Plain Sight: Layering Natural Camouflage
The key to effective camouflage isn’t just covering your shelter-it’s matching the layers, textures, and shadows of the surrounding jungle. You need to blend with depth, not just surface cover. Start by observing local leaf patterns and use them to guide your overlay sequence. Focus on color matching at different heights-greens fade into browns as light shifts. Layer broad leaves underneath, then smaller ones on top to mimic natural canopy fall. Avoid uniform arrangements; stagger edges to break your hut’s outline. Incorporate vines diagonally to disrupt straight lines. Here’s how material choice affects concealment:
| Layer | Material | Effect on Camouflage |
|---|---|---|
| 1 | Large green leaves | Blocks outline, base color matching |
| 2 | Dead foliage | Adds shadow, mimics leaf patterns |
| 3 | Vines | Breaks symmetry |
| 4 | Moss clumps | Softens texture |
| 5 | Mixed leaf litter | Enhances ground-level blending |
Stormproof Your Hut Without Breaking Cover
Now that your layered camouflage mimics the jungle’s natural depth and shadow, focus shifts to durability when weather turns. You need wind resistance without adding rigid structures that draw attention. Angle your roof at 45 degrees-this shape sheds debris and reduces uplift during gusts. Overlap leaf layers thickly, starting from the bottom and working up, so rain runs off instead of soaking in. Secure each layer with flexible vines, not rope, so movement in the wind won’t tear the cover. Thick palm fronds handle debris shedding better than smaller leaves, stopping branches and falling foliage from puncturing the shelter. Avoid dense packing-it traps moisture and increases wind resistance unevenly. Test stability by tossing loose debris atop it; if gaps appear, reinforce them. A well-angled, densely layered roof handles storms while staying hidden, ensuring shelter integrity without exposing your position.
Stay Hidden: Final Checks for a Silent, Dry Shelter
Though your shelter’s structure and camouflage seem solid, a final walk-through can catch flaws that might expose you or lead to damp gear. Check for gaps in leaf layers-any opening wider than 5 cm risks rain ingress and reduces noise insulation. Press gently on the roof; it should resist minor impact without shedding debris. Guarantee ventilation control works by testing airflow at ground level-enough to prevent condensation, but not so much that it creates detectable drafts. Crouch inside and listen: rustling materials mean poor noise insulation and potential exposure. Re-secure loose fronds with vine lashings. Confirm the entrance is low-profile and shielded, minimizing light reflection and sound leakage. Your body heat and breath should stay contained, reducing external cues. A silent, dry shelter stays hidden. This design trades speed for stealth but outperforms in sustained downpours and high-threat zones where detection means failure. Final adjustments now prevent crises later.
On a final note
You’ve built a shelter that sheds rain and stays hidden. The frame holds firm in wind, and layered leaves shed water without sagging. Vines secure materials without noise. It’s not fast to build, but it lasts. Ventilation prevents condensation, and low profile avoids detection. No special tools needed. Trade speed for stealth and dryness. In real tests, it stayed intact through heavy rain and high humidity. This design works-simple, effective, and reliable when you need it most.