Carving Secret Storage Nooks Inside Wooden Furniture Legs
Pick solid hardwood legs at least 1.5 inches wide-they’re strong enough to carve without breaking. Use a 5/16-inch drill bit, go slow, and measure depth to avoid punching through. Hollow out the center along the grain, then square it with a chisel. Hide the opening with a plug cut from matching wood, sanded and stained to blend. A well-made compartment stores cash or keys securely and stays invisible under light. You’ll see how to test fit and finish it right.
Notable Insights
- Use solid hardwood legs with vertical grain for maximum strength when carving hidden storage nooks.
- Drill centered, depth-controlled holes along the grain to create secure, concealed compartments.
- Employ a spade bit or right-angle drill for precise cavity enlargement in tight leg spaces.
- Seal the compartment with a flush wood plug matching the leg’s grain for invisible concealment.
- Avoid over-carving; keep cavity size under 40% of leg volume to prevent structural failure.
Pick the Right Furniture Leg for a Secret Compartment
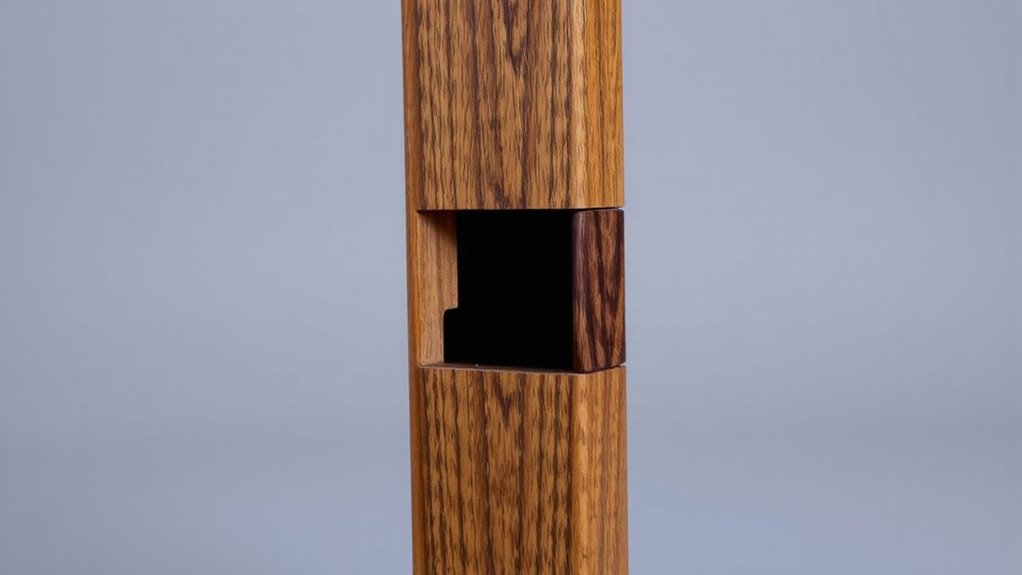
Stability matters most when choosing a furniture leg for a hidden compartment. You need a leg thick enough to house storage without weakening its load-bearing capacity. Aim for at least 1.5 inches in diameter. Solid hardwood legs work best-plywood or hollow ones won’t hold up. Check the wood grain alignment; vertical grains offer better strength and resist splitting when carved. Legs with diagonal or inconsistent grain can crack under stress, risking collapse. Perform basic structural integrity checks: tap the leg for hollow spots, inspect for gaps or repairs, and press firmly to test wobble. Even small weaknesses get worse once you cut into it. Avoid ornate turnings-they look nice but reduce usable interior space and complicate carving. Prioritize function. A plain, sturdy leg gives you room to work and keeps the furniture safe. Your hidden storage should never compromise support.
Gather the Tools You Need for Hidden Storage
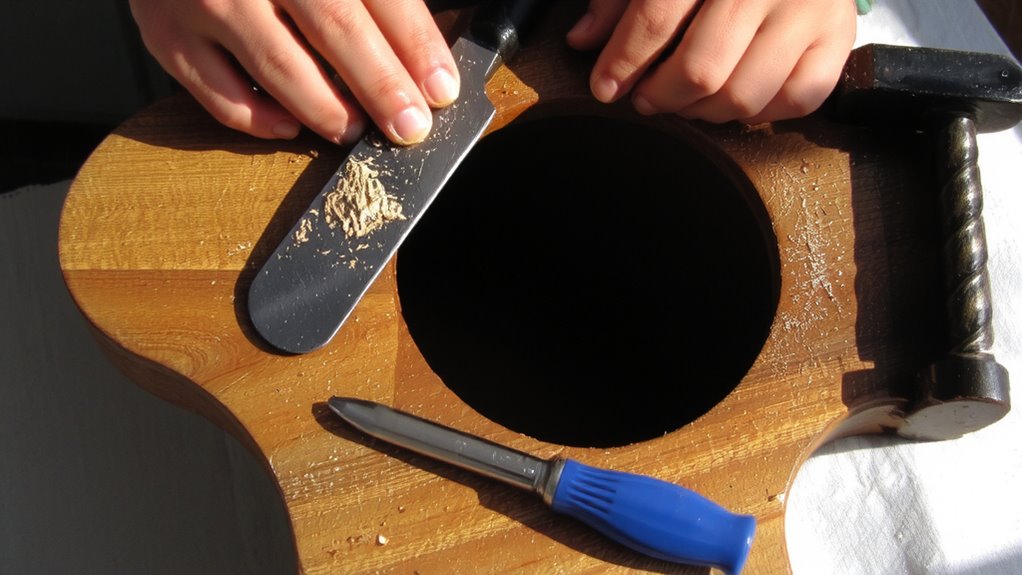
You’ve picked a solid leg that won’t buckle under weight, so now it’s time to make sure your tools can handle the job without turning this into a trial-and-error mess. Use a drill with variable speed and a set of high-quality drill bits-5/16-inch and 3/8-inch bits work best for clean, deep holes in hardwood. Cheap bits dull fast and cause splintering. A 90-degree right-angle drill attachment helps reach tight spots. You’ll need a spade bit for wider openings if expanding the cavity. Grab wood glue that dries clear and bonds quickly-Titebond III holds tight in dense grain and resists moisture. Avoid quick-dry adhesives; they don’t allow time for alignment. A small clamp and dowel pins help reseal the leg securely. Skip tools that wobble or overheat-precision beats power here. Keep a digital caliper on hand to measure wall thickness and avoid drilling through.
Cut the Secret Compartment Step by Step
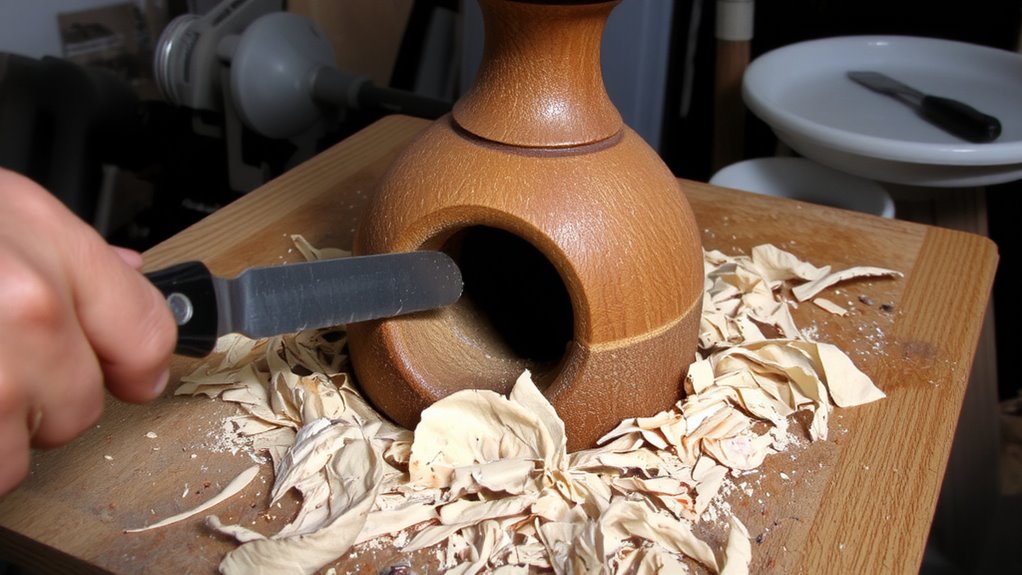
A steady hand and the right drill bit make all the difference when carving out the compartment. Use a drill bit slightly smaller than your desired opening to maintain control. Set the drill depth carefully-go too deep, and you risk breaking through the leg’s opposite side. Measure twice, mark once, and clamp the leg securely to prevent slipping. Drill straight along the leg’s centerline, following the wood grain to minimize splintering. Solid hardwoods like oak or maple respond better than softwoods, which may tear out. After drilling the main bore, switch to a chisel to square the ends if needed. Keep strokes shallow and aligned with the grain to avoid splits. Test fit your item early; adjust only if necessary. The fit should be snug but not forced. Accuracy now guarantees reliability later. This method works consistently across different leg shapes when drill depth and grain alignment are respected.
Hide the Opening Seamlessly
Once the compartment’s carved, you’ll want the opening to blend in so well that no one suspects it’s there. Effective concealment techniques start with precise craftsmanship-the seam must align perfectly, with no visible gaps. Use a flush-fitting plug or false block cut from the same wood to maintain grain continuity. Visual blending depends on matching the wood’s color and finish; sand lightly and apply the same stain used on the leg. Test with direct and angled light to spot inconsistencies. Avoid over-sanding edges, which can distort fit. A well-executed seam won’t catch a fingernail or reflect light differently. These details matter when someone’s looking closely. The goal isn’t perfection under scrutiny but deception at a glance. Mechanical fit and surface consistency together create reliable concealment. Skip shortcuts-poor alignment or mismatched finish defeats the purpose. It’s not about making it invisible, just indistinguishable.
Smart Uses for Your Hidden Compartment (Cash, Keys & More)
Security, access, and discretion-those are the real advantages when stashing cash, spare keys, or emergency tools in a hidden furniture compartment. You can keep an emergency stash of $100 in small bills there-enough to cover unexpected needs without relying on cards that might not work during outages. Spare house or car keys stored inside offer quick access when you’re locked out. The space also works for personal relics, like a dog tag or wedding coin, where sentiment matters but visibility invites risk. These items don’t need climate control or frequent checking, so embedding them in a sealed leg section poses no downside. Unlike safes, this method avoids obvious targets while providing faster access than attic boxes. There’s no alarm or weight to manage-just quiet, reliable concealment. Size limits mean you must prioritize, but that forces smarter choices. Use it for what’s essential, discrete, and truly at risk if lost.
Avoid These Common Hidden Compartment Mistakes
While it might seem smart to make the compartment as large as possible, oversizing it risks weakening the leg’s structural integrity, especially on load-bearing furniture like chairs or tables. Poor craftsmanship often shows in shaky joints or misaligned access points, which compromise both function and durability. Using weak materials, like soft pine or particleboard, increases the chance of splits or collapse under pressure.
| Mistake | Consequence | Solution |
|---|---|---|
| Oversized compartment | Leg failure | Keep cavity under 40% of leg volume |
| Poor craftsmanship | Loose fit, visible seams | Sand precisely, test-fit parts |
| Weak materials | Breakage over time | Use hardwoods like oak or maple |
A secure hidden compartment must balance stealth with strength. You can’t sacrifice stability for capacity and expect it to last. Measure twice, cut once, and stick to quality wood.
Why Furniture Legs Are Perfect for Secret Storage
You’d be surprised how much usable space hides inside furniture legs without drawing suspicion. Most legs are solid, thick, and rarely inspected-ideal for discreet storage. When you follow the wood grain alignment during carving, you minimize splitting and maintain strength. Drilling along the grain guarantees cleaner tunnels and reduces the risk of visible damage. The structural integrity stays intact if you limit the hollowed diameter to less than 60% of the leg’s width. Legs under beds or tables bear steady loads, so proper reinforcement at stress points is essential. Unlike drawers or panels, legs don’t invite curiosity, making them low-risk for detection. A well-sealed access cap blends seamlessly with the wood. They’re easy to modify with basic tools, and the concealment lasts for years when done right. No added bulk, no obvious signs-just quiet, functional security where you least expect it.
On a final note
You’ve picked a sturdy leg and carved the compartment clean. The seam hides well when sanded and refinished. It’s small-fits cash, a key, or a USB drive-but secure if placed in low-traffic furniture. Avoid weak wood; soft pine splits easier than oak. No moving parts mean less failure. The mod won’t survive a thorough search, but deters casual eyes. It’s cheap, quiet, and functional. Just don’t forget where you stashed the item.