Evaluating the Risk of Roof Truss Failure in Heavy Snow
You’re at risk when 10 inches of wet snow hits your roof-it adds 20 psf, and if your trusses are rated for only 30 psf, you’re already pushing failure. Cracked joints, sagging ridges, or sticking doors signal stress. Ice dams and drifting snow create hot spots that exceed load limits. Even well-built roofs weaken over time from fatigue and temperature shifts. Check for gaps or cracks early. Most collapses start silently-know the signs before it’s too late.
Notable Insights
- Assess snow load by measuring depth and density, then calculate pressure on trusses in pounds per square foot.
- Compare calculated snow load to the roof’s rated capacity, typically 30–50 psf, to determine overload risk.
- Inspect for warning signs like sagging ridgelines, cracked joints, or light seeping through attic gaps.
- Identify design flaws such as poor geometry or misaligned joints that increase vulnerability to failure.
- Check for ice dams, which add weight and cause uneven loading, raising the risk of truss collapse.
How Snow Load Causes Roof Truss Failure
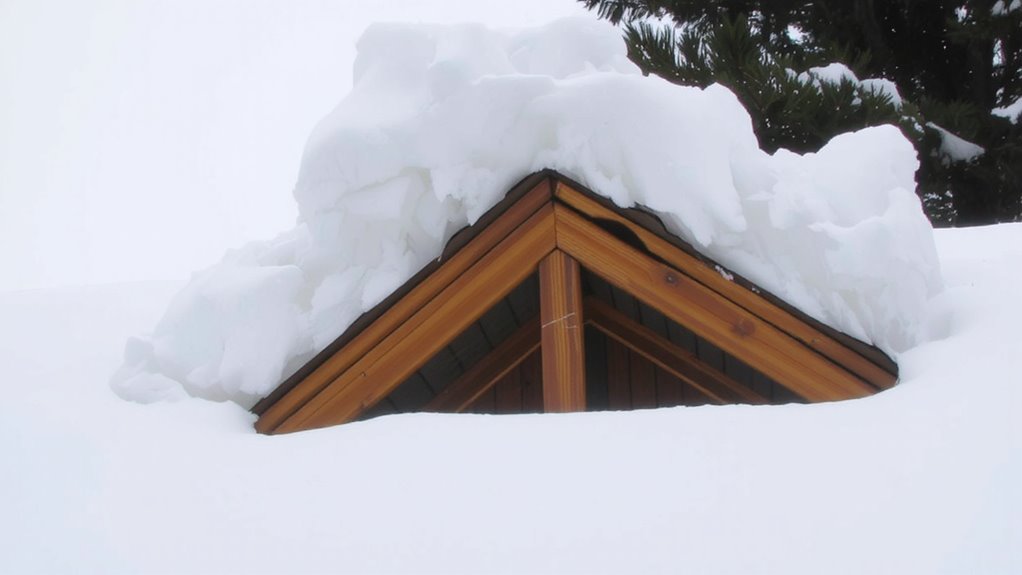
A lot of snow adds up fast-just 10 inches of wet snow can exert 20 pounds per square foot on your roof, and trusses aren’t designed to handle loads beyond their rated capacity. You need to understand that snow accumulation doesn’t just sit lightly; it builds weight quickly, especially with wet or drifting snow. As the load increases, trusses bend under pressure, stressing joints and fasteners. Even if they don’t fail immediately, persistent strain leads to structural fatigue over time. This fatigue weakens components gradually, reducing their ability to support loads in future storms. Cold temperatures can make materials brittle, compounding the risk. Trusses rated for 30 pounds per square foot won’t reliably perform at 50. You’re gambling when you ignore snow load limits. The failure isn’t always sudden-it’s often the final result of repeated stress beyond design specs.
Warning Signs of Stressed Roof Trusses
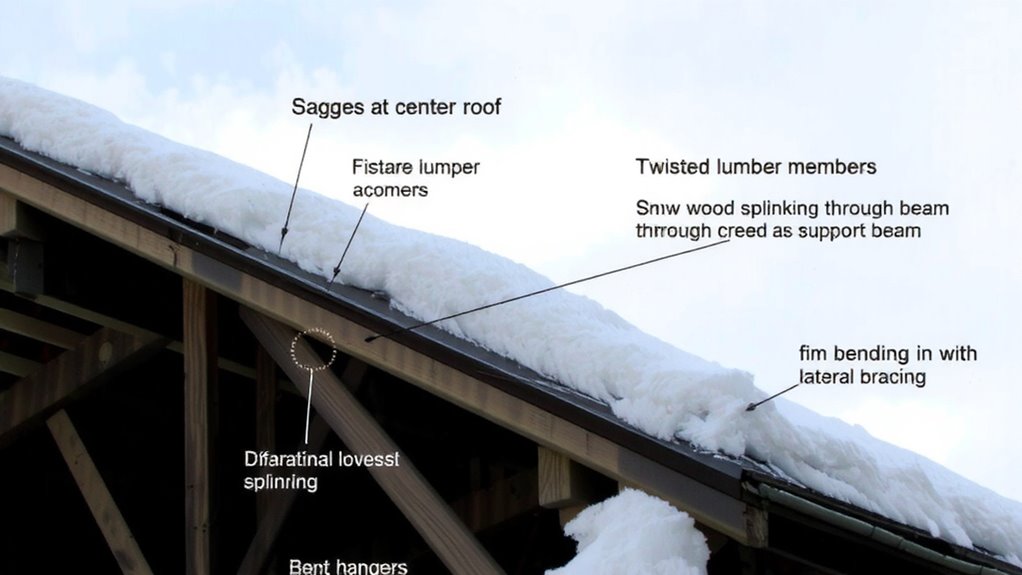
What should you look for when your roof might be under too much stress? Check for visible signs like cracked joints, where wood framing has split or pulled apart at connection points. These weaken truss integrity and suggest excessive strain. Look from the attic during daylight-light filtering through joint gaps is a clear red flag. A sagging ridge line is another warning; if the roof’s peak dips noticeably along its length, trusses are likely bending under load. You might also spot floor or ceiling cracks inside, especially near walls, which can reflect truss movement. Doors and windows that stick suddenly may signal structural shift. These symptoms don’t guarantee failure, but they mean your roof is stressed. Ignoring them increases risk, especially with more snow. Act early: inspect regularly after heavy snowfall and call a structural professional if you see these signs.
How to Calculate Your Roof’s Snow Load Capacity
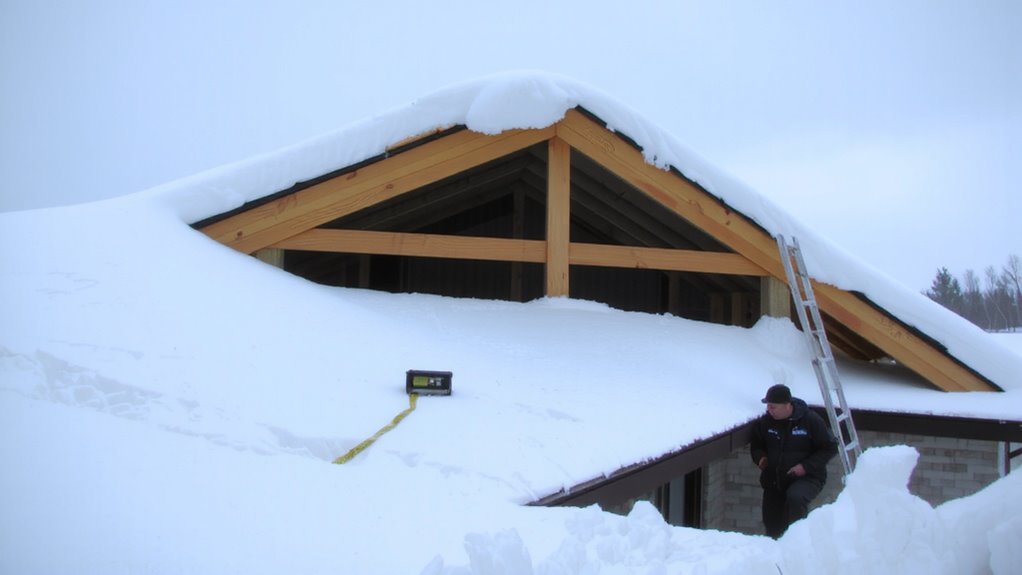
You’ve checked the attic for cracked joints and noticed the ridge line dip, but knowing how much snow your roof can actually handle comes down to numbers, not guesswork. Start with accurate snow measurement: measure depth in multiple spots and estimate density-light, powdery snow weighs about 7 lb/ft³, while wet snow can hit 20 lb/ft³. Multiply depth (in feet) by density to get pounds per square foot. Then apply load estimation standards-most residential roofs are rated for 30 to 50 lb/ft³. If your calculation nears or exceeds that, it’s time to act. Don’t rely on visual cues alone. Use a calibrated measuring stick and factor in drifting, which increases local loads. Local building codes offer baseline guidance, but actual conditions vary. Consistent snow measurement and realistic load estimation keep your structure safe. No guesswork. Just math and observation.
Truss Design Flaws That Lead to Collapse
Even when snow loads stay within rated limits, truss failures still happen-and often, the culprit lies in design flaws that compromise structural integrity. You might not see it, but poor truss geometry can create stress points that redistribute weight unevenly, especially under prolonged load. If joints aren’t aligned correctly or angles deviate from engineering specs, even small imbalances grow over time. That leads to increased strain on certain members, accelerating material fatigue. Repeated loading and unloading cycles, like seasonal snow buildup and melt, weaken metal connectors and wood fibers long before visible damage appears. You can’t always spot this degradation during inspections. Trusses designed with insufficient redundancy fail suddenly, with little warning. Correct geometry guarantees forces move efficiently through the frame. When it’s off, the tolerance for error drops sharply. Over time, material fatigue reduces load capacity below original ratings, making collapse more likely-even under average conditions.
How Ice Dams Overload Roof Trusses
When snow melts and refreezes at the edge of your roof, it forms ice dams that trap water behind them, and that pooling increases the load on your trusses beyond what they were designed to carry. Ice accumulation adds weight fast-sometimes hundreds of pounds per square foot-forcing trusses to bear stress they can’t handle. You might not see the damage right away, but over time, the strain can deform or even buckle key structural members. Thermal bridging worsens this: warm spots on your roof, often from poor insulation or conductive framing, cause uneven melting. That melted snow feeds the ice dam cycle, trapping more water. The problem isn’t just the dam-it’s the hidden load it creates behind it. This sustained pressure works silently, weakening joints and connections. Even well-built trusses can fail when exposed to these prolonged, excessive loads. You can’t always prevent snow, but understanding how ice dams form and overload trusses helps you recognize the real threat.
Steps to Prevent Roof Truss Failure in Winter
If you want to keep your roof trusses from failing under winter’s weight, start by ensuring your attic insulation meets current R-value standards-R-38 or higher-so heat doesn’t escape and create uneven snowmelt. Proper roof insulation reduces thermal loss, while balanced attic ventilation prevents warm spots that lead to ice dams. Install continuous soffit and ridge vents to maintain airflow. Check for baffles if you’re adding insulation. Remove heavy snow with a roof rake, but avoid damaging shingles.
| Action | Purpose |
|---|---|
| Upgrade roof insulation | Minimize heat transfer and snowmelt |
| Maintain attic ventilation | Equalize roof temperature and reduce ice buildup |
| Clear snow promptly | Reduce structural load before stress accumulates |
Inspect hangers, chords, and connections annually. Use these steps consistently-they’re proven in cold-climate performance tests.
When to Call a Structural Engineer for Roof Inspection
Though signs of roof stress aren’t always obvious, you should call a structural engineer when you notice visible truss deflection, especially if it exceeds 1/180 of the span-this is code-recognized threshold for concern. You’ll also want professional assessment if you spot cracks in truss joints or sheathing, sagging rooflines, or doors that stick after heavy snow. Poor attic ventilation can worsen the problem by allowing ice dams to form, increasing load and moisture damage. If your roof anchors appear loose or corroded, that’s another red flag-these components help secure trusses to walls and maintain structural continuity. Don’t wait until after a collapse; engineers can assess load capacity, verify anchor integrity, and evaluate airflow design. They’ll check if existing ventilation meets minimum standards and whether retrofitting is needed. Early inspection helps avoid costly repairs or failure.
On a final note
You can prevent roof truss failure by knowing your roof’s snow load limit and monitoring for cracks, sagging, or sticking doors. Ice dams and design flaws increase risk, especially in older homes. Regular inspections help catch issues early. Remove snow when it exceeds 30 pounds per square foot. Upgrade trusses if needed. Call a structural engineer if signs of stress appear-better safe than sorry when the load adds up.