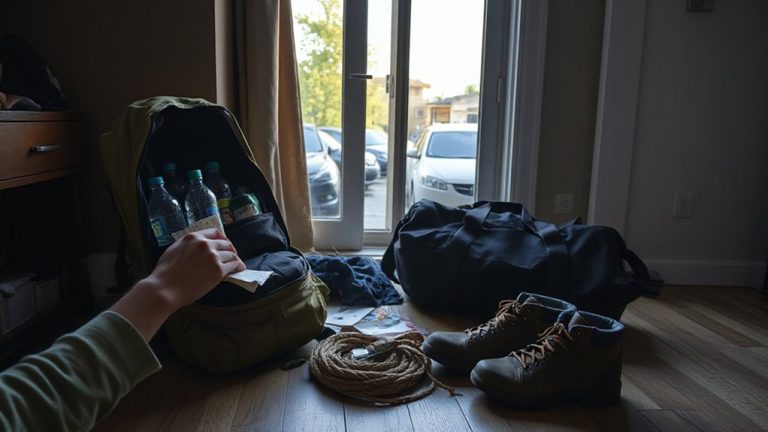
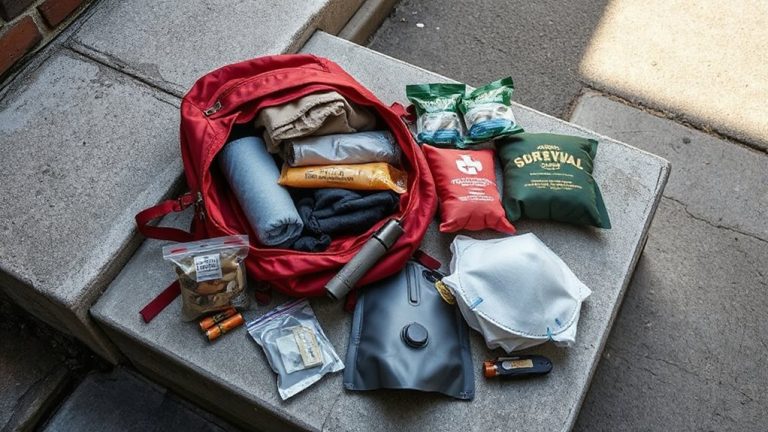
How to Plan for Evacuation When You Have a Chronic Respiratory Condition
Pack a portable nebulizer with AC/DC power, two lithium battery sets, and a 12V car adapter; it must deliver consistent particles over 50 uses and weigh under 5 lbs. Store a three-day oxygen supply and medications in labeled, sealed containers, checking dates monthly. Map multiple evacuation routes by accessibility and drive time. Wear a medical alert tag, carry device specs, and communicate needs clearly to responders. Monitor AQI, symptoms, and visibility to trigger early evacuation. A tested, complete kit improves your odds when every minute counts.
Notable Insights
- Pack a 72-hour respiratory kit with a portable nebulizer, extra batteries, and power adapters for reliable treatment during evacuation.
- Maintain a three-day supply of oxygen, medications, and printed prescriptions in labeled, sealed containers for immediate access.
- Map and test multiple evacuation routes quarterly, prioritizing accessibility and drive time for quick, reliable escape.
- Wear a medical alert tag and carry a card listing your condition, equipment needs, and dosing instructions for faster responder support.
- Monitor air quality and symptoms closely; evacuate when AQI exceeds 100 or visibility drops below six miles.
Pack Your 72-Hour Respiratory Emergency Kit
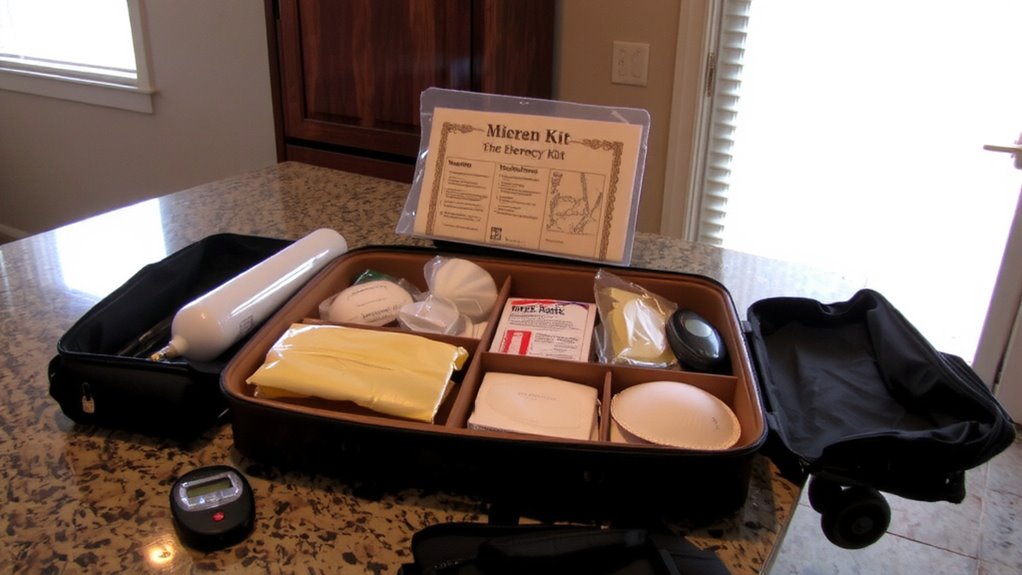
While every second counts during an emergency, having a pre-packed 7 villa respiratory emergency kit guarantees you’re not scrambling when air quality drops or medical power fails. You need a portable nebulizer that runs on both AC and DC power, tested to deliver consistent particle size over 50 cycles. Most battery-powered models last two hours; that’s not enough. Include at least two sets of backup batteries-lithium ones last 50% longer than alkaline in cold conditions. A 12V adapter lets you recharge in a car, which is essential if outlets aren’t available. Check that the nebulizer kit includes pediatric or adult masks, depending on your needs. Weigh it fully packed-it should stay under 5 pounds for quick carry. Test the entire setup monthly. If the motor stalls under load or batteries drain fast, replace it. Your life depends on gear that works, not promises.
Keep Extra Oxygen and Medications On Hand
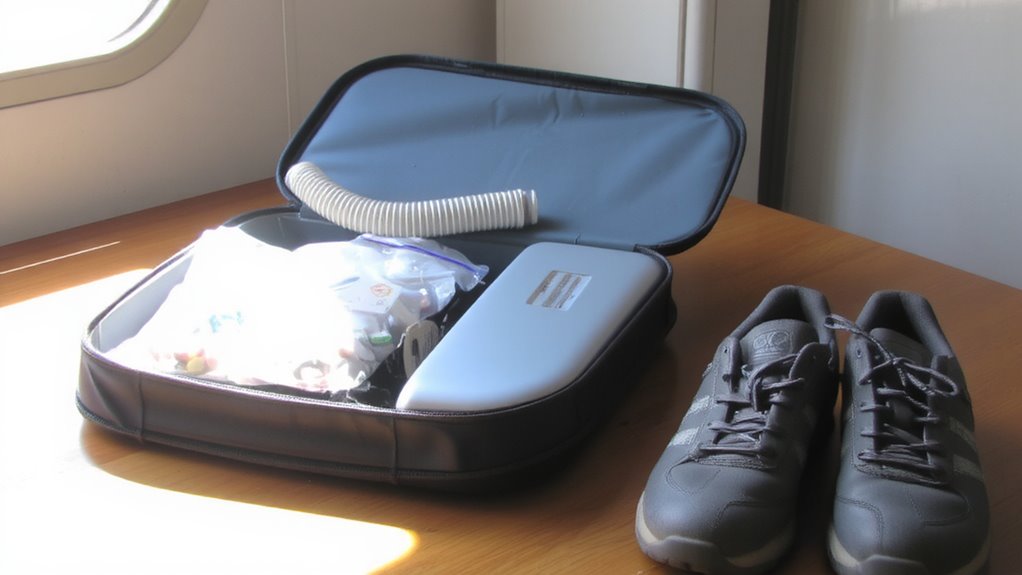
You’ll need at least a three-day supply of oxygen and medications if evacuation stretches longer than expected or access to pharmacies gets cut off. Plan for oxygen storage by keeping spare tanks or portable concentrators fully charged and accessible. Check expiration dates monthly and rotate stock as needed. A clear medication inventory helps track what you have, how much is left, and when refills are due. Store extras in sealed, labeled containers away from heat and moisture. Include rescue inhalers, steroids, antibiotics, and any nebulized drugs. Keep printed copies of prescriptions and dosing instructions. Portable oxygen concentrators with battery life over four hours perform better during transit. Standard tanks are heavier but last longer. Balance weight, duration, and portability based on your needs. Test backup equipment monthly. Update your inventory after each medical appointment. Having extras isn’t excess-it’s insurance against delay, shutdowns, or closed roads.
Plan Your Evacuation Route and Transport
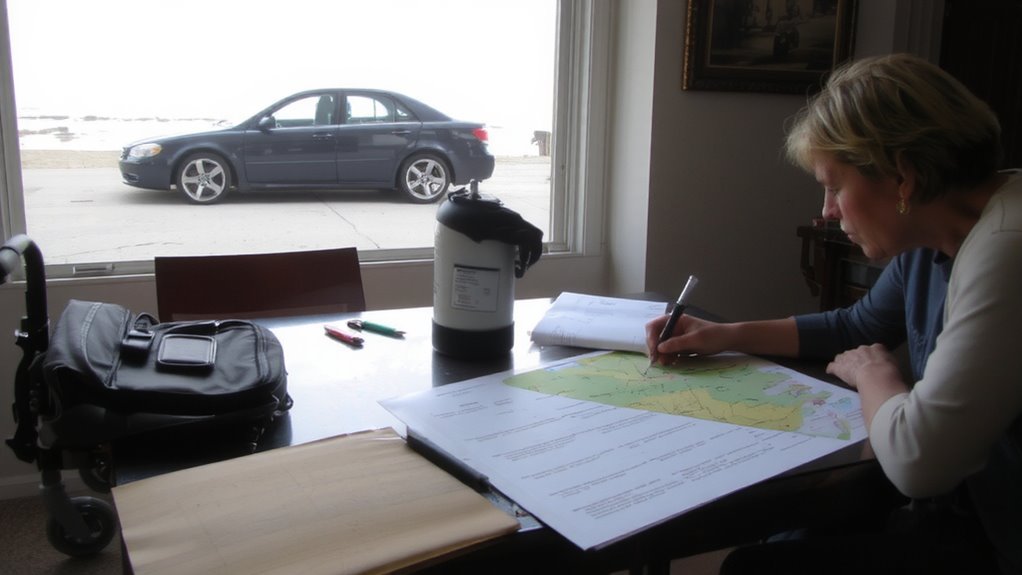
How will you get out if roads are crowded or closed? Plan for route flexibility by mapping multiple exits from your area. Relying on one path risks delay if blocked. Choose routes with reliable vehicle accessibility, especially if you use medical equipment. Confirm your vehicle can handle gas needs, terrain, and passenger load during stress conditions. Test each route during normal conditions to gauge drive time and fuel use.
| Route Option | Drive Time (min) | Vehicle Accessibility |
|---|---|---|
| Main Highway | 25 | High |
| Back Roads | 40 | Medium |
| River Path | 35 | Low (flooding risk) |
| Alternate Interstate | 30 | High |
Prioritize paths that balance speed and accessibility. Update plans quarterly.
Tell Rescuers About Your Breathing Needs
If you rely on oxygen or carry rescue medications, making your respiratory needs known to emergency responders can cut through confusion during evacuation. Wear a visible medical alert tag stating your condition and oxygen dependency-it helps responders act quickly and correctly. In shelters or during transport, clearly tell staff about equipment needs like concentrators or nebulizers. This information supports effective rescue coordination, especially when power, space, or supplies are limited. Keep a printed card in your emergency kit listing medications, dosages, and equipment specs-it’s faster than explaining under stress. Don’t assume rescuers will see your equipment and understand; communicate your needs directly. A clear, factual report improves your positioning in triage and transport queues. Simple steps like labeling your oxygen tank and carrying an alert bracelet improve recognition and response accuracy. These small preparations greatly influence care speed and suitability during emergencies.
Know When Smoke or Weather Means Evacuate Now
Smoke in the air or shifts in weather aren’t just nuisances-they’re signals that can turn a manageable situation into a health threat fast, especially if you have a respiratory condition. You need to recognize warning signs like worsening cough, shortness of breath, or chest tightness. Check local air quality reports daily during fire season or extreme weather. An AQI above 100 is unsafe for you; above 150, evacuation should already be underway. Don’t wait for mandatory orders-wildfire smoke degrades air quality rapidly, and humidity or wind shifts can worsen exposure in hours. Use trusted weather apps with real-time alerts and set notifications for your area. If visibility drops below six miles, that’s a visible warning sign: smoke is dense enough to harm you. Acting early keeps you ahead of traffic, crowding, and depleted medical resources. Your safety depends on responding to air quality changes before symptoms escalate.
Rehearse Your Emergency Plan Every 3 Months
You should rehearse your emergency plan every three months because routines fade without practice, and delays during evacuation cost more than time-they risk your health. Schedule emergency drills to test how quickly you gather medications, oxygen equipment, and air filters. Use practice scenarios like power outages or blocked exits to identify gaps. For example, time how long it takes to load your respiratory kit and mobility aids into the car-if it exceeds 15 minutes, adjust your layout or pre-pack essentials. Include family or caregivers in these drills so roles are clear. Rotate through different times of day to account for variable conditions. Rehearsing quarterly guarantees muscle memory, especially if you rely on electric medical devices that need backup power. These dry runs reveal whether your plan works in real conditions, not just on paper. Adjust based on performance. Repeat. Consistency improves response when every minute counts.
On a final note
You’ll need a working plan, not just supplies. Your 72-hour kit must include backup oxygen, meds, and a charged nebulizer. Map two evacuation routes and pre-pack your gear. Inform neighbors and responders about your condition. Rehearse every three months-delays cost air. Smoke or poor forecast means leave now, not later. A practiced plan beats panic every time.