How to Use Digital Mapping to Locate Potential Wildlife Trails
Use apps like iNaturalist or Seek to spot verified wildlife signs and log GPS-tagged tracks in real time. Look for ridge lines, drainages, and narrow terrain funnels on topographic maps-they channel animal movement. Overlay satellite imagery to find permanent water sources, then cross-reference with heatmaps and elevation gradients under 15%. Focus on trail density near saddles or drainage junctions. Start from public access points like trailheads or forest roads. You’ll see how terrain and behavior combine to reveal the most probable paths.
Notable Insights
- Use apps like iNaturalist and Seek to identify and log wildlife signs with GPS-tagged, community-verified data.
- Analyze ridge lines and drainage patterns on topographic maps to predict natural animal movement corridors.
- Examine satellite imagery for water sources, such as green vegetation or dark soil stains, that attract wildlife.
- Overlay trail density heatmaps on elevation models to locate frequently used routes with gentle gradients.
- Plan access via public trailheads, forest roads, or easement gates to reach high-probability trail areas legally.
Pick a Map App That Reveals Wildlife Signs
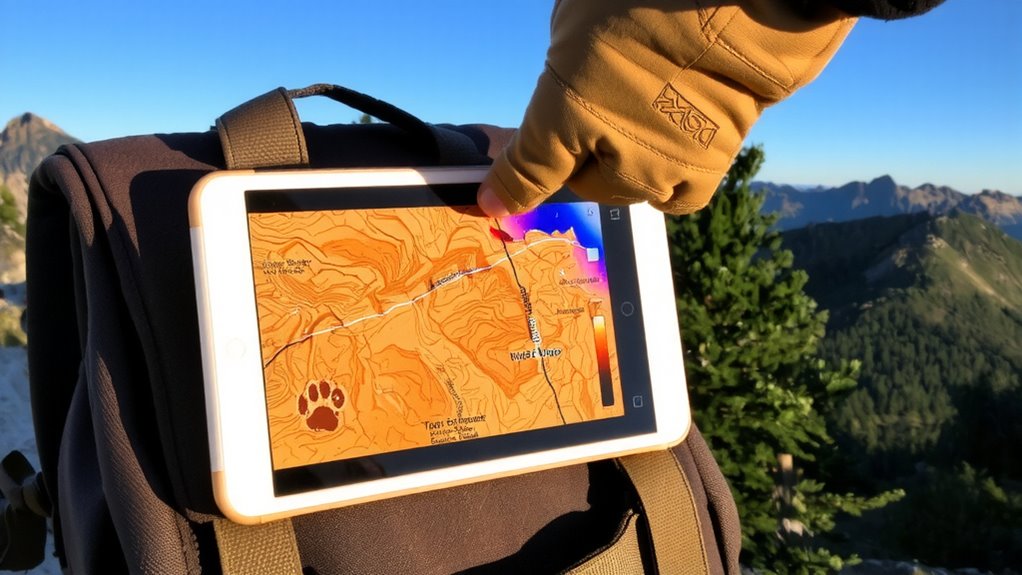
While some apps claim to track wildlife, only a few deliver reliable, real-time signs like tracks, scat, or feeding marks. You’ll want one that overlays animal tracks and nesting sites directly onto topographic maps. Apps like iNaturalist and Seek verify sightings through community input, increasing accuracy. Others, like onX Hunt, mark bedding zones and nesting sites based on historical data, but their tracking updates lag by hours. Real-time GPS tagging helps, but it’s only useful if the app refreshes frequently-look for intervals under 15 minutes. Cellular coverage limits performance in remote areas, so choose one with offline mode and pre-downloaded layers. Don’t rely on heatmaps alone; they’re generalized and miss subtle signs. Instead, use an app that logs exact waypoints when you spot animal tracks. This hands-on input improves your data over time, especially when combined with seasonal patterns. Accuracy matters more than features.
Look for Land Shapes That Channel Animal Movement
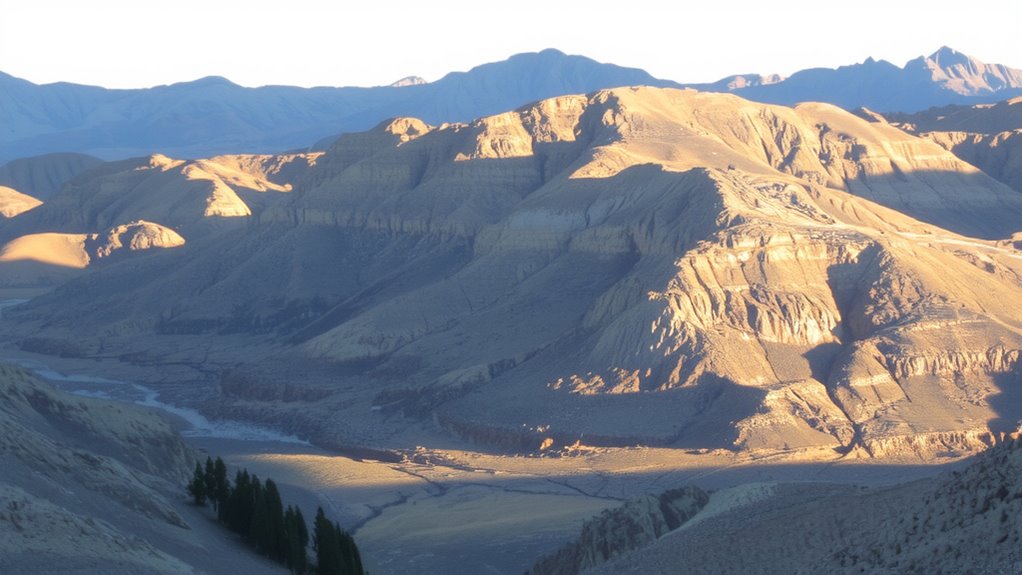
If you’re trying to predict where animals will move, focus on the land’s shape-it funnels movement in repeatable ways. Natural terrain features like ridge lines and drainage patterns act as invisible guides. Animals follow these to save energy and stay alert. Ridge lines offer clear travel with good visibility, while drainage patterns lead directly to water and shelter. Use your map app to trace these forms and mark likely routes.
| Feature | Why It Matters |
|---|---|
| Ridge lines | Provide open, efficient paths |
| Drainage patterns | Guide animals to key resources |
| Narrow corridors | Force concentration of movement |
These land shapes reduce guesswork. You’ll find more sign where terrain restricts choice. Stick to what the topography shows-don’t assume. Test your predictions by checking for tracks or scat where ridges bend or drainages narrow. The land doesn’t lie. For reliable navigation in remote areas, consider using one of the best emergency maps to enhance your situational awareness and route planning.
Use Satellite Imagery to Find Wildlife Water Sources
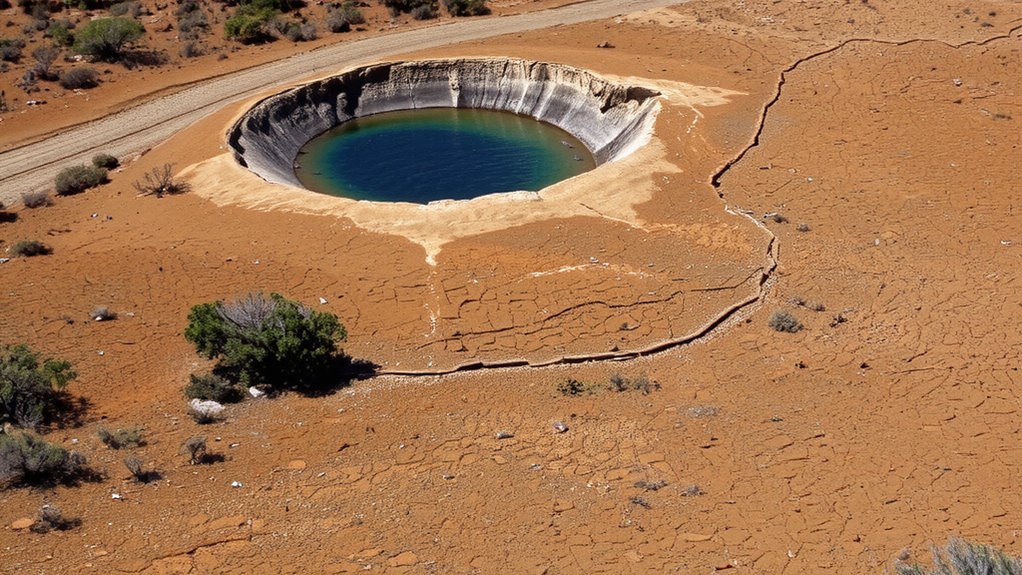
Where do animals go when they need water? They head to reliable sources, and satellite imagery helps you find them. You can spot water patterns like dry riverbeds, seeps, or lingering moisture in valleys even when surface water isn’t visible. Tools like Landsat or Sentinel provide free, high-resolution data updated regularly, letting you track seasonal changes over months. During dry periods, animals rely more on permanent water sources, so focus on areas where water persists. Wet seasons may create temporary ponds, but those vanish-don’t depend on them. Look for dark soil stains, vegetation greenness, or linear drainage features on imagery. These signs indicate past or present water flow. Over time, you’ll see where water appears consistently. Matching these spots with animal movement clues increases your chances. It’s not guesswork-it’s observation with precision. Use the data, stay objective, and let patterns guide you.
Use Heatmaps and Elevation to Spot Active Trails
How do animals choose their routes across rugged terrain? They follow paths of least resistance, and you can spot these using elevation maps and heatmaps. Steep slopes often funnel movement into predictable corridors. Overlay heatmap data showing trail density on a topographic map, and you’ll see where repeated movement patterns emerge. High trail density usually means consistent use, especially near water or feeding areas. Look for narrow ridges, saddles, or drainage lines-animals avoid unnecessarily steep climbs. Heatmaps derived from GPS wildlife tracking or user-reported sightings help confirm these zones. Elevation gradients under 15% are commonly preferred. Combine both data layers to pinpoint active trails. You won’t need guesswork-just align visible paths with movement patterns and terrain. This method reduces false leads and targets high-probability areas, saving time and effort in the field.
Plan Your Route Using Public Land Access Points
While knowing where trails are is useful, getting to them starts with knowing where you can legally enter public land. Your access rights determine where you can go without trespassing. Use digital maps to identify public land entry points like trailheads, road easements, or designated gates. These spots often have clear trail markers, reducing your risk of going off-route. Always verify access rights, as some areas restrict entry seasonally or by permit. Below is a quick reference for evaluating access points:
| Feature | Why It Matters | Example |
|---|---|---|
| Trailhead | Marked start with access rights | BLM land trailhead with signage |
| Forest Road | Often open for public use | Gravel road with trail markers |
| Easement Gate | Legal access through private land | Locked gate with public notice |
| Park Boundary | Clear jurisdiction and access rules | National forest boundary marker |
| Water Access | Alternative entry for remote trails | Public river access point |
On a final note
You’ll find wildlife trails faster by combining map apps with satellite views and elevation data. Terrain shapes and water sources guide animal movement, so look for choke points and damp areas. Heatmaps highlight frequent paths, but verify on foot. Public access points get you close without trespassing. No single tool does it all-each has gaps. Cross-reference sources and scout in person. It’s not foolproof, but it cuts search time and improves accuracy when planning.