Establishing Safe Zones Around Avalanche Accident Scenes in the Backcountry
You scan for slopes over 30 degrees, recent slides, and wind-loaded areas to spot danger fast. Set your safe zone near ridgelines or tree islands, avoiding gullies and runout paths. Keep your team spaced outside slide zones but within signaling distance. Mark boundaries with wands or gear every 5–10 meters for clear visibility. Reassess every 15–30 minutes as snow conditions shift. Staying alert and mobile keeps you protected-there’s more to know about adapting as conditions evolve.
Notable Insights
- Identify stable terrain near ridgelines or dense tree islands to establish initial safe zones away from slide paths.
- Mark safe areas with brightly colored gear, wands, or probes spaced every 5–10 meters for clear visibility.
- Continuously scan for changing conditions like wind loading, cracking snow, or new avalanches to reassess safety.
- Position team members outside runout zones and terrain traps while maintaining visual or radio contact.
- Use hand signals or voice checks to coordinate movements and ensure all personnel stay clear of hazardous zones.
Identify Avalanche Danger Zones Immediately
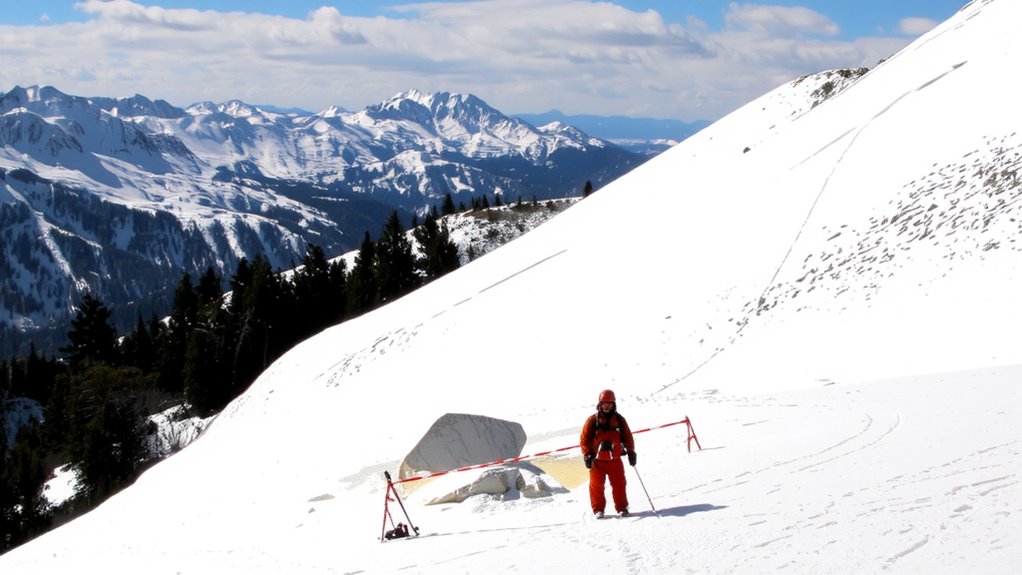
While you’re still gearing up at the trailhead, take a minute to scan the terrain ahead-your first real chance to spot avalanche danger zones starts now. Look for obvious slopes over 30 degrees, recent slide paths, or areas with sparse tree cover; these are common avalanche triggers. Pay attention to wind-loading patterns; they often deposit snow quickly on lee aspects, reducing snow stability. You don’t need a lab test to spot weak layers-listen for “whumpfing” sounds or see recent cracking underfoot, both signs of poor snow stability. Avoid terrain traps like gullies where avalanches can pile debris deeper. Identifying danger early isn’t guesswork-it’s routine observation. Your gear won’t save you if you’re already in the runout zone. Move deliberately, use your map and inclinometer, and mark risky areas before committing. Recognizing avalanche triggers and evaluating snow stability aren’t optional steps-they’re baseline checks for every backcountry entry.
Establish Safe Zones Using Terrain Cues
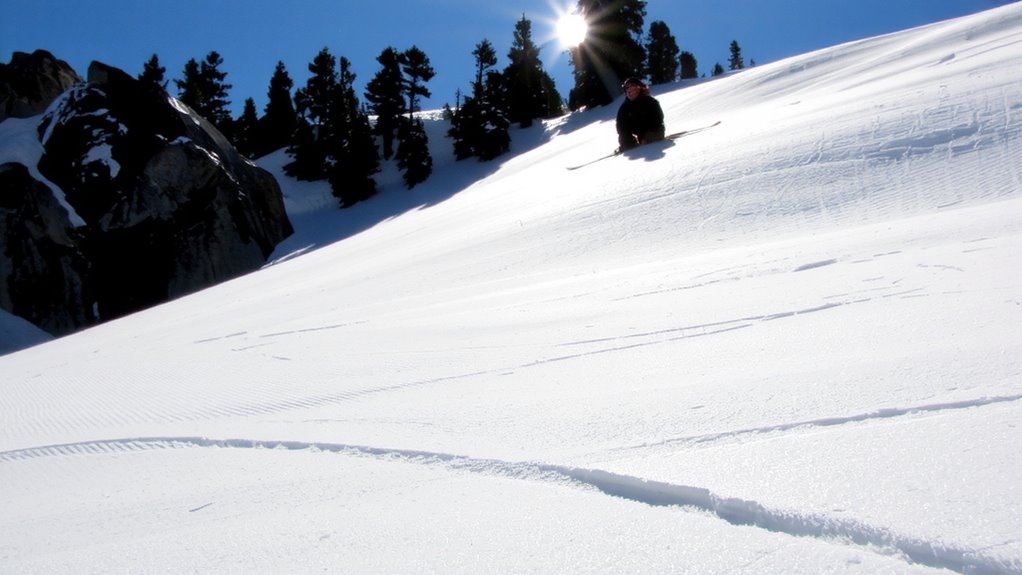
Your best defense against avalanches isn’t luck-it’s terrain. You can use natural features to spot safer ground fast. Stay near or just below a ridge line, where avalanches are less likely to travel. Avoid gullies and open slopes above you-debris flows around or over them. Tree islands offer solid anchors and indicate lower runout potential. They break up snow continuity, reducing slide risk. Position yourself close to them, but not directly beneath, where falling ice or snow could strike. These cues work best when combined: a ridge line with nearby tree islands gives dual protection. Don’t rely on flat ground alone-avalanche debris moves far. Use elevation and dense vegetation as measurable shields. You won’t always find perfect cover, so pick terrain that limits exposure and offers quick escape. Real-world testing shows these cues reduce burial odds. Simple, observable facts keep you alive.
Position Your Team Away From Slide Paths
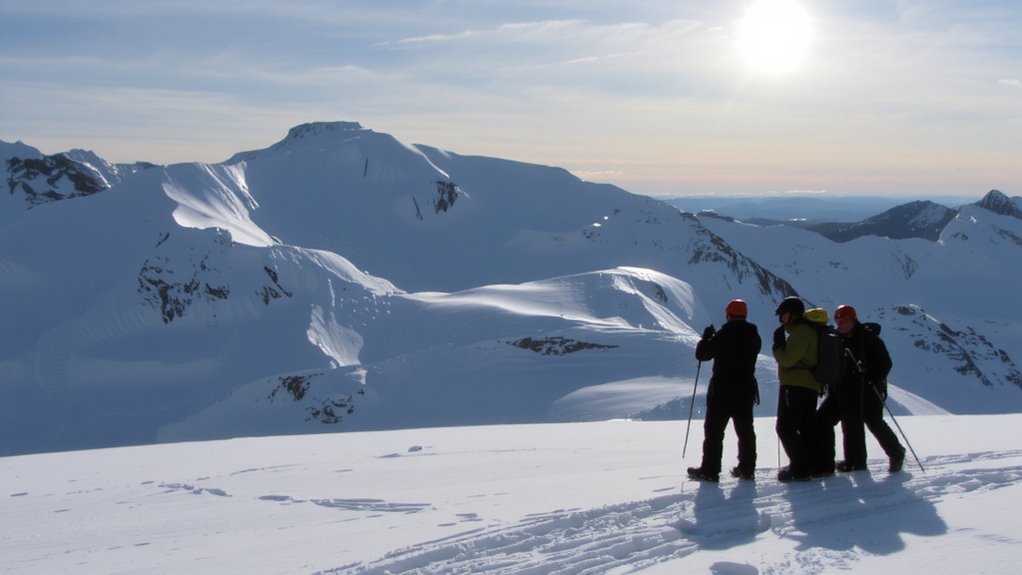
You’ve identified safer ground using ridge lines and tree islands-now keep that advantage by positioning your team outside obvious slide paths. Team positioning is critical: even a small slab can carry debris into terrain traps, so stand clear of gullies, open slopes, and runout zones. Stay on convex rolls or dense tree patches that break up snow movement. Keep your group spread out enough to avoid multiple burials but close enough for quick communication. Establish communication protocols early-hand signals, voice checks, or radio use-so everyone knows their role and location. These protocols reduce confusion and keep decisions sharp under stress. Never assume safety based on appearance; snowpack stability changes rapidly. Reassess conditions every 15 to 30 minutes. Proper team positioning isn’t just precaution-it’s efficient, minimizing risk while maximizing readiness.
Mark Safe and Hazard Zones Clearly
A group’s survival often hinges on clear visual cues, so mark safe and hazard zones with deliberate, visible signals. Use color coding-like red for danger, green for safe-to create instant recognition under stress. Attach ski poles, packs, or brightly colored gear to signal boundaries; these low-tech signaling methods are reliable when electronics fail. Plastic wands or avalanche probes work well too, placed every 5–10 meters for consistent visibility. Reflective tape or glow sticks add nighttime clarity. Avoid subtle markers-they won’t stand out in whiteout conditions. Test your signaling methods in poor light: if you can’t spot them from 30 meters, they’re not sufficient. Color coding must be agreed upon beforehand to prevent confusion. These markers aren’t just guides-they redirect movement efficiently, reducing secondary risk. Simple, standardized signals improve response speed. In fast-changing scenarios, clarity saves time and lives. Mark zones early, mark them clearly, and stick to proven signaling methods.
Adapt Safe Zones as Conditions Shift
When snow stability changes due to weather, loading, or time of day, safe zones can become hazardous in hours or even minutes, so you’ve got to reassess them regularly. Weather changes like new snow, wind, or rapid warming alter loading patterns and expose weaknesses. What was secure at dawn may not hold by noon. You must watch for signs of snowpack instability-whumpfing, cracking, or recent avalanche activity-since these signal increased risk. Avoid lingering under slopes just because the zone felt safe earlier. Reevaluate terrain traps, overhead hazards, and escape routes as conditions evolve. Static safe zones fail when conditions shift; adaptability is critical. Moving your team to higher ground or wider ridges may be necessary. Real-time observations matter more than initial plans. Trust updated assessments, not assumptions. Your margin of safety depends on constant awareness and timely adjustments to the actual snowpack behavior you see and feel.
Move Fast Without Risking New Victims
Just because conditions shift doesn’t mean you stop moving, but speed means nothing if it leaves new victims in your wake. You must balance rescue urgency with site safety-rushing in blindly risks more burials. Assess snow stability quickly; if the slope’s still reactive, approach from the flank or wait for consolidation. Every minute counts, but not at the cost of another life. Use avalanche beacons, probes, and shovels in coordinated sweeps-don’t spread out. Designate one rescuer to initiate victim signaling while others monitor for secondary slides. Clear communication guarantees efficiency without chaos. Move fast, but only along safe access routes you’ve verified. Your goal isn’t just speed-it’s effective action within survivable timeframes. A fast response fails if rescuers become victims. Prioritize methodical progress, confirm safe zones before entry, and maintain team accountability throughout. Your discipline decides the outcome.
On a final note
You secure the scene fast, but not at the cost of new victims. Use terrain-ridges, dense trees, or convex rolls-to block slide paths. Mark boundaries with probes or packs so everyone sees the safe zone. Conditions shift; you adjust. No drama, no guesswork-just clear zones, constant awareness, and movement only when the path’s proven safe. Speed matters, but only if it’s controlled.