The Importance of Shelter in Survival Situations: Essential Tips for Building or Improving Cover
You need shelter first to block wind, rain, and cold-build it within an hour using natural cover like lean-tos or debris piles. Pick a mid-slope spot with windbreaks, insulate the ground with leaves, and pack walls thick to trap heat. Use leaf litter or boughs for insulation, not comfort, and avoid low zones that collect water or cold air. If you’re using a cave or hollow, seal gaps to stop drafts. Check for leaks, weak poles, or sagging fast-it could fail in bad weather. Stay dry and insulated, and you’ll cut hypothermia risk fast. Smart choices now keep you alive longer when help isn’t coming. There’s more to get right if you’re pushing deeper into the wild.
Notable Insights
- Choose mid-slope locations to avoid floods and high winds while benefiting from natural windbreaks like trees or rocks.
- Build a lean-to frame with fallen branches and insulate with thick layers of leaf litter for effective wind resistance and warmth.
- Insulate the shelter floor with 6 inches of dry leaves or pine needles to prevent heat loss to the ground.
- Reinforce natural shelters like caves with branches and seal gaps using leaves or mud to block drafts and pests.
- Regularly check for structural weaknesses, water leakage, and poor drainage to prevent shelter failure in harsh conditions.
Choose the Safest Spot for Your Survival Shelter
While it might be tempting to set up camp wherever you first stop, picking the safest spot for your survival shelter means checking a few key factors first. Your elevation choice matters-stay above flood zones but avoid ridge tops where storms hit hardest. Aim for mid-slope positions that offer drainage and stability. Wind exposure is just as critical; you’ll lose body heat faster in open, exposed areas. Look for natural windbreaks like rock formations or dense tree lines that reduce gusts without risking falling branches. Avoid dry riverbeds or low spots that turn icy at night. Proximity to resources helps, but safety comes first. A slightly less convenient site with good elevation choice and reduced wind exposure increases your chances of staying warm, dry, and alert. You’re not just resting-you’re maintaining core function. Pick the spot that supports that goal. A reliable option in uncertain conditions is a top-rated emergency shelter that balances durability and portability.
Build a Survival Shelter Fast With Natural Materials
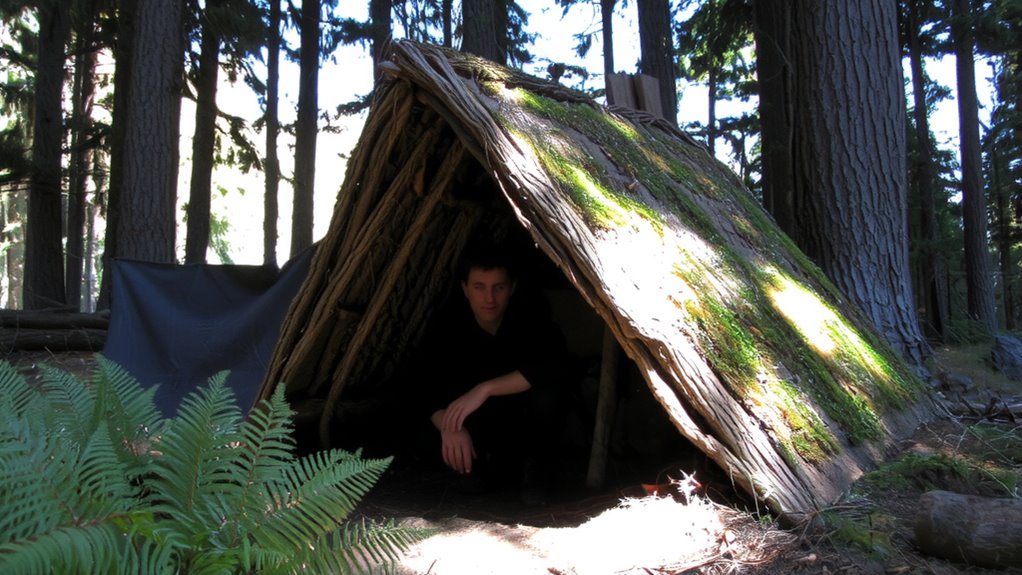
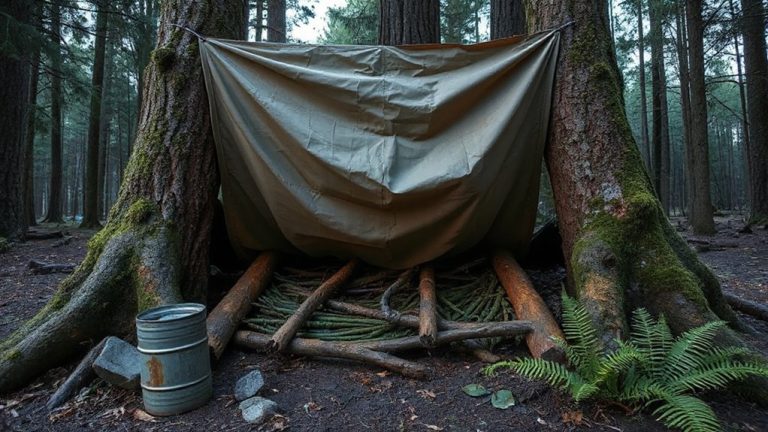
If you’ve already picked a safe spot, start building your shelter right away using materials at hand-time matters when body heat drops fast in cold environments. Use fallen branches to frame a lean-to against a tree or rock. Pack the structure with leaf litter, which traps air and adds bulk without adding weight. Layer thickly-2 to 3 feet-to prevent wind from collapsing the cover. A debris pile built this way resists moisture better than bare branches and becomes more stable over time. Focus on coverage, not comfort; survival shelters are meant to preserve heat, not offer space. Avoid green wood-it’s harder to break and shape under stress. Work fast: each minute counts. Leaf litter insulates moderately but loses effectiveness if compressed too tightly. Build the debris pile high enough to allow airflow near your face. Your shelter won’t be perfect, but it beats exposure.
Insulate Your Shelter to Stay Warm at Night
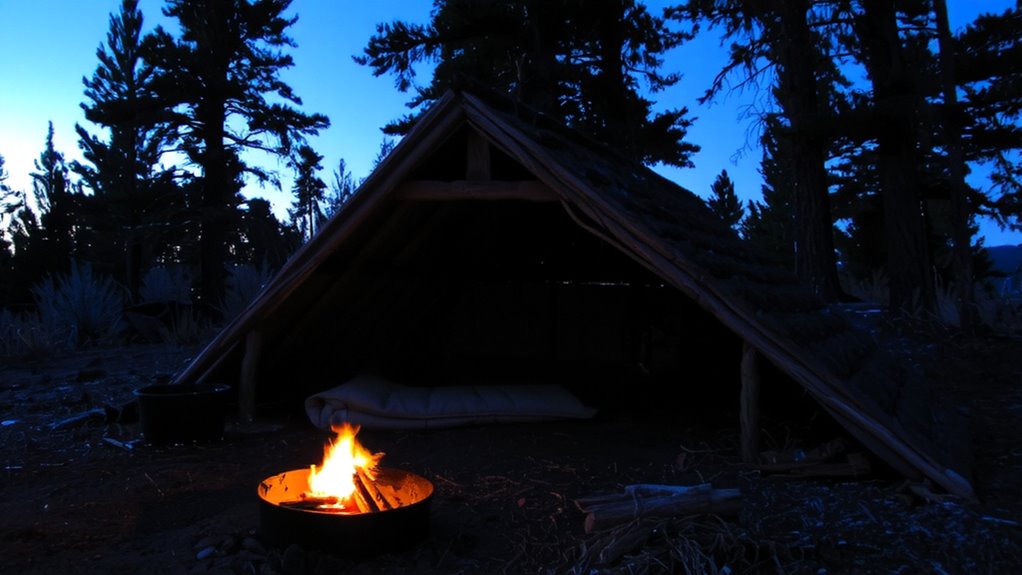
You’ve built your lean-to using fallen branches and leaf litter, but that’s just the start-now you need to stop heat loss where it matters most: at ground level and through the walls. Ground moisture saps body heat quickly, so insulate your floor with dry leaves, pine needles, or moss-aim for at least 6 inches to reduce conductive heat loss. Your body heat won’t stay trapped without effective thermal layers. Line the interior walls with spruce boughs or stacked foliage to minimize radiant heat loss. Avoid compressing insulation, as it reduces its effectiveness. Trapped air in thick, loose layers is what retains warmth. If you have a Mylar blanket, place it inside the wall lining to reflect heat, but don’t rely on it alone. Natural materials work better when layered loosely to maintain loft. Test your setup before dark-you should feel noticeably warmer inside than outside once night falls.
Improve Found Structures for Better Protection
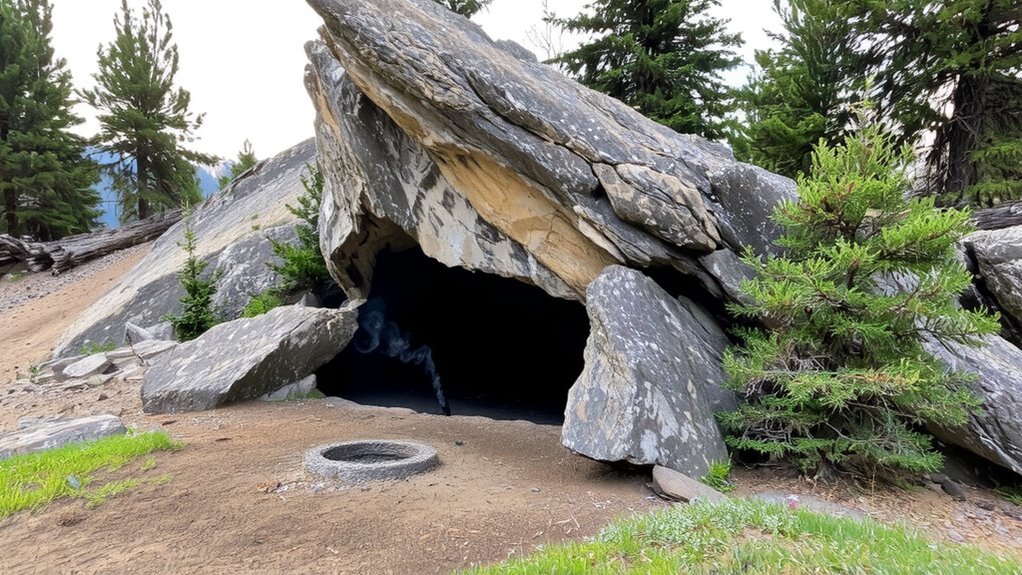
Since natural shelters like caves or fallen tree hollows offer a head start, you can save time and energy by upgrading them instead of building from scratch. Reinforce walls with sturdy branches or rocks to prevent collapse and improve wind resistance. Seal gaps using mud, leaves, or clothing to block drafts and retain warmth. These simple steps make found shelters safer and more effective.
| Action | Purpose |
|---|---|
| Reinforce walls | Increases structural integrity |
| Seal gaps | Reduces heat loss and pests |
| Layer materials | Improves insulation and durability |
Use what’s around you-wood, snow, or earth-to strengthen weak spots. A well-upgraded shelter resists weather and lasts longer. Prioritize stability and coverage over comfort. You won’t need tools for most fixes, just practical application. Done right, reinforcement and sealing markedly boost protection without extra cost or complexity. Choosing the right survival shelters can significantly impact your safety and comfort in the wild.
Spot Shelter Failure Before It’s Too Late
A shelter might look solid at first glance, but small flaws can turn into serious problems when the weather shifts. You need to check for water leakage early-damp insulation loses effectiveness, and prolonged exposure raises hypothermia risk. Look for discoloration on interior surfaces or pooling near seams after rain. Structural instability is equally critical; if support poles bend under light pressure or anchor points loosen, the entire shelter could fail. Test corners and ridgelines with moderate force to assess strength. Gaps near the foundation or sagging roofs often precede collapse. These signs aren’t just inconveniences-they’re warnings. Immediate reinforcement or relocation may be necessary. Regular inspection takes little time but prevents exposure when conditions worsen. Spotting failure early means you’re not reacting when it’s too late but acting while you still have control. Choosing a shelter with reliable water-resistant tent technology can significantly reduce the risk of failure in heavy rain.
Avoid These Common Shelter-Building Mistakes
Most shelter failures stem from preventable errors made during construction, not lack of materials or skill. You might build a snug-looking cover, but if it has poor drainage, water will pool inside, soaking your gear and raising hypothermia risk. Always slope the ground away from the shelter and avoid low spots. A weak frame can’t handle wind or snow load, leading to collapse. Secure your main supports deeply into the ground or anchor them to stable objects. Use ridge poles that are thick enough to resist bending. Even strong materials fail if assembled wrong. Test stability by applying light pressure. If corners shift or wobble, reinforce them. Don’t ignore gaps near the base-they invite drafts and moisture. Simple fixes now prevent bigger problems later. Avoiding these mistakes guarantees your shelter lasts through the night, as it should.
Why Shelter Comes First in Survival
Shelter is your first line of defense against the elements, and skipping it puts everything else at risk. In survival, your prioritization hierarchy starts with shelter because exposure worsens within hours, not days. Hypothermia or heat exhaustion can impair judgment, making other tasks harder. You face immediate threats like wind, rain, or extreme temps-conditions that degrade performance fast. A basic shelter beats delayed action every time. It doesn’t need to be perfect; it must block wind and retain body heat. Materials matter less than placement-use natural barriers when possible. Even a tarp setup in 15 minutes offers better odds than searching for food or water first. Shelter stabilizes your core temp, which keeps your thinking clear. That clarity lets you assess next steps logically. Without it, every other survival task becomes riskier. Build cover early, stay drier, stay functional. It’s not idealism-it’s measurable. Survival time increases markedly when shelter comes first.
On a final note
You need shelter fast because exposure kills quicker than thirst or hunger. Pick a dry, elevated spot away from wind and hazards. Use natural materials like branches and leaves for quick, effective cover. Insulate with debris to retain heat. Reinforce any found structure to improve stability and weather resistance. Watch for leaks, shifting, or cold spots. A simple, well-placed shelter outperforms complex builds every time.