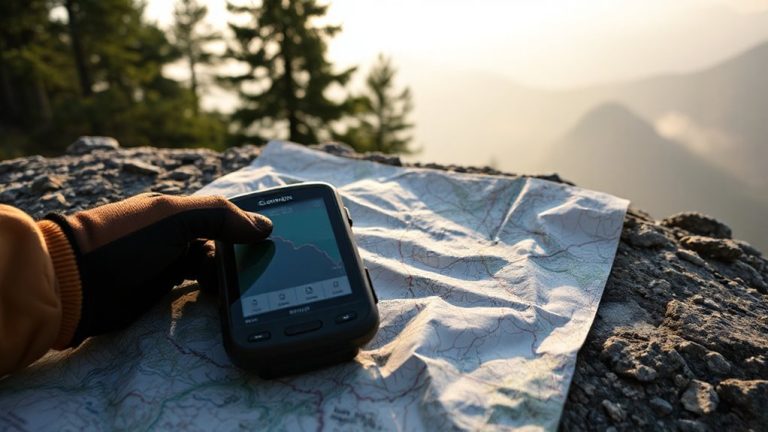
How to Pre-Load Survival Cache Locations Into GPS for Emergency Access
Get a rugged GPS with long battery life and offline map support. Mark each cache after getting a strong signal and calibrate by averaging readings. Use clear names like Water_SouthTrail and pair with simple icons. Test every route on foot with a full pack in bad weather. Save coordinates on at least two devices and back up maps on MicroSD. Touchscreen units fail with gloves-stick to physical buttons. Signal reliability drops under trees-choose models with GLONASS and WAAS. You’ll want to know how to stay undetected when retrieving them later.
Notable Insights
- Choose a durable GPS device with long battery life and support for multiple satellite systems for reliable emergency access.
- Accurately mark cache locations by averaging GPS coordinates over several minutes to minimize error.
- Use clear, descriptive names and intuitive icons for waypoints to enable quick identification during high-stress situations.
- Pre-load cache coordinates onto at least two offline-capable devices to ensure redundancy and accessibility.
- Test retrieval routes in real-world conditions and store offline maps to navigate effectively when signals are weak or unavailable.
Choose the Right GPS Device for Cache Navigation
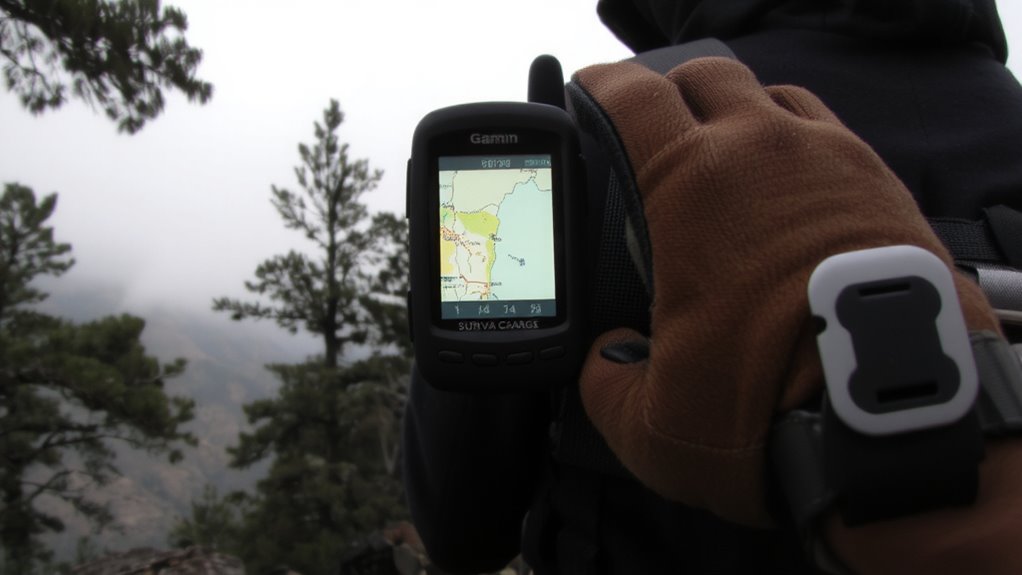
You’ll want a GPS device that’s built to survive the same conditions you’re prepping for, so focus on models with military-grade durability, long battery life, and reliable signal acquisition. Signal accuracy matters most when traversing to pre-loaded caches-look for receivers that support both GPS and GLONASS with WAAS to reduce drift and improve positioning under tree cover. Battery longevity is critical; some units last 20 hours on AA batteries, others up to 50 with rechargeable packs. Choose one with power-saving modes and the ability to use standard batteries for field swaps. Rugged, waterproof designs (IPX7 or better) handle drops and wet conditions without failure. Touchscreens often fail with gloves or moisture, so prefer models with physical buttons. Test signal acquisition time in your area-cold starts under 45 seconds are ideal. Don’t assume more features mean better performance; stripped-down models often deliver more reliability when you need it most.
Mark and Save Cache Coordinates Accurately
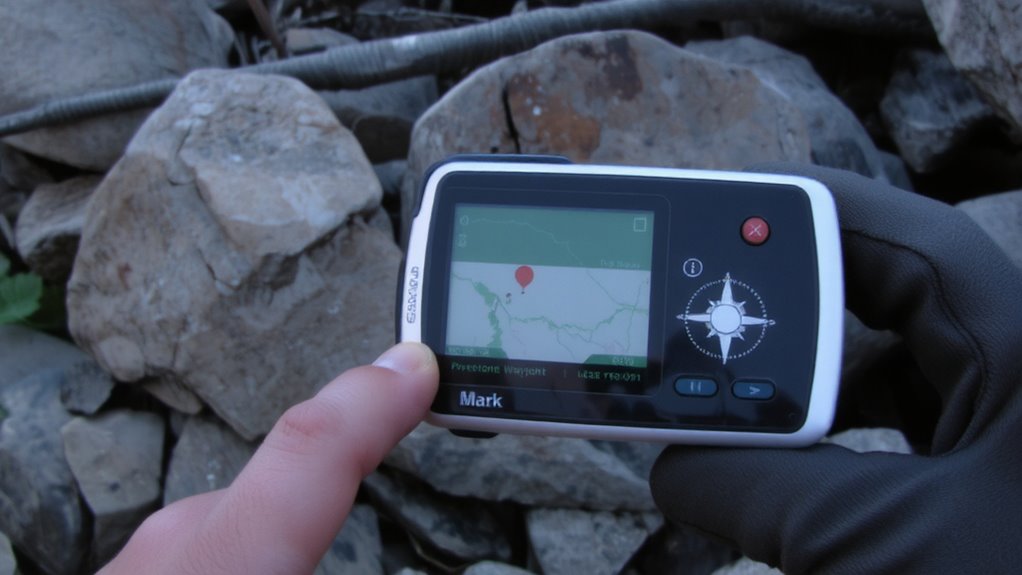
A precise waypoint is only as good as the method used to record it, so take the time to mark each cache location with care. Geolocation accuracy depends on clear sky views and proper GPS signal acquisition-wait until you’ve achieved a solid lock before saving. Perform waypoint calibration by averaging multiple readings over several minutes to reduce error. Avoid doing this near large objects that might reflect signals. A reliable hiking GPS device can significantly improve your ability to capture accurate coordinates in remote areas. Below are key factors affecting accuracy:
| Factor | Impact on Accuracy |
|---|---|
| Signal strength | High – weak signals increase error |
| Satellite count | Medium – more satellites improve fix |
| Obstructions | High – trees and rocks degrade signal |
| Calibration method | High – averaged points enhance precision |
Use these guidelines to guarantee each coordinate reflects the true location. Skimping here undermines your entire cache system when you need it most.
Organize Caches With Named Waypoints and Icons
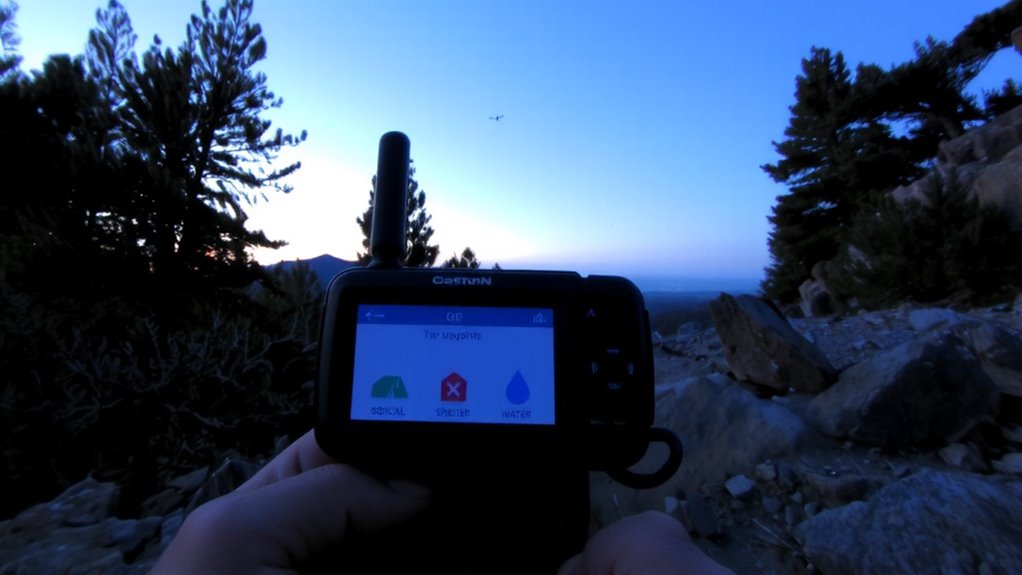
Once the coordinates are recorded with precision, focus shifts to making those locations easy to identify under stress. You’ll want clear cache labeling-use descriptive names like “Water_SouthTrail” or “Medic_01” so you don’t waste time decoding vague entries. Most GPS units allow 10–12 characters, so prioritize brevity and specificity. Pair each name with deliberate icon selection. Choose symbols that match cache contents: a water droplet for hydration points, a medical cross for first aid kits. Standard icons load faster and reduce visual clutter during navigation. Avoid default or generic markers-they blend together and increase decision fatigue. Test different combinations in your device’s menu to confirm visibility and speed of recognition. Good labeling and smart icon use cut search time by up to 40% in real scenarios. These small tweaks make retrieval faster when every second counts. For reliable performance in remote areas, consider using one of the best GPS devices for hiking.
Test Your Cache Routes in Real Conditions
Even if your GPS shows a clear path to a cache, real-world conditions can make that route impractical or dangerous-so you need to walk it yourself under realistic loads and terrain. Test each route in varying weather conditions and at different times of year to gauge terrain difficulty accurately. Carrying a full pack reveals stamina needs and travel time more precisely than day hiking. A properly fitted backpack for overnight hiking ensures comfort and stability during these critical test runs. Below is sample data from three test runs:
| Route | Weather Conditions | Terrain Difficulty (1–5) |
|---|---|---|
| A | Light rain | 3 |
| B | Clear, hot | 2 |
| C | Snow accumulation | 5 |
| D | Windy, dry | 4 |
| E | Fog, cool | 3 |
Adjust plans based on what you observe. Some trails become impassable under snow or heavy rain. Terrain difficulty affects speed and energy use. Testing eliminates guesswork when seconds count.
Store Backups on Multiple Devices and Offline Maps
If you’re relying on a single GPS device or app, you’re gambling with access-because hardware fails, batteries die, and signals drop when you need them most. Build device redundancy by saving cache coordinates on at least two separate tools: a dedicated GPS unit, a smartphone, and optionally a tablet or smartwatch. Each device should have offline maps pre-loaded to guarantee navigation without signal. Use apps like Gaia GPS or topographic map software that support map preservation via download to local storage. Test each device under real-world conditions to verify battery life and GPS accuracy. Redundant devices increase reliability, but only if all are updated and regularly checked. MicroSD cards can store map backups, but they degrade over time-refresh them annually. Avoid cloud-only storage; it’s useless without connectivity. Your survival may depend on access to a cached route when tech fails-plan accordingly.
Stay Hidden When Accessing Caches
While retrieving supplies from a survival cache, staying concealed is critical-exposure increases risk of theft or conflict. You should use camouflage techniques like natural cover and low-visibility clothing to blend into the environment. Avoid open areas and approach caches during low-light periods when visibility is limited. Terrain masking helps you stay undetected by using hills, ridges, or dense vegetation to block line of sight. Move slowly and avoid silhouetting against the sky. Always survey the area from a distance first, using binoculars or optics to confirm no signs of disturbance. GPS signals themselves don’t reveal your position, but visible movement to and from a cache point does. Cache containers should match local surroundings in color and texture. These methods don’t guarantee safety, but they reduce detection risk markedly in high-stress scenarios.
On a final note
You’ve loaded the waypoints, tested the routes, and backed up the data-now your GPS is ready. Accurate coordinates and clear icons save time when every second counts. Using multiple devices cuts risk if one fails. Real-world testing reveals flaws maps can’t. Staying hidden keeps your cache secure. It’s not about the fanciest gear; it’s about reliable access under pressure. Preparedness beats improvisation.