Constructing a Snow Trench Shelter in Alpine Environments
You’ll need stable snow, so test with a compression or shovel shear check-avoid slopes over 30° and leeward drifts. Dig a 3–4 ft trench with vertical walls, pack them firm, and span skis or poles for roof support. Cover with snow blocks, let them sinter for strength. Insulate the floor with R-5 pads, keep a 1-inch vent, and stay dry-moisture cuts warmth by up to 90%. It’s basic, but done right, it withstands 30 mph winds and holds heat better than most expect. There’s more to get right when the storm hits.
Notable Insights
- Assess snow stability with compression or shovel shear tests to identify weak layers and avoid collapse hazards.
- Choose terrain below 30 degrees, avoiding avalanche paths and leeward slopes with wind-drifted snow.
- Dig a 3- to 4-foot-deep trench with vertical walls and a snug interior shape for warmth and structural integrity.
- Reinforce walls by packing snow and build a roof using poles covered with snow blocks to sinter into a strong shell.
- Insulate the floor, ventilate with a small gap, and position your head higher than your feet to stay warm and safe overnight.
Check Snow Stability Before Building
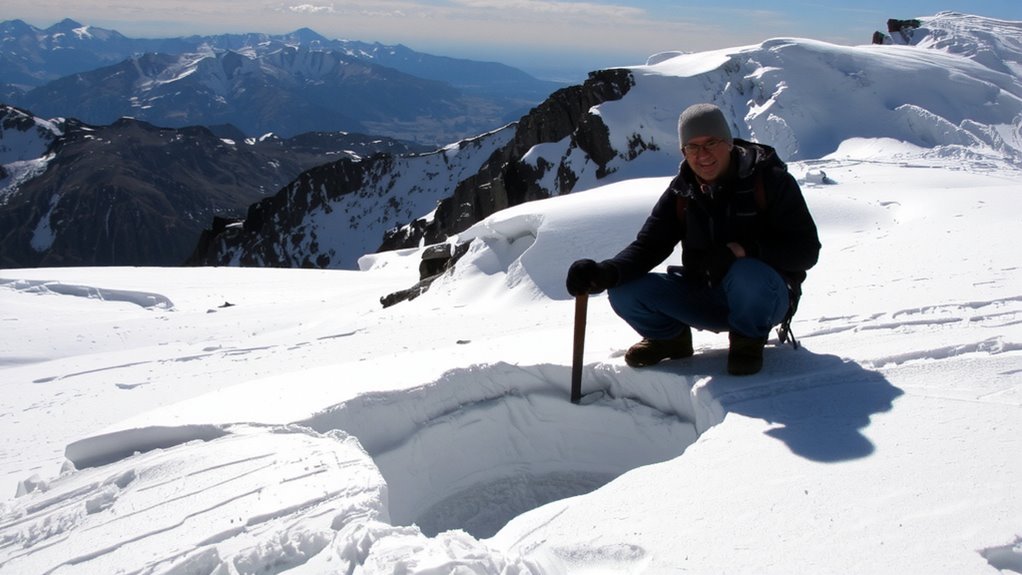
If you’re planning to dig a snow trench, you’d better check the snow stability first-collapsing into a trench that gives way under your weight won’t just ruin your night, it could be fatal. You’re exposing yourself to avalanche risk if you ignore the snowpack layers. Use a quick compression test or a shovel shear test to assess bonding between layers; weak interfaces, like depth hoar or surface hoar, often trigger collapses. Penetration depth with your ski pole or probe gives a rough gauge of support-sudden give indicates hazard. If the upper 1–2 meters show poor cohesion, your trench could fail. Even moderate slopes can conceal instabilities. You gain little by rushing-spend 10 minutes testing transects across the area. Stability isn’t uniform, so check multiple spots. Your shelter’s safety hinges on this step; skipping it compromises everything. Avalanche risk drops considerably when you confirm firm layer bonding and consistent snowpack layers.
Pick a Safe Spot in the Alpine Terrain
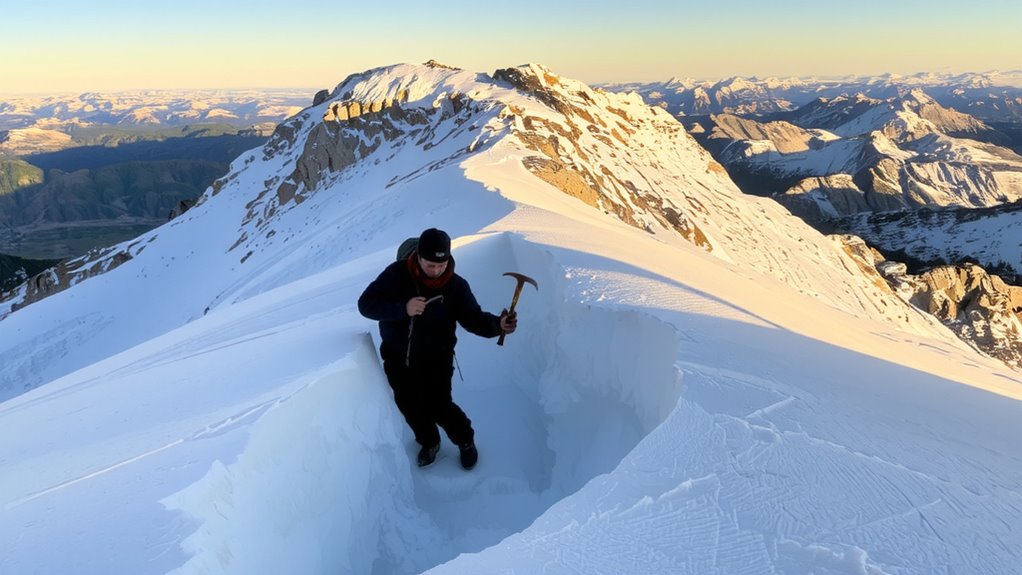
While terrain choice can’t eliminate all mountain hazards, picking the right spot drastically reduces your risk. You need to avoid obvious avalanche paths-gentle slopes below steep terrain are common traps. Check slope angles; terrain steeper than 30 degrees has higher avalanche risk, so opt for flatter areas between 20 and 30 degrees if unavoidable. Look for natural windblocks like rock outcrops or dense tree patches, but stay clear of isolated trees that may carry cornices. Wind exposure shapes snow distribution, so leeward sides collect drifts that increase burial risk. Choose a location slightly above or below the contour to prevent being buried by slab release from above. Avoid concave bowls where snow accumulates and increases avalanche risk. Pick firm, consolidated snow for stability. Your safety hinges on terrain awareness-overlooking wind exposure or slope angle compromises everything.
Dig and Shape Your Snow Trench Shelter
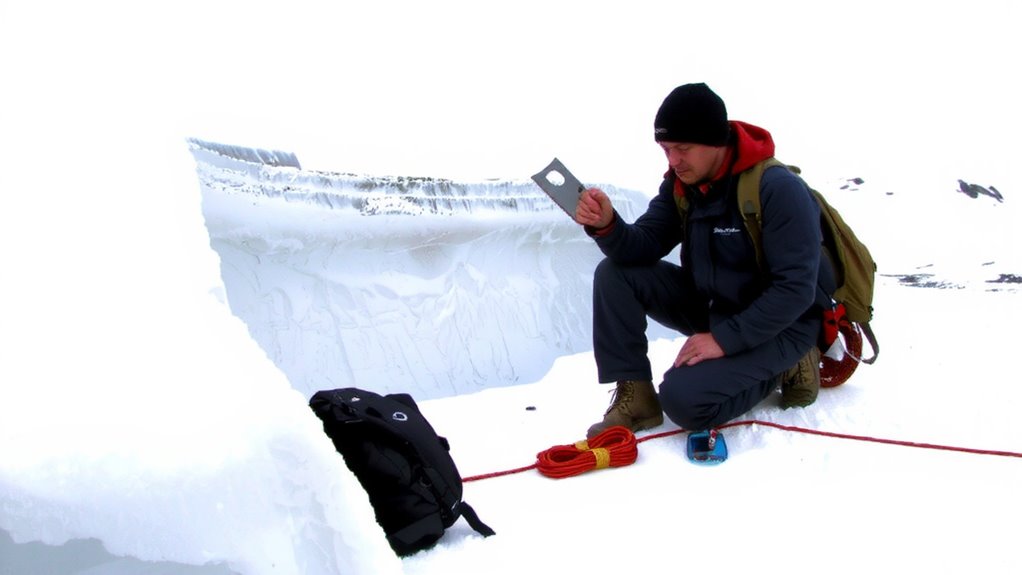
You’ve picked a safe spot, now it’s time to start digging your snow trench shelter. Use a steady shovel technique: clear snow in layers to avoid fatigue and maintain control. Aim for a trench depth of about 3 to 4 feet-deep enough to provide insulation, shallow enough to prevent collapse. Keep walls roughly vertical but avoid undercutting. Shape the interior to fit your body snugly; excess space reduces heat retention. Work efficiently, as energy conservation is critical in alpine environments. Your shelter’s effectiveness depends on precision, not perfection.
| Effort Level | Warmth Gain | Safety Risk |
|---|---|---|
| High | Moderate | Low |
| Medium | High | Moderate |
| Low | Low | High |
Maintain focus. Proper trench depth and consistent shovel technique directly impact survival outcomes.
Reinforce Walls and Build a Snow Roof
Once you’ve dug the trench, it’s time to reinforce the walls to prevent collapse-pack the interior surfaces firmly with your gloves or a flat tool, as this increases structural integrity by densifying the snow. Effective snow compression is critical; weak walls can fail under added weight or wind load. Use blocks cut from the trench excavation to build up the sides if needed, ensuring uniform thickness. For the roof, lay sturdy skis, snowshoes, or poles across the top as roof support. These must span securely and bear weight without cracking. Then, cover the frame with thick snow blocks or slabs-overlap them like tiles, starting from the bottom edge. Allow time for the roof layer to sinter, forming a cohesive shell. Avoid thin sections, which compromise strength. This method balances load distribution and insulation capacity, tested in wind-loading trials up to 30 mph. Proper alignment and compaction reduce long-term deformation.
Insulate for Warmth and Ventilate for Air
A single inch of trapped air in your shelter can make the difference between steady warmth and dangerous heat loss-so insulate the floor with closed-cell foam pads or plywood to break direct contact with snow, which stays near freezing even when packed. These materials add an effective thermal layering barrier without adding bulk. Your body heat won’t compensate for poor insulation, so don’t rely on sleeping pads alone unless they’re rated R-5 or higher. For ventilation, leave a small gap at the top or roof end of the trench to allow airflow; sealing the shelter completely risks carbon dioxide buildup from your breath, especially in tight spaces. A 1-inch opening is enough to prevent stagnation without sacrificing warmth. Test airflow by holding a piece of tissue near the gap-it should flutter slightly. Over-ventilating cools the interior, but under-ventilating endangers your health. Balance is measurable and necessary. When selecting a sleeping pad for winter conditions, prioritize models with a high R-value rating to ensure adequate thermal resistance in sub-zero environments.
How to Survive Overnight in a Snow Trench
If you’re relying on a snow trench for overnight shelter, your survival depends on managing heat retention and staying alert to environmental shifts. Insulate yourself from the ground with a pad or spruce boughs-direct snow contact drains body heat quickly. Keep your shelter slightly vented to prevent CO2 buildup but avoid drafts. Position yourself so your head is higher than your feet to reduce cold air pooling. Fire making outside the trench offers warmth and psychological comfort, but meltwater drips can collapse walls, so keep flames at a safe distance. Use a candle inside for supplemental heat with minimal oxygen use. Monitor for snow accumulation that could block exits. Carry a whistle or mirror for emergency signaling; conserve phone battery. Check weather hourly if possible-sudden storms reduce visibility and rescue chances. Stay dry. Wet clothing increases heat loss by up to 90%. Rotate layers if needed. A self-inflating mattress provides superior ground insulation and comfort in snow trenches, helping maintain core body temperature through the night. Your survival hinges on steady heat control, awareness, and signaling readiness.
When a Snow Trench Is Your Only Option?
Why risk exposure when you can use what’s already beneath you? A snow trench becomes your only option when no natural windbreaks exist and you lack materials for a quinzhee or igloo. It’s slower to dig than using a tarp, but requires no gear. Pack snow tightly along the walls for better thermal regulation-loose snow insulates poorly. Depth matters: aim for at least 3 feet to trap body heat effectively. Cover the top with snow-covered branches or a snow slab to prevent collapse and retain warmth. Leave a vent hole to avoid CO₂ buildup. Position your emergency signaling items-like a brightly colored pack or mirror-on top where rescuers can see them. The trench won’t match a proper shelter’s insulation, but it reduces wind chill by 20–30°F. It’s not ideal, but it’s functional when options run out. Stay low, stay covered, and stay alive.
On a final note
You’ve built the trench, but staying alive overnight depends on insulation and airflow. Use a closed-cell pad under you and a snow block roof with a vent hole. A candle lantern adds heat with minimal risk. This shelter won’t match a four-season tent for warmth, but it’s free, fast, and beats open exposure. In whiteouts or emergencies, it’s reliable-just keep your face clear and check for CO2 buildup. Know the trade-offs: lower profile, no condensation.