Designing a Water Storage System That Integrates With Snowmelt Collection
You’ll need a 10,000-gallon or larger tank to store seasonal snowmelt from a 1,500 sq ft roof-enough for household use or dry periods. Position buried cisterns on south-facing slopes to capture passive heat and use gravel trenches where piping isn’t feasible. Install 6-inch aluminum gutters with a 1/4-inch-per-10-feet slope to prevent ice dams. Insulate tanks with thermal blankets and self-regulating cables to avoid freezing down to -20°C. Use mesh screens and 4-inch overflow pipes to maintain water quality and prevent foundation issues-there’s more to optimize based on your climate and layout.
Notable Insights
- Size storage tanks based on roof area and snowfall, aiming for 3,000 to 10,000+ gallons to match usage and catchment potential.
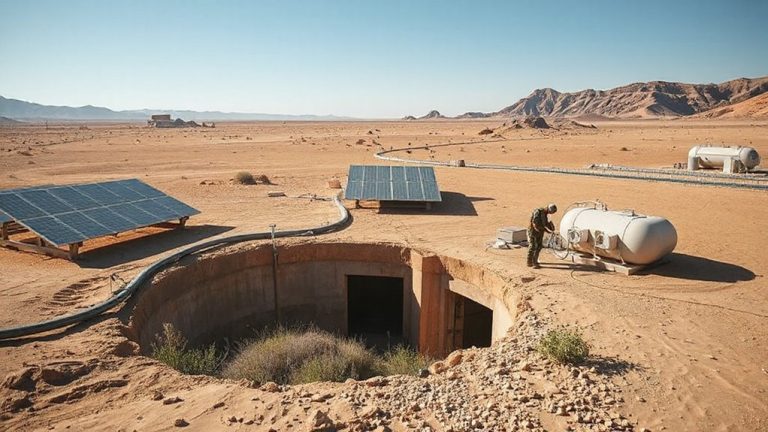
- Use buried cisterns with insulation and thermal blankets to maintain water temperature and prevent freezing in cold climates.
- Install 6-inch seamless aluminum gutters with proper slope and debris-resistant outlets to optimize snowmelt capture and flow.
- Position collection basins near south-facing slopes to leverage passive solar melting and reduce reliance on mechanical systems.
- Include overflow management with screened inlets, large-diameter pipes, and safe discharge routes to protect foundations and water quality.
Size Your Tank for Seasonal Snowmelt
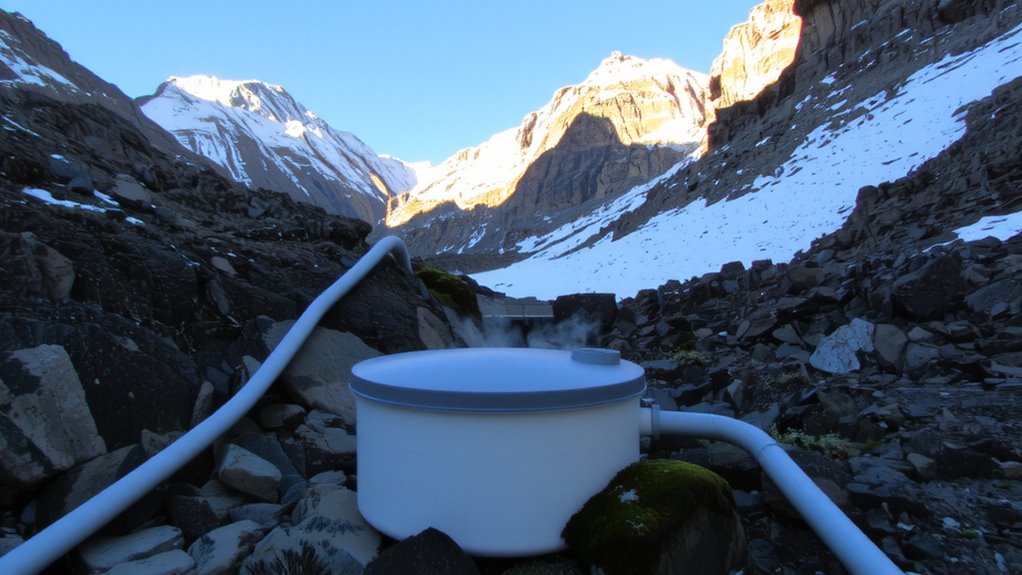
A single inch of snowmelt across a 1,000 sq ft roof yields about 520 gallons of water, so you’ll need to size your tank based on your roof’s footprint and average winter snowfall. To meet seasonal demand, calculate total collection potential using your area’s typical snowfall and conversion rate. For example, 20 inches of snow on a 1,500 sq ft roof generates roughly 15,600 gallons annually. You don’t need to store it all, but tank capacity should cover peak usage periods when melt is scarce. A 3,000-gallon tank may suffice for small-scale irrigation, while larger households or dry spells require 10,000 gallons or more. Oversizing adds cost and space requirements; undersizing wastes runoff. Match tank capacity to your usage patterns and local climate. Steel and polyethylene tanks perform reliably in cold climates if insulated and elevated to prevent freezing damage. Consider securing your storage system’s access point with best door security picks to prevent unauthorized access.
Capture Snowmelt Where It Flows
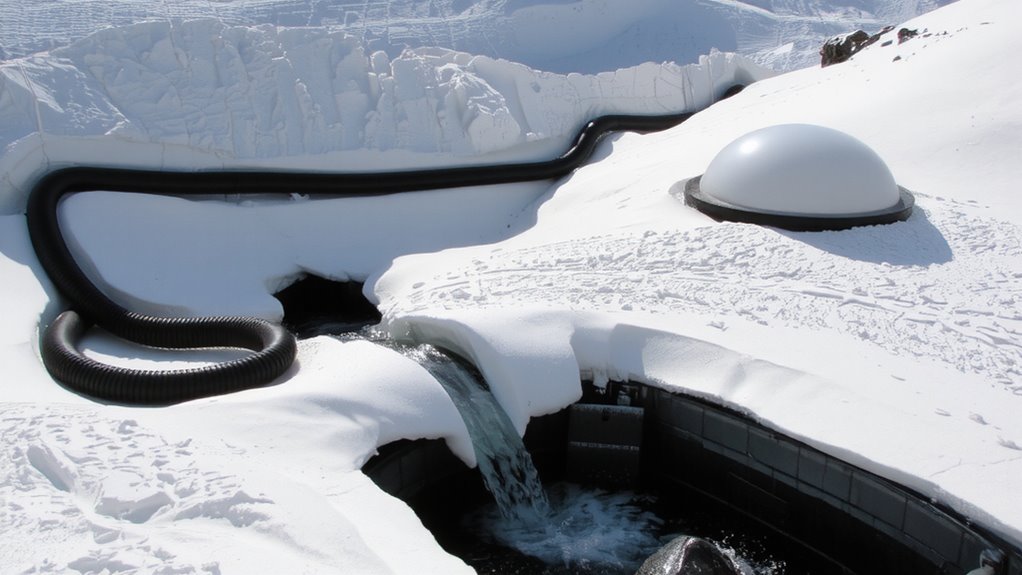
Where does the snowmelt go when the thaw comes-straight to your garden, or straight to waste? You can capture it effectively by directing flow where insulation and passive heating improve retention. Place collection basins near south-facing slopes to use passive heating, reducing re-freezing. Ground insulation beneath storage slows temperature drops, keeping water liquid longer. Use natural contours to minimize piping and energy use.
| Method | Efficiency | Best For |
|---|---|---|
| Buried cisterns | High | Long-term storage |
| Gravel trenches | Medium | Quick absorption |
| Surface ponds | Low | Passive heating zones |
You’ll lose less water if you work with terrain and temperature. Elevation changes matter-use them. Passive heating helps, but ground insulation determines how long melt stays usable. You don’t need pumps if you plan flow paths wisely. Each method has trade-offs in cost, maintenance, and volume. Choose based on your site’s slope and frost depth.
Route Meltwater With Smart Gutter Design
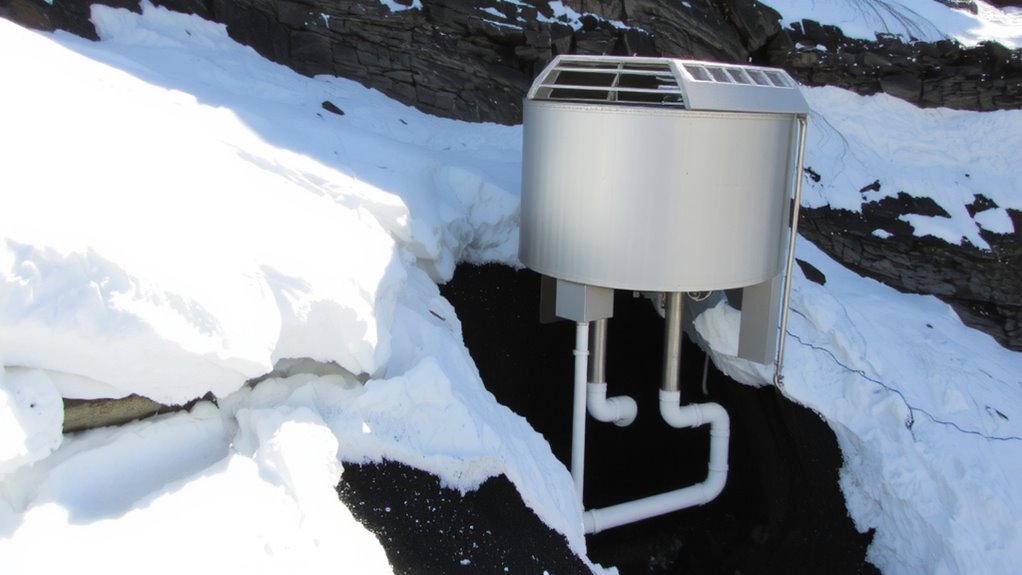
Your roof’s edge is the starting line for snowmelt control-get the design wrong, and you lose volume to runoff or ice dams. Proper gutter alignment guarantees meltwater moves efficiently toward downspouts instead of spilling over or backing up. Misaligned gutters cause pooling, which increases freeze-thaw cycles and structural strain. You need a consistent slope of 1/4 inch per 10 feet to maintain flow without sediment buildup. For effective flow diversion, use hooded outlets or Y-splitters that direct water toward storage while bypassing debris. These fittings reduce clogs and maintain system uptime during heavy melt periods. Seamless aluminum gutters, 6 inches wide, outperform sectional models under snow load and thermal stress. They handle peak flows from sudden thaws without sagging. Position brackets no more than 3 feet apart to prevent detachment. Smart gutter design isn’t about complexity-it’s about precision, durability, and routing every drop where it belongs.
Keep Water Liquid With Insulated Storage
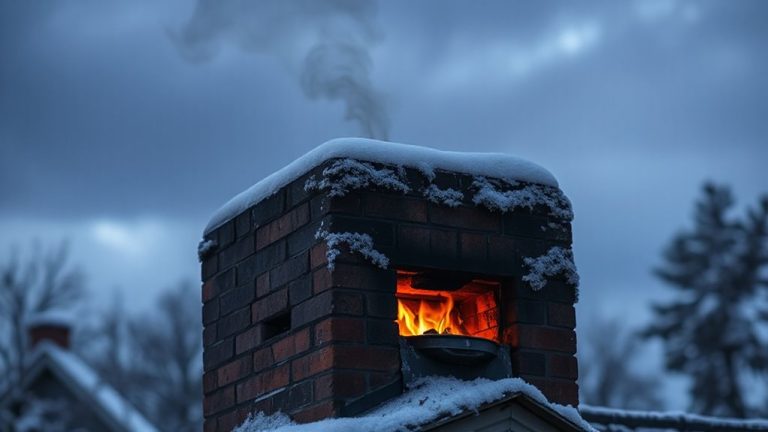
After guiding meltwater from the roof with precision-aligned gutters, you’ve got to guarantee it stays usable once stored. In subfreezing climates, keeping water liquid demands insulation and strategic heat retention. Thermal blankets wrapped around tanks reduce heat loss by up to 60%, making them a cost-effective baseline defense. They’re lightweight, easy to install, and work well in moderate cold. But when temperatures drop below -10°C, they’re not enough on their own. That’s where heating cables come in. When wrapped around the tank base and sides at 10-watt per square foot density, they prevent freezing without excessive energy draw. Use self-regulating cables to cut power when temps rise. Pair thermal blankets with heating cables on exposed surfaces and you maintain liquid storage efficiently. This combo works reliably in sustained cold, tested down to -20°C. It’s not foolproof, but it’s proven under real winter conditions.
Control Overflow and Protect Water Quality
A well-designed overflow system keeps your stored water clean and prevents structural damage, especially during heavy snowmelt. You need reliable flow control to manage sudden surges, directing excess water safely away from foundations and storage units. Install overflow pipes with smooth gradients and sufficient diameter-typically 3 to 4 inches-to handle peak melt rates without backing up. Position them to discharge at least 10 feet from structures to avoid seepage. Pair this with passive filtration systems at inlets to trap debris, sediment, and contaminants before they enter storage. Mesh screens and vortex filters are effective and require little maintenance. These systems don’t eliminate all pollutants but reduce load markedly. Flow control combined with basic filtration preserves water quality and extends tank life. Test your setup during spring thaw to verify performance under real conditions. Adjustments are often necessary. For portable backup storage, consider using durable water containers for camping that can be easily integrated into your system during high-volume melt periods.
On a final note
You’ll need a tank sized for peak snowmelt, typically 500–1,000 gallons per 1,000 sq ft of roof. Direct flow with wide gutters and downspouts rated for ice buildup. Insulate the tank or bury it below frost line to prevent freezing. Use coarse filters to block debris and an overflow diverting to a dry well. This system works reliably in zones with 3–5 feet of annual snow, but you’ll lose water if temps stay below freezing for over 10 days.