Assessing Scene Safety in a Volcanic Area With Gas Exposure
You can’t rely on clear air or your senses to spot volcanic gases-CO₂, SO₂, and H₂S are often invisible and deadly. Always check air quality with a calibrated multi-gas detector that measures oxygen levels and toxic gases at breathing height. Wear a proper gas mask with filters rated for sulfur compounds and particulates. Watch for dead vegetation, rotten egg smells, or fumaroles as warning signs. Stick to high ground, plan escape routes with GPS, and align with wind patterns. Safety depends on real-time data, not guesswork-your next move should be based on what the instruments say, not what you see. You’ll want to know how each gas behaves under different conditions before deciding your approach.
Notable Insights
- Use multi-gas detectors to measure SO₂, H₂S, CO₂, and oxygen levels before and during entry.
- Never rely on visual clarity or smell; toxic gases can be invisible and odorless at dangerous concentrations.
- Confirm proper gas mask use with cartridges rated for volcanic gases and wear them before exposure.
- Watch for dead vegetation, discolored soil, or fumaroles as signs of hazardous gas accumulation.
- Plan entry and escape routes using wind patterns and topography to avoid low-lying areas where gases pool.
What Volcanic Gases Are You Up Against?
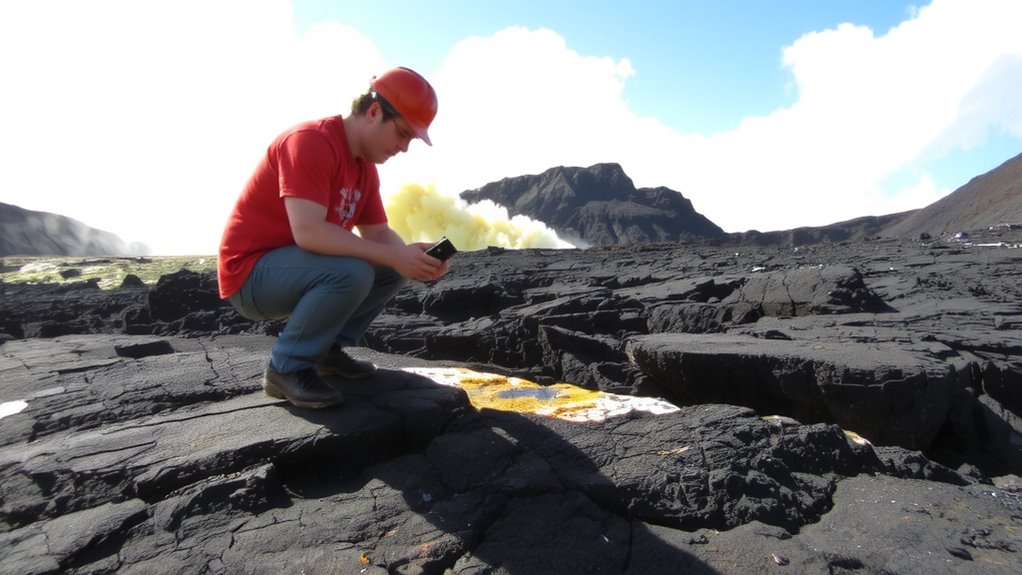
What exactly are you breathing when you step into a volcanic zone? You’re facing a mix defined by volcanic composition-mostly water vapor, but also sulfur dioxide (SO₂), carbon dioxide (CO₂), and hydrogen sulfide (H₂S). Each carries real gas toxicity risks. SO₂ irritates airways, even at low levels. CO₂, heavier than air, can accumulate in depressions and displace oxygen-silent and dangerous. H₂S smells like rotten eggs at low concentrations but paralyzes smell nerves at higher, lethal levels. You won’t always see or smell the threat. These gases vary by volcano and activity stage, so composition isn’t fixed. Exposure depends on proximity, wind, and terrain. You can’t rely on sensation alone-symptoms come too late. The hazard isn’t just heat or eruption; it’s what’s in the air. You need detection gear, not guesswork. Know the gases. Respect their toxicity. Your safety hinges on what you can’t always sense.
Check Air Quality Before Entering Gas Zones
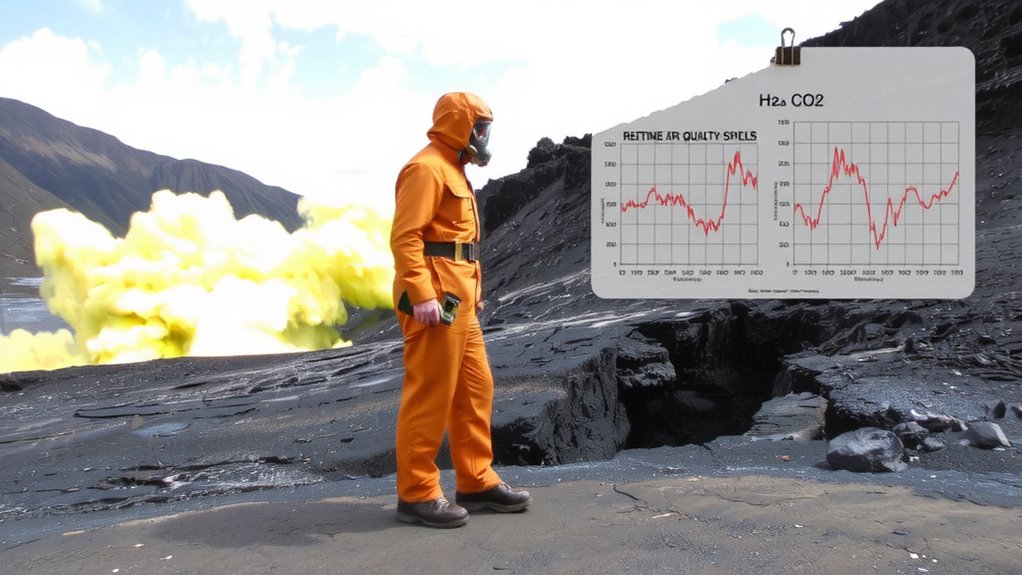
How clear is the air really when you’re standing at the edge of a volcanic gas zone? Visibility isn’t a reliable indicator-harmful gases like sulfur dioxide can be present even in seemingly clear air. Before stepping in, you must check air quality using reliable field methods. Visual cues won’t tell you if exposure levels are within safe limits. Proper gas masks are essential, but only effective if worn before exposure begins. They filter specific contaminants, but not all masks handle all gases-match the cartridge to expected compounds. Skipping this step risks respiratory damage. Following established safety protocols guarantees you don’t rely on assumptions. These protocols require confirmation, not guesswork. Air that looks fine can exceed safe concentration thresholds. Always assume the atmosphere is hazardous until tested. Your gear and actions should reflect that caution every time. For respiratory protection against fine particulates like volcanic ash, consider using a mask rated N95 or higher, such as those recommended in guides on the best masks for volcanic ash.
Use Gas Detectors in High-Risk Areas
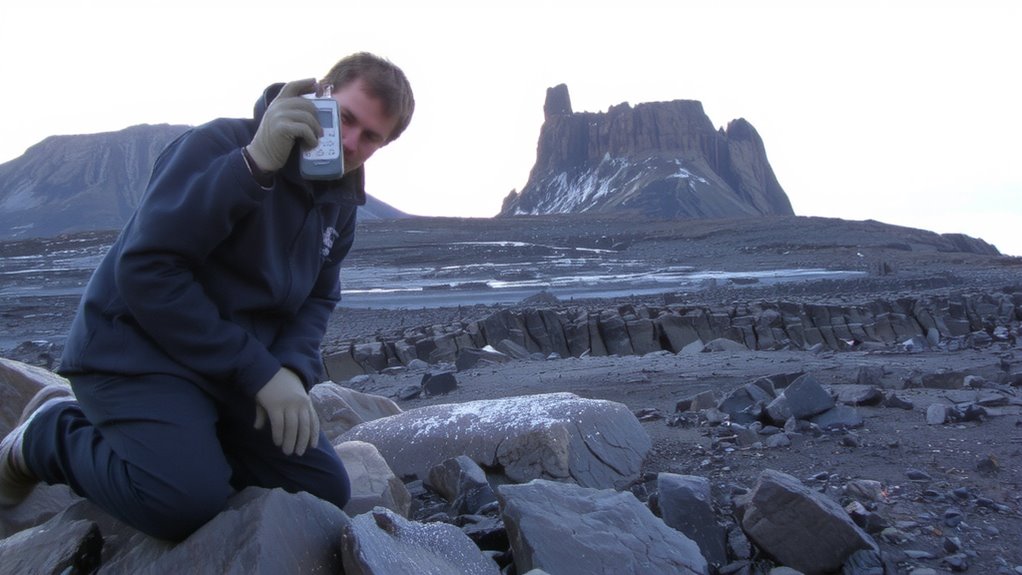
While visual signs won’t warn you of invisible threats, gas detectors give you real-time data to stay safe in high-risk volcanic areas. You need reliable units with proper sensor placement-position them at breathing level and near potential emission points to capture accurate readings. Mounting sensors too high or too low can miss critical concentration changes. Check gas calibration monthly, or as the manufacturer specifies, because even small drifts reduce detection accuracy. Units that fail calibration checks deliver false reassurance. Use multi-gas detectors that monitor H₂S, CO₂, SO₂, and O₂ simultaneously, since volcanic areas often contain mixed hazards. Battery life matters-choose models with at least 12 hours runtime. Test devices with known gas concentrations before each use. Avoid cheap detectors without field calibration options. Your safety hinges on consistent performance, not convenience.
Watch for Signs of Gas Buildup
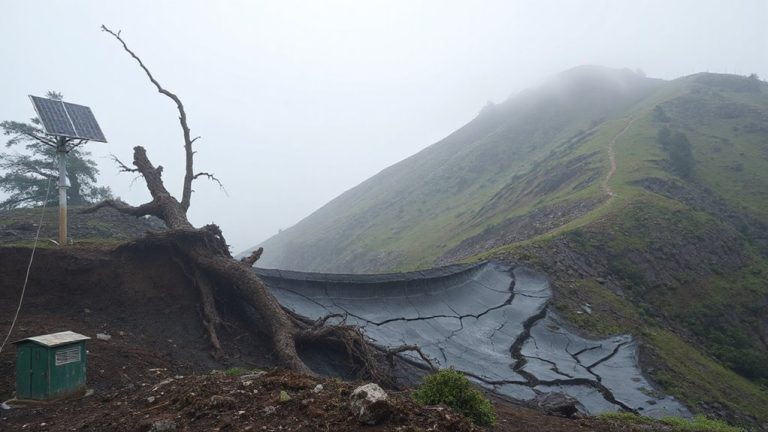
Even if your gas detector shows safe levels, you still need to watch for physical signs of gas buildup because sensors can fail or miss localized pockets. You might see dead vegetation or discolored soil-clear visual cues of toxic gas accumulation. Strong sulfur odors or eye irritation mean you’re likely in a hazardous zone, even if instruments don’t alarm yet. Pay attention to rock stability too; gas can seep into fractures, weakening structures and increasing collapse risk. Fumaroles or steaming ground also signal active gas release, especially near vents or fissures. These visual cues help you spot threats before detectors do. You can’t rely on technology alone-real-world conditions change fast. Stay alert, scan your surroundings constantly, and treat unstable rocks or strange odors as warning signs. Your senses are backup systems. Combine them with equipment for safer navigation in volatile terrain.
Assess Wind and Terrain Effects on Gas Spread
Why are some areas in a volcanic zone choked with gas while nearby spots remain clear? It comes down to wind patterns and terrain. You can’t assume gas spreads evenly-it doesn’t. Wind patterns control how and where gases move; strong, steady winds disperse gas quickly, but light or shifting breezes let it pool in low spots. Terrain further alters gas dispersion: valleys, depressions, and ravines trap heavier-than-air gases like CO₂, creating invisible hazards. Meanwhile, ridges and elevated ground often stay clear. You need to observe the wind’s direction and speed at ground level, not just aloft. Local obstructions like rock formations or vegetation can redirect flow, creating pockets of high concentration. Always assume gas follows the path of least resistance-just like water. Assess both wind and terrain together to predict where gas accumulates-and where you should avoid.
Plan Your Safe Entry and Exit Route
When you’re preparing to enter a volcanic area, start by mapping your route with clear entry and exit points-this isn’t optional, it’s survival logic. Use hazard mapping to identify unstable ground, gas vents, and blind zones; stick to high-angle paths that avoid depressions where gases pool. Check recent gas dispersion data and align your route with prevailing winds to minimize exposure. Always carry a GPS and mark waypoints so you can retreat fast if visibility drops. Your exit path should be no more than 10–15 minutes from a safe zone, with multiple alternatives if terrain shifts. Carry an emergency signaling device-PLB or satellite messenger-that works in remote conditions and test it before entry. Signal early if symptoms appear; delayed alerts reduce rescue odds. Relying only on phone signals is risky-network gaps are common. A reliable satellite phone can ensure communication where traditional networks fail. Plan thoroughly because conditions change faster than gear can save you.
On a final note
You need to know what gases you’re facing-CO₂ sinks, SO₂ burns. Check wind and terrain; they control gas movement. Use a calibrated detector, not guesswork. If levels spike or airflow drops, leave. Your exit route must stay clear. No gear beats a sharp eye and fast decision. Safety hinges on constant monitoring, not luck.