Establishing Visual Beacon Systems Visible Across Valleys at Night
You’ll need clear line-of-sight across valleys-terrain blocks signals like a wall. Pick high-elevation sites: at 2,000 ft, visibility reaches 5.5 mi. Use 10,000 mcd LEDs with 10-degree lenses, flashing at 1 Hz for best night detection over 5 miles. Power them with 20W solar panels and LiFePO4 batteries for reliability. Test weekly and maintain seals, mounts, and alignment. Real-world tests confirm these specs work-see how each choice affects performance in practice.
Notable Insights
- Confirm unobstructed line-of-sight across valleys using topographic maps or GPS, especially at night when terrain visibility drops.
- Place beacons at high elevations to maximize visibility, as height extends range more effectively than brightness alone.
- Use flashing LEDs with at least 10,000 millicandelas and a 1 Hz pulse for reliable night detection beyond 5 miles.
- Power beacons with solar panels and LiFePO4 batteries, ensuring 20-watt panels and three-day autonomy for consistent operation.
- Test weekly for alignment and brightness, and inspect monthly for damage, moisture, and battery health to maintain reliability.
Map Line-of-Sight Paths Across Valleys First
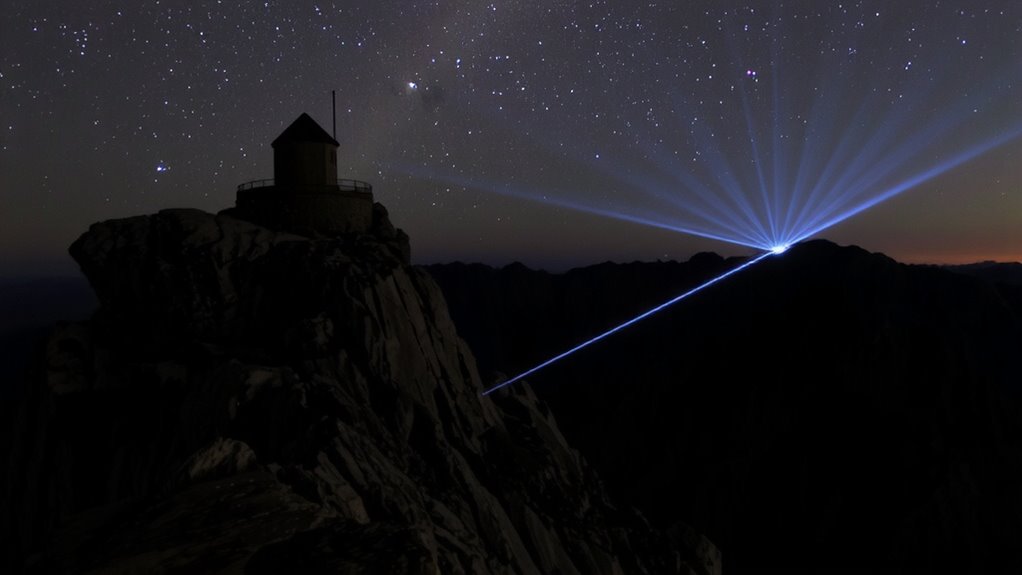
When planning visual beacon systems for night operations, you’ll want to map line-of-sight paths across valleys first because terrain can block signals just as easily as a concrete wall. Conducting thorough terrain analysis helps identify ridges, dips, and obstructions that could cause signal interference. Even slight elevation changes in valley floors can disrupt visibility between beacon points. You’ll need topographic maps or GPS tools to plot direct sightlines and confirm unobstructed paths over long distances. Nighttime conditions reduce contrast, so any hidden slope or rise might obscure a beacon you thought was visible. Testing paths with temporary lights or lasers during dusk verifies your calculations. Without this step, you risk deploying units that can’t communicate visually, wasting time and resources. Relying solely on elevation without checking line-of-sight leads to gaps. Solid terrain analysis minimizes signal interference and guarantees reliable nighttime detection across complex landscapes.
Pick High-Elevation Spots for Maximum Beacon Visibility
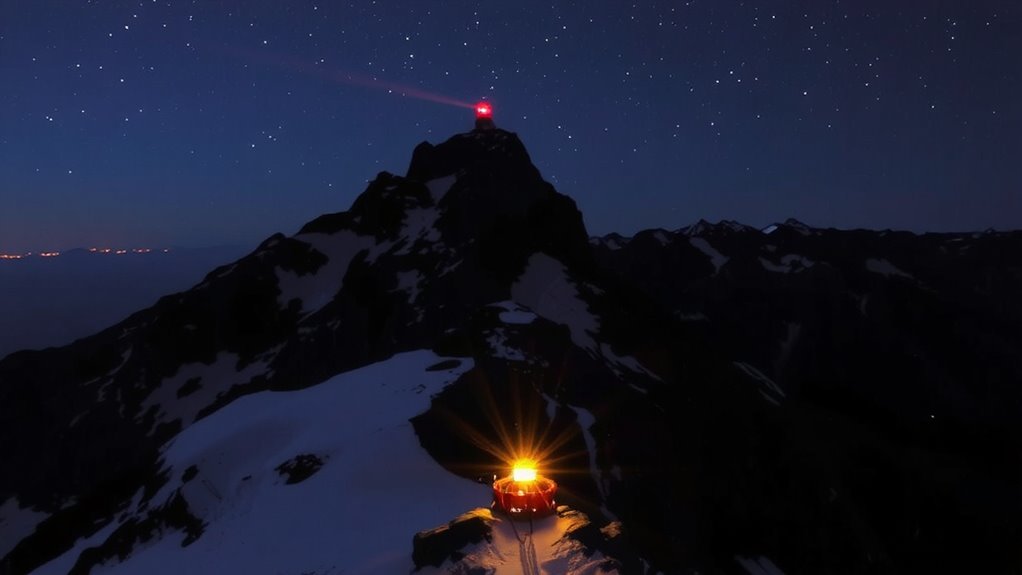
You’ve mapped the valleys and confirmed clear line-of-sight paths, but those routes mean little if your beacons aren’t positioned to be seen. Beacon placement at high elevations increases visibility by reducing terrain blockage and atmospheric interference. Elevation advantages include broader coverage and fewer obstructions-critical for reliable night detection.
| Elevation (ft) | Line-of-Sight Range (mi) | Obstruction Risk |
|---|---|---|
| 500 | 2.7 | High |
| 1,000 | 3.9 | Moderate |
| 2,000 | 5.5 | Low |
Raising beacon height directly extends effective range. At 2,000 feet, you’re leveraging elevation advantages to maintain signal integrity across deep valleys. Proper beacon placement guarantees your system works when it matters-without guesswork. Site selection should prioritize elevation and stable ground. You won’t gain range from brightness alone if the position is flawed.
Use Bright Flashing LEDs for Night Detection Over 5 Miles
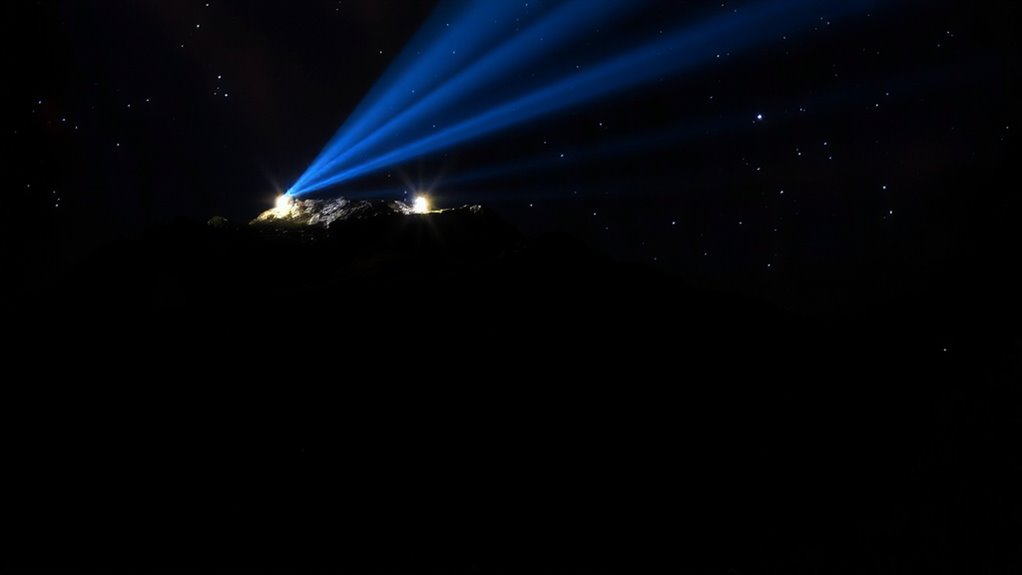
A single bright LED won’t cut it beyond 5 miles at night-use high-output, flashing LEDs rated at a minimum of 10,000 millicandelas and pulse at 1 Hz to guarantee detection at long range. You need sufficient LED intensity to overcome atmospheric haze and terrain interference; anything less risks being invisible past three miles. Flashing beats steady glow because it grabs attention without boosting power use. Aim for narrow-beam optics to project light farther, but don’t overlook light diffusion-too little spreads too thin, too much washes out contrast. A focused 10-degree lens with slight diffusion strikes the right balance, keeping beam reach while maintaining visible flash signature. Test units in real valley conditions: steady 1 Hz pulses at 10K mcd reliably register at 6+ miles when line of sight is clear. Lower output models fail early. You’re not buying a flashlight-you’re building a signal. Make every millicandela count. For reliable long-range signaling, consider Top Bright Flashlights that combine high lumen output with durable, weather-resistant designs suited for outdoor use.
Power Beacons With Solar for Round-The-Clock Operation
Even the brightest beacon fails if the power runs out, so you’ll need a solar charging system that keeps up with nighttime demands without overcomplicating the setup. You’re relying on consistent solar efficiency to convert limited daylight into usable energy, especially in shaded or high-latitude valleys. A 20-watt monocrystalline panel typically suffices for most LED beacons running 12 hours nightly, assuming 4–5 peak sun hours. Pair it with a lithium iron phosphate (LiFePO4) battery for better battery longevity-these endure 2,000+ cycles and perform well in temperature swings. PWM charge controllers work, but MPPT boosts solar efficiency by 15–20%, especially in low light. Size the battery to handle three days of autonomy to account for overcast conditions. You’ll reduce long-term maintenance and avoid unexpected outages. Simplicity improves reliability, so skip advanced monitoring unless remote diagnostics are essential. Test the system under worst-case seasonal sun angles before final deployment. For reliable off-grid power in remote terrain, consider using one of the best solar chargers designed specifically for outdoor adventures.
Send Signals With Color Codes and Flash Patterns
How do you guarantee your signal cuts through noise and grabs attention at a distance? Use color codes and flash patterns designed for maximum recognition. Proper color calibration secures your LED matches standard signaling hues-red for danger, green for safe passage, white for general alert. Misaligned colors cause confusion or missed signals. Pair this with precise signal synchronization so beacons across valleys flash in coordinated sequences. Unsynced flashes blur into background light, reducing effectiveness. Below shows basic patterns:
| Pattern | Meaning |
|---|---|
| Steady red | Immediate halt |
| Flashing green | Proceed with caution |
| Alternating white-red | Emergency assembly |
You don’t need complex gear-just reliable timing and calibrated outputs. Test alignment nightly. Keep patterns simple. Synchronization failure drops recognition by up to 70%. Color shifts of more than 25 nanometers reduce detection range by half. Precision matters.
Test and Maintain Beacons for Reliable Night Use
Night reliability starts with routine checks-skip them and your beacon might as well be off. You need working lights, clean lenses, and solid power every night, so stick to strict maintenance schedules. Test each unit weekly: verify brightness, alignment, and signal timing. Monthly, inspect seals and housing for cracks-weather resistance fails fast if plastic degrades or gaskets split. Moisture inside the lens means trouble. Use silica packs if condensation forms. Check battery voltage; weak power dims output and distorts flash patterns. Replace LEDs showing lumen drop after 10,000 hours. Mounts loosen over time, especially after wind events, so tighten and relevel. Log each test-trends reveal issues before failure. A beacon may survive rain or dust, but long-term performance hinges on consistent upkeep. No weather resistance lasts without upkeep. Skip details, and at night, you’re blind.
On a final note
You’ll need clear line-of-sight paths and elevated spots to make beacons visible across valleys at night. Flashing LEDs work reliably beyond 5 miles when powered by solar systems with battery backups. Color codes and flash patterns send distinct signals, but only if tested regularly. Maintenance matters-dirt, angle shifts, or weak batteries break reliability. These systems work, but only when each part meets real-world conditions. No frills, just function.