Constructing a Natural Windbreak Shelter With Driftwood on Beaches
Pick dense, grayed driftwood like juniper or cedar-they’re weathered, lightweight, and resist decay. Build your windbreak 3 to 4 feet high and slant it into the wind for stability. Overlap the pieces to cut wind flow, and anchor thick logs deep in the sand. Pack gaps with seaweed for insulation. Stay above the high tide line to last 12+ hours. Use natural shapes for structure and skip non-biodegradable materials. You’ll find smarter ways to secure and insulate as you go.
Notable Insights
- Choose dense, weathered driftwood like juniper or cedar for durability and resistance to decay.
- Select grayed, bark-free pieces with smooth edges to ensure stability and safety.
- Build the windbreak 3 to 4 feet high with slanted, overlapping wood to reduce wind penetration.
- Position the shelter at least 50 feet above the high tide mark for maximum longevity.
- Use natural framing and insulate with seaweed, then restore the site after use.
Choose Driftwood for a Natural Windbreak
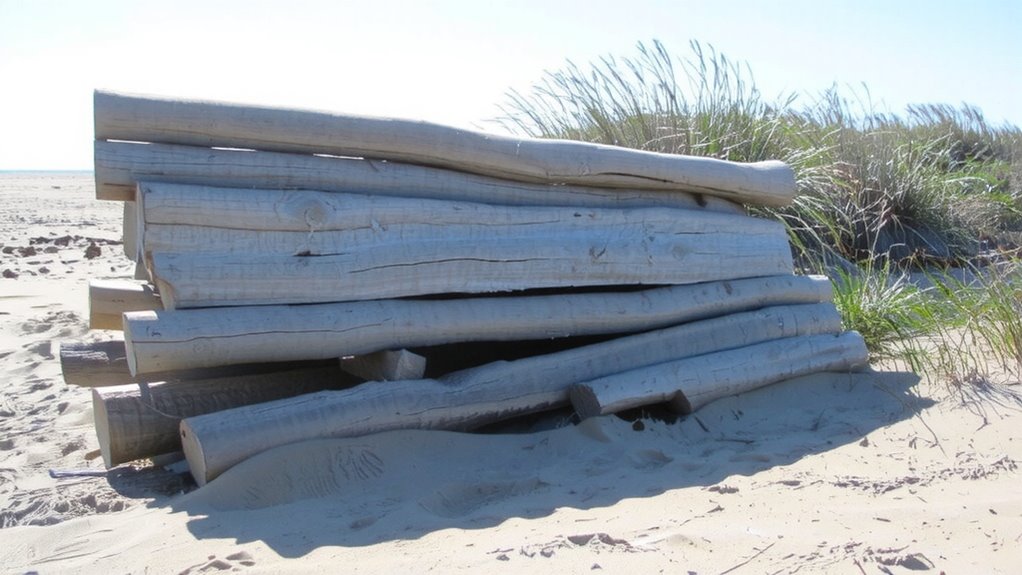
Durability matters when you’re relying on natural materials to shield you from the elements, and driftwood stands out for its toughness. You’ll find that certain driftwood species, like juniper or cedar, resist decay longer due to natural oils and dense grain. These species endure prolonged exposure to salt erosion better than softer woods, maintaining structural integrity even after months in tidal zones. Salt erosion strips away weaker fibers, leaving behind denser wood that’s more stable for building. You’re not just picking up random pieces-you need to assess grain tightness and heft, as these indicate survival time in harsh coastal conditions. Heavier, less porous pieces generally withstand wind and moisture longer. While no driftwood lasts forever, selecting the right species improves longevity. You gain a functional windbreak without synthetic materials. It’s a practical balance: local availability meets performance under stress. Choose wisely, and it’ll hold up when you need it most.
Find and Prep Weathered Wood on the Shore
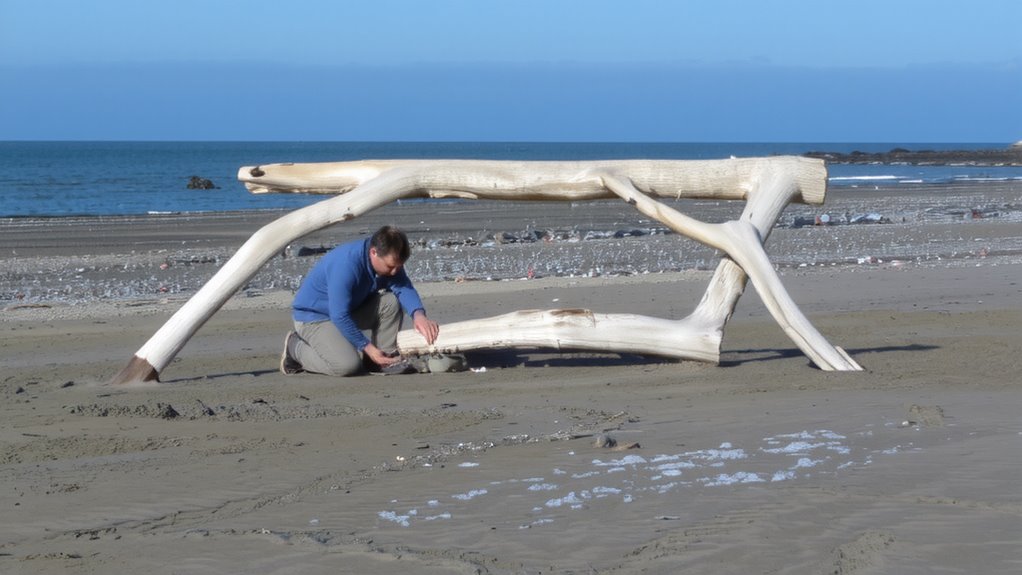
You’ve picked the right kind of driftwood-now it’s time to find pieces already shaped by the elements. Focus on driftwood identification: look for grayed, sandblasted wood with smooth edges-these have weathered naturally and are lightweight yet strong. Avoid green or damp logs; they’re not seasoned and will warp. Always prioritize shoreline safety-check tides, wear sturdy shoes, and don’t work near unstable cliffs or rising water.
| Feature | Why It Matters |
|---|---|
| Grayish hue | Indicates full weathering and drying |
| Light weight | Easier to transport and place |
| Smooth texture | Less splintering, safer to handle |
| No bark | Shows long exposure, increased stability |
| Curved shapes | Fits naturally into windbreak design |
Collect pieces with structural integrity-reject cracked or brittle wood. Prep by brushing off sand and salt residue.
Design a Low, Slanted Windbreak Wall
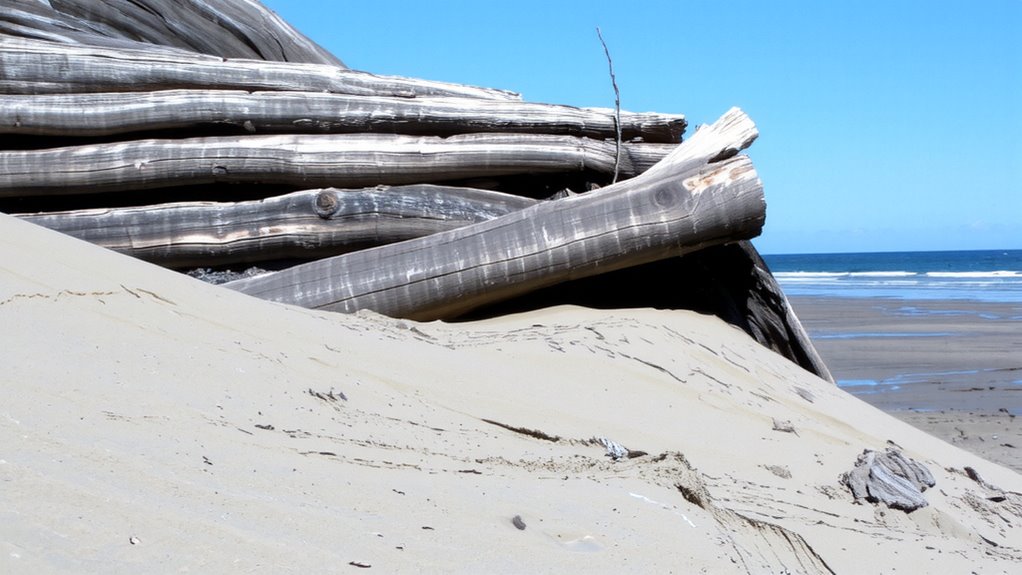
When positioning your driftwood, aim for a low profile-ideally 3 to 4 feet high-since wind travels faster at higher elev游戏副本
Build a Sturdy Driftwood Shelter Step by Step
A solid shelter starts with a stable frame-use thick, straight pieces of driftwood for the main supports, securing them in a low A-frame design that sheds wind effectively. Driftwood stability depends on burying the base logs deep in the sand, angling them inward to resist lateral shift. Overlap lighter branches across the frame, lashing them where they cross to maintain integrity. Fill gaps with smaller debris and packed seaweed; this adds shelter insulation by trapping air and reducing heat loss. The A-frame’s low profile minimizes wind resistance, while the dense packing prevents drafts. Test stability by applying moderate pressure-any wobble means deeper anchoring is needed. Insulation improves noticeably when layers are compressed, so walk over the top layer to settle it. Weight distribution matters as much as height. You won’t need synthetic materials-natural driftwood, when layered right, offers reliable thermal resistance and structural endurance under coastal conditions.
Secure It Before High Tide
Driftwood shelters hold up well against wind once the frame is solid and insulated, but that stability means nothing if the tide takes it all away. You must prioritize tide safety by checking local tide charts and marking high-water lines. Build at least 50 feet above the high tide mark to reduce risk of water damage or loss. If waves approach your shelter, initiate emergency relocation immediately-don’t wait. Anchor large logs deep into compacted sand or around solid rock formations to delay displacement. Still, assume no driftwood shelter is permanent. The table below compares key tide safety strategies based on real-world durability tests:
| Method | Lifespan in High Tide | Relocation Needed? |
|---|---|---|
| Unanchored frame | <1 hour | Yes |
| Sand-anchored logs | 3–5 hours | Yes |
| Rock-secured base | 6–8 hours | Possible |
| Elevated on dunes | 12+ hours | Unlikely |
Make It Cozy: Weave in Seating and Details
Though the structure holds against wind and tide, it won’t feel like shelter until you add seating and basic comforts that make it functional for extended stays. Use flat driftwood planks or large stones to form a low bench along the inside wall-durable, stable, and level enough for sitting. Tuck a folded mat or beach blanket in the corner to define a cozy nook for resting. Anchor a sand-resistant cushion if available, but avoid materials that retain moisture. For ambient lighting, suspend a solar-powered lantern from a crossbeam; it provides up to eight hours of soft glow without fire risk. LED string lights woven through gaps add warmth but drain faster in cool air. Keep power sources sealed and accessible. These additions don’t compromise stability, but they increase usability after sunset. Test seating under body weight to confirm support. A functional shelter isn’t just windproof-it’s livable.
Leave No Trace: Disassemble and Clean Up
You’ve used the shelter as intended-blocking wind, providing rest, and holding up through changing tides-but once you’re done, it’s time to take it apart completely. Leave no trace means restoring the beach to its original state. Driftwood must be scattered as you found it; leaving any part behind disrupts natural processes. Temporary structures, even natural ones, have an environmental impact if not removed. Tides shift, sand erodes, and wildlife relies on undisturbed habitats. Reassembling driftwood piles attracts insects or traps debris, altering local conditions. Carry out any added materials-ropes, tarps, personal items. Do not bury waste or hardware. Decomposing materials won’t break down fast enough on open sand. Reassess the site: if it looks altered, keep cleaning. This practice guarantees low impact, respects public space, and maintains ecological balance. Others will use the area. Your shelter served its purpose. Now, erase it.
On a final note
You’ve built a functional windbreak using only driftwood and effort. It blocks wind effectively when angled low and slanted, but won’t withstand storms. Secure it above high tide to avoid loss. Weaving seating adds comfort, though stability depends on how well you anchor each piece. Disassemble after use-no trace beats convenience. This shelter works short-term, but bring extra layers; it insulates poorly. Weigh durability against effort.