Filtering Water Through a Layered Sand and Gravel Pit
You can filter water through a layered sand and gravel pit to trap sediment and improve clarity. Use coarse gravel at the bottom, then layer in medium gravel, fine gravel, coarse sand, and finally fine sand on top. This setup slows water flow, capturing debris and silt. But it won’t remove bacteria or viruses, so always boil afterward. Clean the top layer regularly to prevent clogging. A well-built system lasts longer and works better when maintained-knowing the next steps helps you stay safe.
Notable Insights
- A layered sand and gravel filter traps sediments using fine sand for small particles and coarse gravel for larger debris.
- Proper layering from coarse to fine (gravel to sand) in 2–3 inch layers ensures effective particle capture and steady flow.
- Use clean, angular sand and uniformly sized gravel (3–8 mm) to enhance filtration and prevent clogging.
- Backwash regularly or stir the top sand layer when flow drops 30% to maintain filter performance.
- Always follow with boiling or UV treatment since sand and gravel alone do not remove pathogens.
How a Sand and Gravel Filter Purifies Water
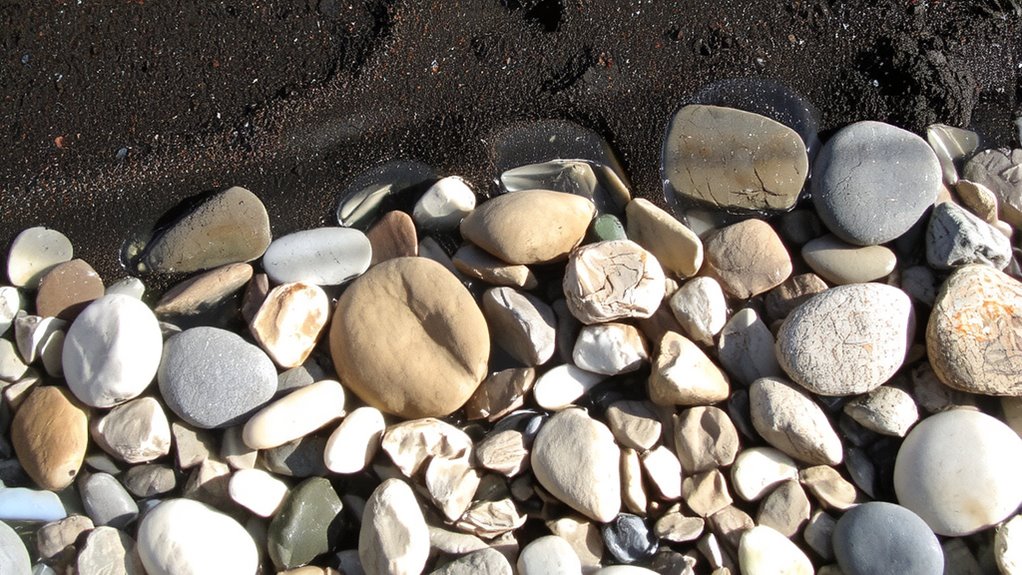
While it might seem too simple to work, filtering water through layers of sand and gravel actually removes a significant amount of physical contaminants. You rely on sediment trapping as the core mechanism-larger particles get caught in the coarse gravel, while finer sediments are captured in the tighter spaces between sand grains. This step alone improves water clarity noticeably, stripping out debris, silt, and floating organic matter. It won’t remove pathogens or dissolved chemicals, but it does reduce turbidity to more manageable levels. Flow rate matters-you’ll find slower filtration yields better results because water spends more time in contact with the filtering media. Too fast, and particles slip through. The layers must be stable and properly graded to avoid mixing, which compromises efficiency. You’ll need consistent layering to maintain performance. It’s basic, yes, but effective for physical purification when you need clearer water fast.
Gather the Right Materials for Your Filter
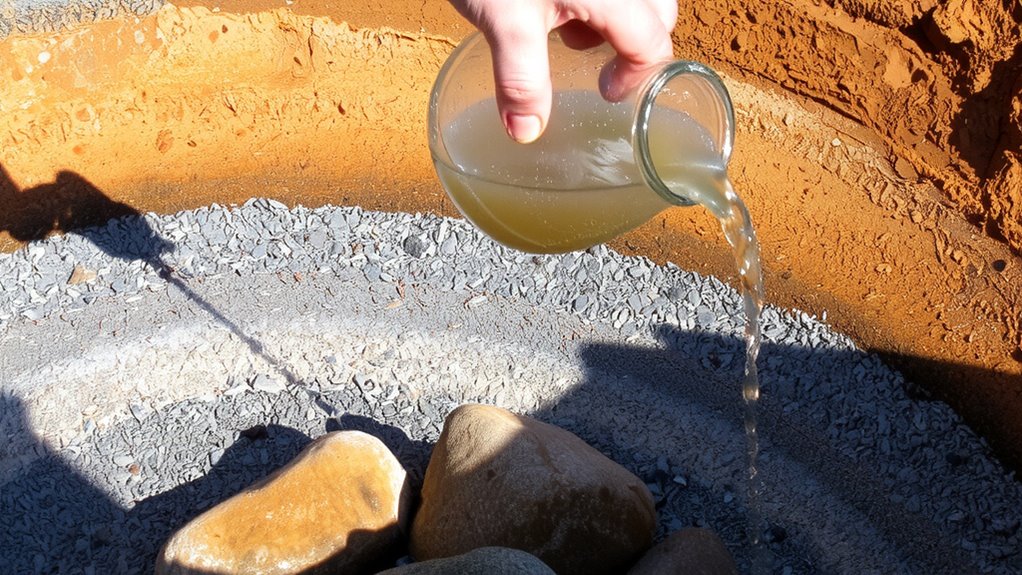
You’ve seen how sand and gravel remove debris and improve clarity by trapping particles, but building an effective filter starts with choosing the right materials. You’ll need clean, graded filter media-fine sand for trapping small particles, coarse sand for flow, and layers of graded gravel to prevent clogging. Material sourcing matters: use washed, angular sand instead of rounded playground sand, which compacts too tightly. Gravel should be uniformly sized, between 3–8 mm, to support drainage without gaps. Avoid limestone, as it can alter water pH. Use food-grade PVC or food-safe containers if building a portable system. Make certain all media is thoroughly rinsed before use to remove dust. Poor sourcing leads to channeling or slow filtration. Good filter media balances particle size and porosity, allowing steady flow while capturing contaminants. Choose wisely-it affects performance more than design.
Build Your Sand and Gravel Filter Step by Step
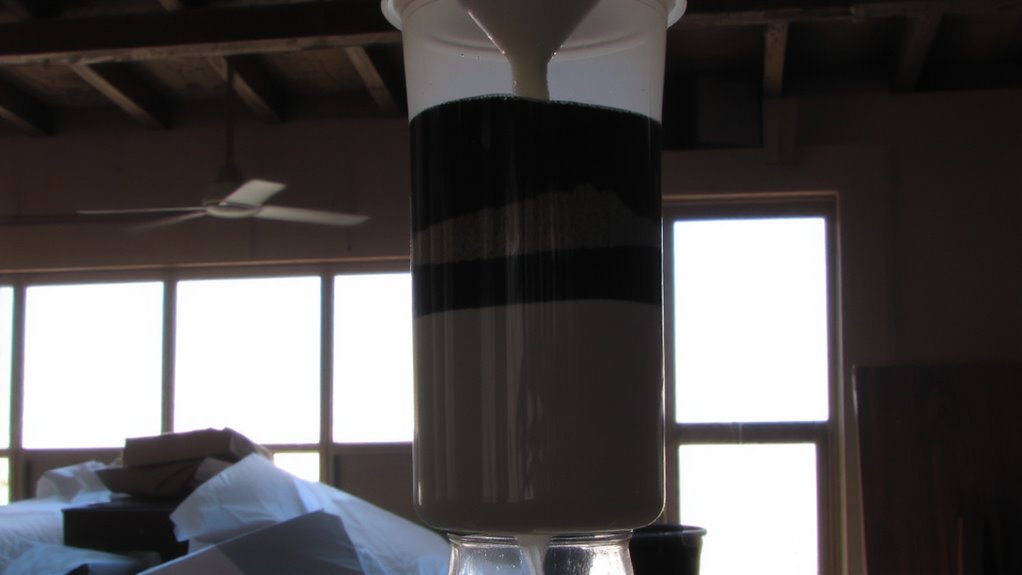
After gathering properly graded sand and gravel, start by preparing your container with a drainage hole at the bottom, covered with a small layer of fine mesh or cloth to hold the media in place. Begin layering from coarse to fine: place the coarsest gravel at the bottom, then medium gravel, fine gravel, coarse sand, and finally a top layer of fine sand. Each layer should be about 2–3 inches thick. This filter design guarantees effective particle capture while maintaining a reasonable flow rate. Too much fine material slows water too much; too much coarse material reduces filtration. The ideal balance supports consistent flow rate without sacrificing clarity. Compacting each layer slightly stabilizes the structure but don’t pack too tightly. Your assembled filter should allow water to pass steadily, not drip or rush. This setup offers predictable performance in real-world conditions.
Keep Your Filter Flowing Without Clogs
How long can your filter run before clogging becomes a problem? It depends on your water source and maintenance schedule. If you’re filtering cloudy runoff, expect reduced flow rate within days. Sediment builds up fast, especially if you skip pre-filtering. Keep a consistent maintenance schedule: backwash every 1–2 weeks or when flow rate drops by 30%. Stir the top sand layer to dislodge trapped debris. A layer of fine mesh or cloth on top helps, but don’t rely on it alone. Flow rate recovery after cleaning should be immediate-if it’s not, the clog is deeper. Gravel layers compact over time, so re-layer every few months. You’ll see better performance and fewer blockages. No filter runs forever without upkeep. Stay on schedule, and it’ll keep delivering steady output.
When to Add Boiling or UV After Filtration
When should you worry about pathogens after sand and gravel filtration? When your source water is from a stagnant pond or after heavy rain, you’ve got risks. Sand and gravel trap sediments and some bacteria, but they don’t kill pathogens. If the water temperature stays low, many viruses and cysts like giardia survive longer and resist filtration. Pathogen resistance means physical removal isn’t always enough. You need an extra step. Boiling for one minute works every time, no matter the water temperature. UV treatment is fast and chemical-free, but only if the water’s clear-turbidity messes with its effectiveness. UV also loses power in cold water, so check the device’s specs. If you’re in the field and unsure, boil it. It’s reliable, doesn’t depend on pathogen resistance, and needs no batteries. Boiling’s your best bet when safety’s non-negotiable.
On a final note
Your sand and gravel filter removes debris and improves water clarity, but doesn’t kill pathogens. It’s effective for sediment reduction, tested to filter particles down to 20–40 microns. Flow slows over time, so regular maintenance is needed. For safe drinking, always follow with boiling or UV treatment. This system works-just know its limits. No power or tools required, but plan for backup purification.