Assessing Scene Safety When Responding to a Canoe Overturn in Fast-Moving Water
Stop and look before acting-fast-moving water is more dangerous than the overturned canoe. Check for strong currents, underwater snags, and debris. Secure your footing upstream, kneel if needed, and never face the current head-on. Use a throw bag with a buoyant 50–70-foot line, but don’t wrap it around your hand. Call for help if the victim is unconscious or trapped. Your safety comes first-knowing what comes next could make all the difference.
Notable Insights
- Stop and evaluate hazards like strong currents, debris, and water temperature before entering the scene.
- Ensure stable footing onshore and position yourself upstream to avoid being swept away.
- Use a throw bag with a buoyant rope instead of entering the water, if the victim is within range.
- Avoid wrapping rescue ropes around hands to prevent entanglement in fast-moving currents.
- Call for emergency help immediately if the victim is unconscious or trapped downstream.
Assess the Scene Before You Act
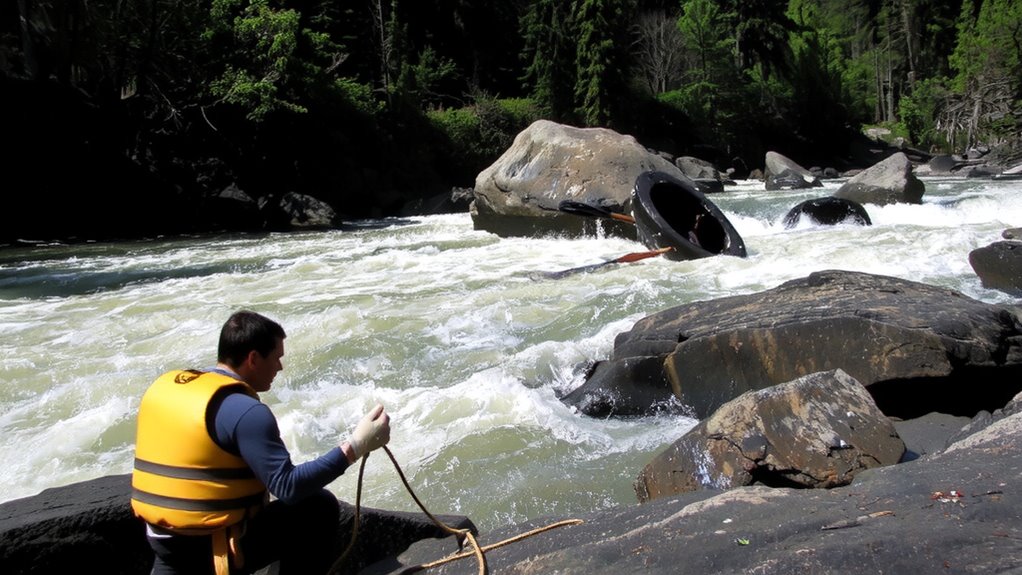
What’s the first thing you should do when a canoe flips in fast-moving water? Stop. Look. Evaluate. Don’t jump in-it’s instinctive, but dangerous. Check weather conditions: wind, rain, or dropping temperatures increase risk fast. Cold water saps strength quickly, even for strong swimmers. Evaluate your personal fitness: can you swim hard for minutes while fighting current? Do you have stamina to assist without exhaustion? Most drownings happen because rescuers overestimate their ability. A flipped canoe isn’t a call for heroics-it’s a signal to think. You’re no help if you become another victim. Use your head: find a stable spot on shore, keep eyes on the paddlers, and plan movement based on current strength and visibility. Evaluating scene safety means balancing urgency with realism. Only act when you’ve weighed the conditions and your limits.
Identify Hazards in Fast-Moving Water
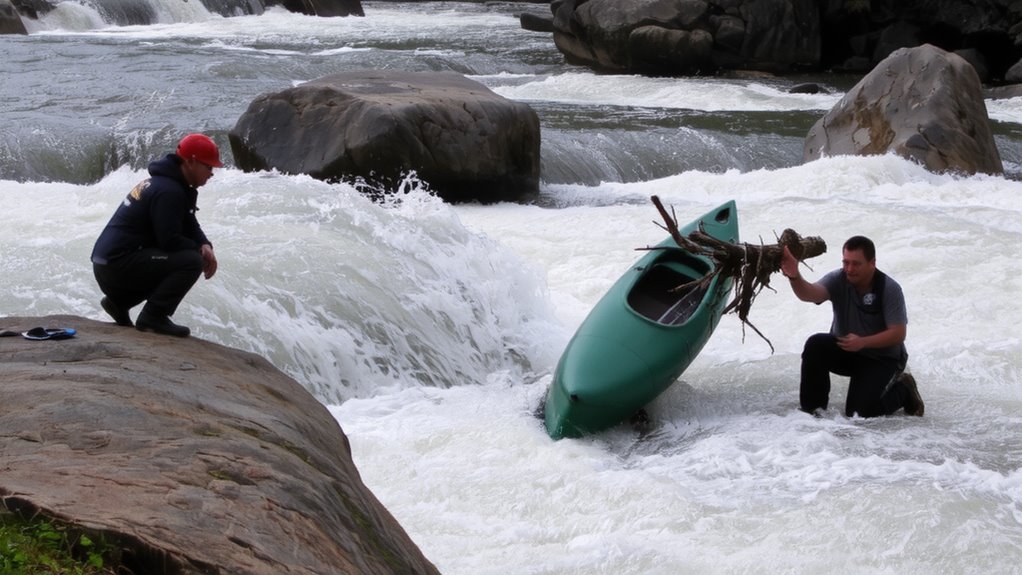
You’ve stopped, looked, and assessed your own readiness-now focus on what’s in the water. Fast-moving water hides dangers you can’t always see. Watch for strong currents that can sweep you off your feet or pull swimmers downstream. Underwater snags like tree limbs or submerged rocks trap victims below the surface, making rescue attempts risky. Scan the entire scene systematically before moving closer.
| Hazard Type | Risk Level | Visibility |
|---|---|---|
| Strong currents | High | Moderate |
| Underwater snags | High | Low |
| Surface debris | Medium | High |
| Drop-offs | Medium | Low |
| Hydraulic zones | High | Moderate |
Strong currents demand respect-depth doesn’t reduce their power. Underwater snags remain hidden until it’s too late. Assess flow patterns and floating objects to spot danger zones. Use visual cues and avoid assumptions. Your safety depends on recognizing these hazards early, not reacting once you’re in the current.
Secure Your Position First
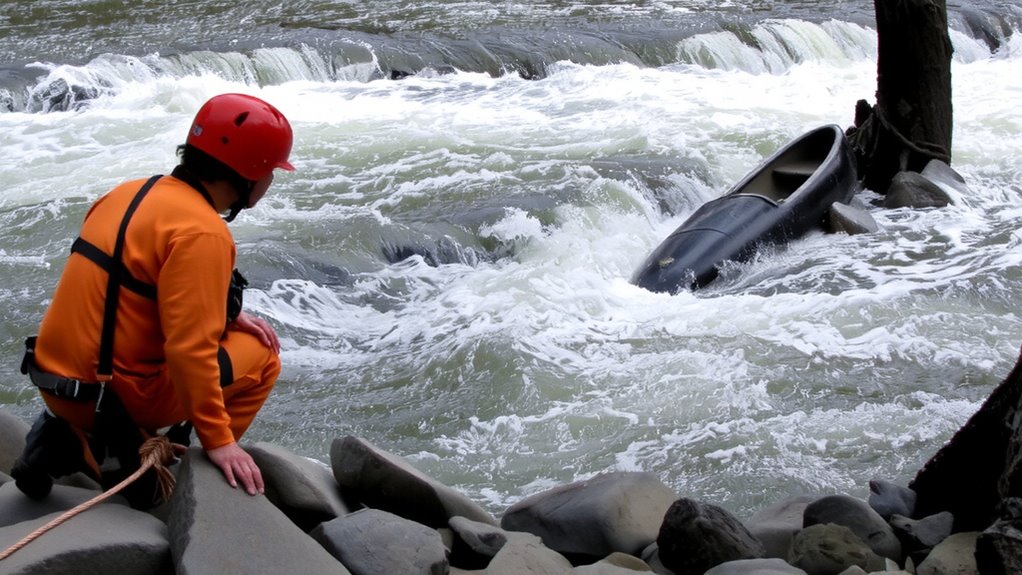
Your safety starts with a stable footing-get that wrong, and every rescue attempt becomes riskier. Before moving toward the water, complete a quick risk assessment: look for slip hazards, changing currents, and anchor points. Position yourself upstream and at a safe distance, where you can react without being swept in. Personal stability isn’t just balance-it’s using terrain, rocks, or trees to brace yourself. Kneel on one knee if needed to lower your center of gravity. Keep your gear close but don’t let it drag you down. Never stand facing the current; angle your body to reduce resistance. If the riverbed is slick or uneven, your personal stability depends on deliberate, small steps. You can’t help others if you’re compromised. A secure stance buys time and control. Focus on your base first-everything else depends on it.
Use Throw Bags and Rescue Gear Safely
If you’re within throwing range, a throw bag should be your first go-to rescue tool-it’s faster and safer than entering the water. Hold the bag with a proper grip: keep the strap anchored in one hand and the rope end secured in the other to prevent premature release. A firm, controlled stance improves accuracy. Practice quick deployment so the rope unfurls smoothly without tangles-hesitation reduces effectiveness. Use a buoyant line rated for swiftwater; 50 to 70 feet is standard and sufficient in most near-shore rescues. Avoid wrapping the rope around your hand-use a bight to minimize entanglement risk. Test your gear regularly under simulated conditions to confirm reliable function. A well-maintained throw bag with reflective cordage increases visibility and improves chances of a clean catch. Your reaction time and technique matter more than strength-focus on precision and consistency.
Recognize When to Call for Help
A throw bag can save a life when used correctly, but even the best gear and technique won’t replace professional help if the situation worsens. You should call for help immediately if the victim is unconscious, trapped, or swept downstream beyond reach. Don’t assume someone else has called-verify emergency signaling is done. Use a whistle, phone, or GPS device to alert authorities with precise location details. Bystander intervention is critical, but only if it doesn’t risk additional lives. Assess water speed, obstacles, and visibility; if conditions exceed your training, stop direct rescue attempts. Instead, maintain visual contact, mark the person’s location, and guide responders. Delaying the call increases risk. Emergency signaling isn’t optional-it’s part of basic scene safety. You’re not failing by calling for help; you’re managing real-world limits. Professional teams have boats, ropes, and medical tools you don’t. Know when to switch from rescue to support. Carrying a designated emergency signaling device can significantly improve response times in remote areas.
Check Victims After Reaching Shore
What really matters once you’re on shore? Checking each person quickly but thoroughly. Start with victim assessment-look for responsiveness, breathing, and obvious injuries. Prioritize those who are unconscious or struggling to breathe. Use shoreline triage to sort victims by urgency: immediate care, delayed, or minimal. This isn’t just organization-it’s efficient use of time and resources. If someone’s cold and wet, hypothermia can set in fast, so remove wet clothes and insulate them. Don’t assume someone’s fine just because they’re walking. Shock or internal issues might not show right away. Keep everyone lying down if injured, and monitor continuously. Triage isn’t perfect, but it beats chaos. You’re not diagnosing-just stabilizing and signaling for help. Every minute counts, and clear steps beat panic every time. Focus on what’s measurable: pulse, skin color, breathing rate. Be sure to use supplies from an appropriate emergency medical kit to manage wounds and support resuscitation efforts effectively.
On a final note
You secure your position before attempting a rescue because unsecured rescuers become victims. Throw bags work if you anchor firmly and aim low. Fast water overwhelms untrained helpers, so call professionals early. Once on shore, check for hypothermia and injuries-delayed symptoms mislead. Your gear matters, but judgment matters more. No equipment compensates for poor decisions in moving water. Assess risks calmly, act deliberately, and prioritize control over speed.