Building a Disaster-Ready Shelter: A Comprehensive Guide for Extreme Weather Events
You need a shelter built for your area’s specific threats-use FEMA maps and climate data to guide design. Pick a well-drained, elevated site with stable soil, away from slopes and trees. Use R-10 insulation, impact-resistant windows, and reinforced roofs rated for local loads. In wildfire zones, install ember-resistant vents and Class A metal roofing. Stock 28 gallons of water for two people and rotate supplies every six months. Next steps reveal how to match materials to regional risks.
Notable Insights
- Assess regional weather threats using FEMA maps and climate data to tailor shelter design to local hazards.
- Choose a shelter location on elevated, well-drained ground with stable soil, avoiding flood zones and hazardous structures.
- Design shelter with weather-specific features like reinforced roofs, waterproof materials, and impact-resistant windows.
- Use non-combustible siding, ember-resistant vents, and fire-rated doors to enhance wildfire and storm protection.
- Stock 14-day supplies of water, food, and emergency gear, and inspect shelter systems every six months.
Assess Your Local Weather Threats
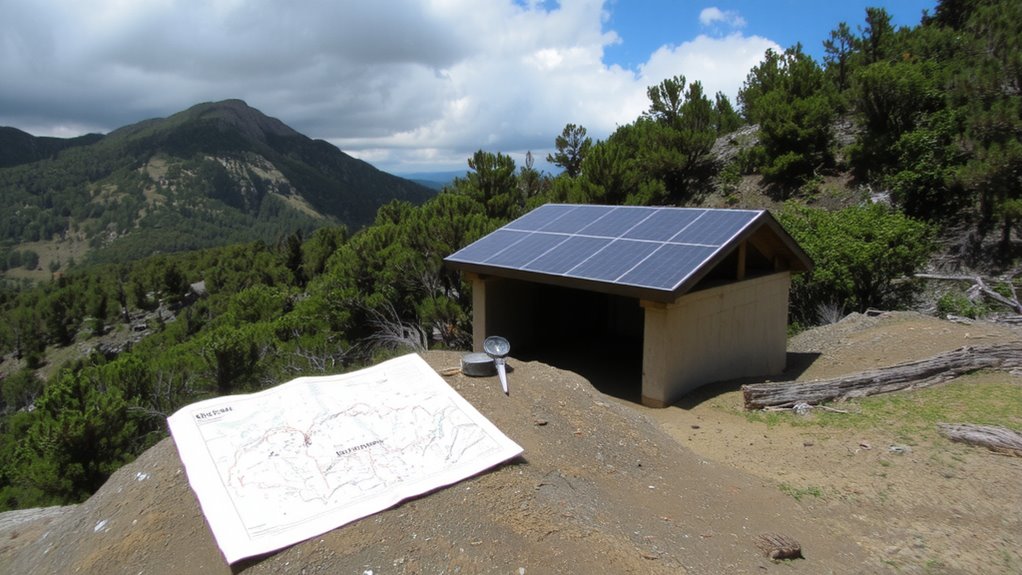
While every region faces different risks, knowing exactly what weather threats are most likely in your area is the first step in building a shelter that’ll actually protect you. You’ll need to check local flood zones-shelters built in high-risk areas require elevated foundations and waterproof materials to avoid structural damage during heavy rains or storm surges. If you’re in a region prone to temperature extremes, insulation and ventilation become critical; metal shelters may overheat in desert summers or lose warmth in arctic winters. Consider rigid foam insulation with an R-value of at least 10 and reflective roofing to manage heat. You can’t rely on one design everywhere-what works in Florida won’t survive a Minnesota winter. Using FEMA flood maps and historical climate data helps you match shelter specs to real threats. Planning around these factors improves durability, energy efficiency, and safety when disasters hit. Installing temporary defenses like flood barriers can provide critical protection during sudden water rises.
Choose the Right Shelter Location
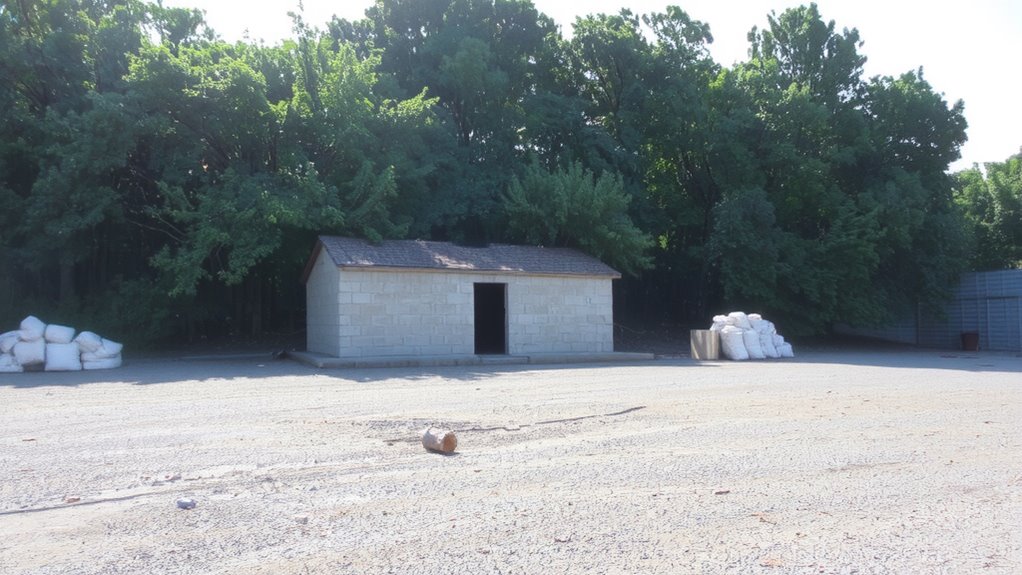
You’ve identified the weather risks in your area, so now it’s time to pick a spot that handles those threats effectively. Avoid flood zones-these areas are prone to water buildup during storms or heavy rain, putting your shelter at risk of structural damage or collapse. Even areas that seem dry can flood under extreme conditions, so check local flood maps and historical data. Choose a location with solid soil stability; loose or sandy soil shifts easily, especially during earthquakes or high winds, which can compromise your shelter’s foundation. Elevated ground with clay or loam soil typically offers better support. Don’t build near slopes or embankments that could erode or slide. Proximity to trees or power lines also increases danger during storms. Pick a spot that’s level, well-drained, and away from natural hazards. A good location reduces risk more than any feature of the shelter itself. Consider using a tested design from the best emergency shelters list to ensure reliability in extreme conditions.
Design a Shelter That Resists Extreme Weather
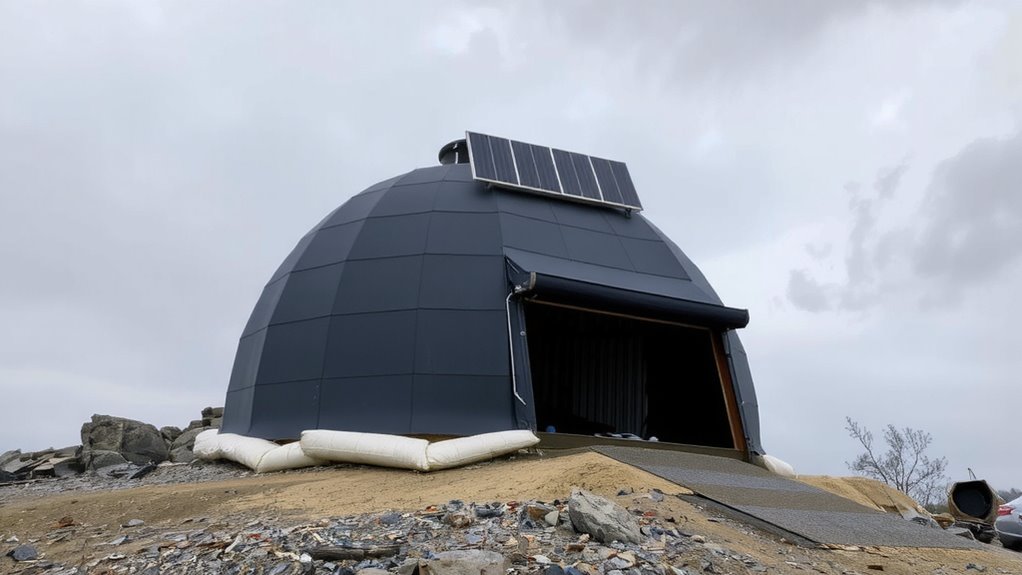
Since extreme weather varies by region, your shelter’s design must match the specific threats you’re most likely to face-whether that’s high winds, heavy snow loads, or flying debris. If you’re in a snowy area, frame your shelter to handle a high snow load-use roof trusses rated for at least 50 pounds per square foot. In flood-prone zones, elevate the foundation and use waterproof materials to guarantee flood resistance. A properly sloped roof sheds snow and water efficiently, reducing stress on the structure. Reinforce walls with engineered panels that resist deformation under pressure. Avoid large windows-they compromise integrity. Instead, use small, impact-resistant units if light is needed. Concrete or treated wood piers raise the floor above expected water levels. Ventilation should be adjustable to prevent moisture buildup without sacrificing structural continuity. Design choices should reflect measurable performance, not assumptions.
Fortify for Tornadoes, Hurricanes, and Wildfires
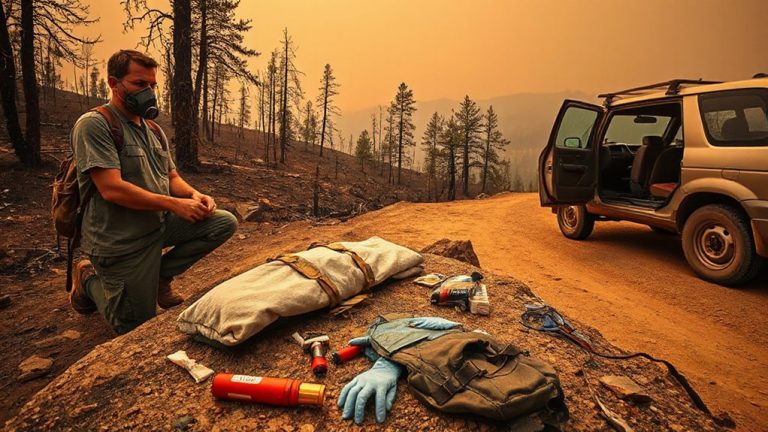
When tornadoes, hurricanes, or wildfires strike, your shelter must perform under extreme wind, impact, and heat-so design choices need to match proven performance. For hurricanes, use impact-resistant windows and reinforced roofing that meets or exceeds local wind codes to defend against flying debris and storm surge intrusion. Elevate the foundation if you’re in a flood-prone zone to reduce water damage risk. In wildfire zones, choose non-combustible siding like fiber cement or stucco, and install ember-resistant vents to limit ignition. Make certain all gaps are sealed to keep out wildfire smoke and embers. Use tempered glass and exterior doors rated for at least 1,550°F for short durations. Metal roofs with Class A fire ratings offer reliable protection. Balance ventilation needs with filtration to maintain air quality without compromising structural integrity. These tested materials and methods deliver durability when survival depends on them.
Stock Your Emergency Shelter With Essentials
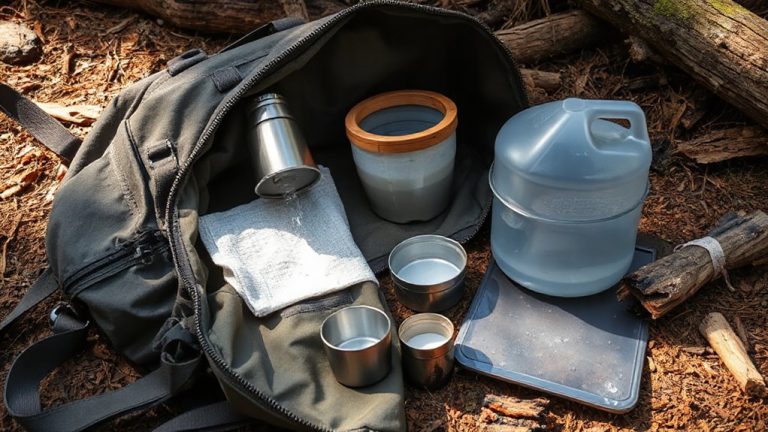
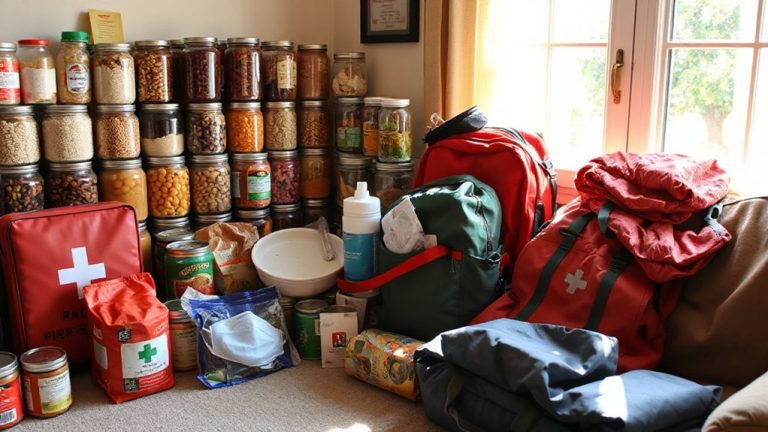
A well-stocked shelter isn’t just about piling in supplies-it’s about selecting essentials that meet known survival thresholds. You need one gallon of water per person per day for at least 14 days, so store at least 28 gallons for two people. Pair this with a reliable water purification method-boiling, tablets, or a filter with a 0.2-micron pore size-to handle contamination risks. For food, prioritize non-perishables with a shelf life of two years or longer. Use food rotation to keep items fresh: label each with a purchase date and replace every six months. Canned goods, dried beans, and freeze-dried meals provide balanced calories. Avoid bulk items that spoil quickly. A basic first aid kit, flashlights, and N95 masks are non-negotiable. Your supplies must perform under stress, not just look good on a shelf. Consider including a best water filter for survival to ensure safe drinking water in extended emergencies.
Inspect and Update Your Shelter Biannually
You should inspect your shelter every six months to guarantee it’s still functional and fully stocked-supplies degrade, equipment fails, and needs change over time. Check all stored food and water for expiration dates and replace anything compromised. Test your lighting options: make certain flashlights work, batteries are charged, and backup lamps function during outages. LED models last longer and use less power than incandescent, making them a practical choice. Examine shelter ventilation regularly; blocked or damp vents reduce air quality and increase condensation risks. Clean intake and exhaust openings, and verify that passive vents aren’t clogged or damaged. Confirm that manual or battery-powered fans still operate efficiently. Update first aid kits, communication tools, and climate-appropriate gear to reflect household changes. This routine maintenance makes certain reliability when seconds count. A well-maintained shelter performs predictably under stress. Skip it, and you risk failure when you need it most.
On a final note
You’ve assessed your risks, picked a solid location, and built to withstand local extremes. Your shelter meets wind and fire codes, holds essentials for 72 hours, and gets checked twice a year. It won’t stop every threat, but it reduces danger when seconds count. No design is perfect, but yours balances cost, space, and protection. Stick to the plan, keep supplies updated, and stay alert to warnings. That’s your best defense.