A Step-by-Step Plan for Navigating Flooded Cities: Essential Items Every Survivor Needs
Check your flood zone using FEMA maps and sign up for city alerts-you’ll need timely warnings. Pack essentials in IP67-rated dry bags: include a hand-crank radio, laminated documents, and a gravity water filter plus Aquatabs for safe drinking water. Use headlamps with IPX7 ratings, not phone lights. Wear USCG-approved life jackets-skip inflatable belts. Power devices with a 300Wh solar station. Preload offline maps. Test kits monthly. More details follow.
Notable Insights
- Confirm your flood zone using FEMA or local maps and sign up for city emergency alerts via SMS, sirens, or radio.
- Build a waterproof emergency kit in an IP67-rated container with a hand-crank radio, flashlight, and sealed vital documents.
- Store one gallon of water per person per day in food-grade containers and use gravity filters with chemical treatment for safe drinking water.
- Equip waterproof headlamps with high lumens and carry USCG-approved life jackets with whistles, avoiding inflatable belts and phone flashlights.
- Use a portable power station with solar charging and preload offline navigation apps and waterproof paper maps for evacuation routes.
Assess Your Local Flood Risk
How well do you know the flood risk where you live? You should check your local flood zones through official FEMA maps or municipal planning resources. These zones classify areas by likelihood and severity of flooding, helping you judge whether your home lies in high-risk territory. Ignoring this could leave you unprepared when water rises. Sign up for emergency alerts through your city’s notification system-these warnings often arrive minutes before flooding starts. Reliable alerts use multiple channels, including SMS, sirens, and radio, so you’re not caught off guard. Relying on social media delays response. Knowing your flood zone and receiving timely alerts directly affects your ability to react. It’s not about fear-it’s about timing, evacuation routes, and protecting your family. Don’t assume you’re safe. Verify your zone and guarantee alert systems are active, tested, and consistent. This step is essential for any urban survival plan. Consider investing in reliable flood protection such as Top Flood Barriers to add an extra layer of defense for your home.
Build a Waterproof Flood Emergency Kit
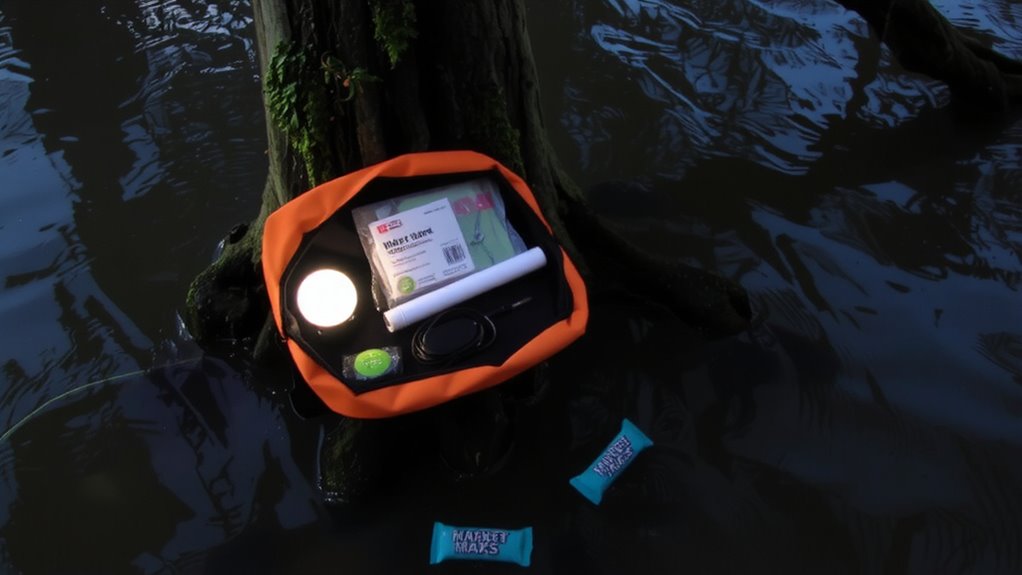
Your survival kit’s effectiveness starts with waterproof storage-without it, even the best supplies become useless in flood conditions. Use rigid, IP67-rated containers or roll-top dry bags tested to withstand submersion for at least 30 minutes. These keep contents dry in standing or moving water. Include floodproof electronics like a waterproof radio with hand-crank charging and an LED flashlight combo; models with USB ports let you charge phones during outages. Store backups in sealed vacuum bags to prevent moisture ingress. Secure documentation in watertight pouches-print copies of IDs, insurance, medical records, and emergency contacts, then laminate them. Avoid flimsy ziplocks; opt for welded-seam sleeves with adhesive closures. Label all items clearly. Test your sealed kit monthly by submerging it in a sink for 10 minutes. Replace compromised seals immediately. A reliable kit won’t help if water gets in. For added protection, cover stored items with a best waterproof tarp to shield against prolonged exposure to rain and floodwater.
Store and Filter Safe Drinking Water

Once your emergency kit stays dry, the next priority is making sure you can drink safely. Flooding contaminates water supplies, so reliable emergency storage is critical. Store at least one gallon per person per day in BPA-free, food-grade containers-rotating every six months maintains freshness. A 5-gallon Jerry can with a sealed spigot fits tight spaces and resists leaks. But storage alone isn’t enough. You’ll need water purification for long-term needs. A gravity filter like the Katadyn BeFree handles up to 1,000 liters, removing bacteria and protozoa fast. For viruses, add chemical treatment like Aquatabs. These methods combine physical filtration and disinfection, covering more pathogens. Boiling works if fuel’s available, but it’s time-consuming. UV pens like the SteriPEN are fast but depend on batteries. Balance weight, output, and reliability. Each has trade-offs-choose based on duration, group size, and water sources. For a comprehensive overview of options, consider reviewing the best water filters to match your needs with proven performance.
Grab Waterproof Lights and Life Jackets
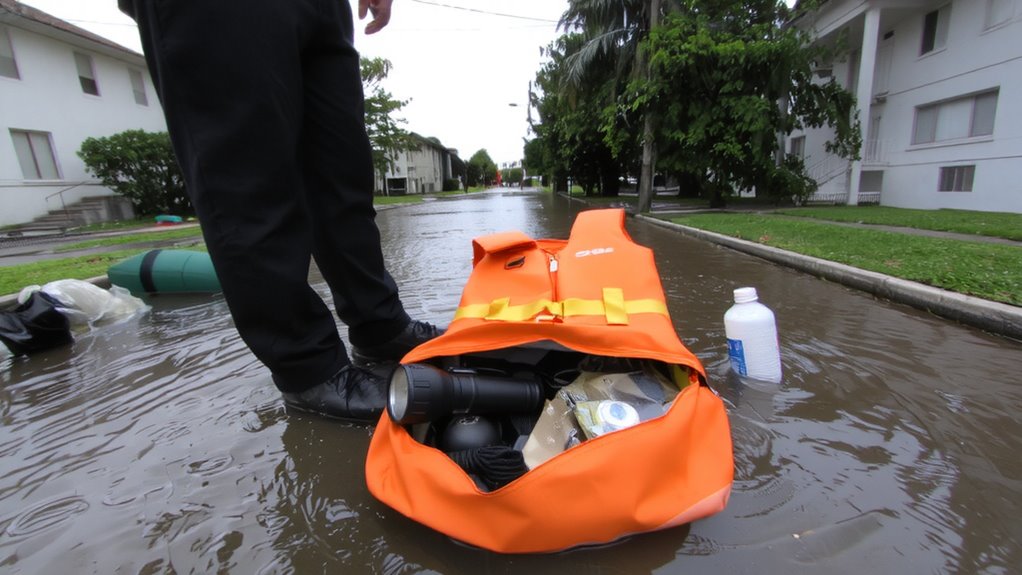
Because floods often knock out power and create life-threatening currents, having waterproof lights and life jackets isn’t optional-it’s essential. A waterproof headlamp with at least 200 lumens lets you see in total darkness without tying up your hands. Look for models rated IPX7 or higher so they survive full submersion. Life jackets, or flotation devices, must fit snugly and be USCG-approved-cheap vests often fail in strong water. In fast-moving floodwater, even strong swimmers can’t fight the current without one. Bright colors increase visibility, and some include built-in emergency signals like whistles or strobe lights. These signals help rescuers locate you fast. Don’t rely on phone flashlights-they short out easily. Similarly, inflatable belts aren’t reliable in debris-filled water. Solid foam life jackets provide consistent buoyancy. Pair your light and flotation device early; fumbling in the dark wastes time. Your survival could depend on these choices.
Power Devices to Stay Connected
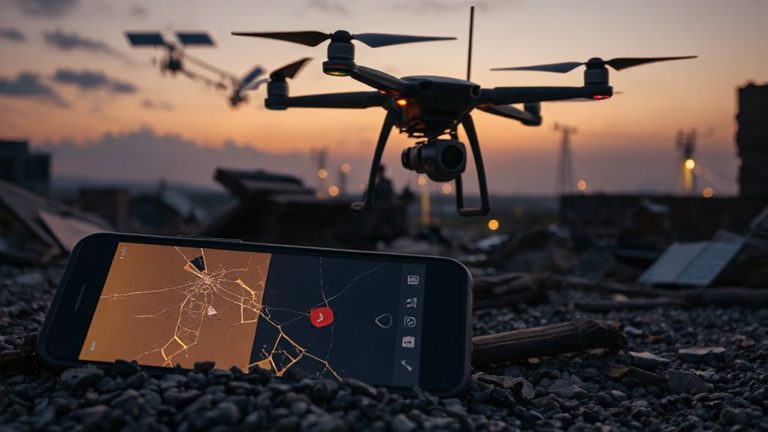
A reliable power source keeps your communication tools running when the grid fails, and portable power stations deliver the most practical solution for charging essential devices in flood zones. You’ll want a battery backup with at least 300Wh capacity-enough to recharge phones, radios, or GPS units multiple times. Look for models with USB, 12V, and AC outlets to support different gear. A solar charger pairs well with your battery backup, letting you replenish power during daylight without fuel. Typical 60W portable solar panels charge a power station in 6–8 hours under full sun, though overcast skies cut efficiency by half. Weight matters-many units range from 6 to 10 pounds, balancing portability and capacity. Lithium-ion units recharge faster and last longer than lead-acid alternatives but cost more. Test your setup before disaster strikes to guarantee compatibility and runtime.
Plan Your Evacuation Route and Shelter
You’ve got your devices powered and ready, but knowing where to go matters just as much as staying charged. Use emergency navigation apps that work offline, like Gaia GPS or Google Maps offline layers, to identify high-ground routes and avoid flooded zones. Preload maps of your city with marked evacuation paths and emergency shelters. Don’t rely solely on digital tools-carry a waterproof paper map as backup. A reliable compass or a small hand-held GPS unit, such as the Garmin inReach Mini, offers accuracy when signals weaken. Choose a temporary refuge above the floodplain-public shelters, schools, or hospitals on higher floors are often designated. Confirm shelter locations through local emergency alerts. Test your route on foot or by bike during normal conditions to assess travel time and obstacles. Prioritize accessible, well-marked shelters with medical aid and clean water.
On a final note
You’ll stay safer if you prepare now. A waterproof kit, 1 gallon of water per person per day, and a reliable filter boost survival odds. LED lights last longer than candles. Life jackets save lives-wear one. Keep power banks charged; they keep radios and phones running. Know your evacuation route-roads flood fast. Shelter locations change; monitor alerts. Every choice has trade-offs: weight vs. durability, cost vs. reliability. Pick gear tested in real floods, not just labs.