Establishing a Meeting Point Three Miles From Home in Case You Can’t Return After Evacuation
Pick a 3-mile meeting point you can reach in 30–45 minutes on foot, like a park or fire station with open access and clear sightlines. Choose somewhere central, visible, and avoid flood zones or locked buildings. Keep a written plan in your wallet and phone, plus a compact kit with a Fox 40 whistle, Mylar blanket, hand-crank radio, and water purifier straw. Test gear yearly and run drills twice a year. There’s a better way to refine your plan based on real conditions.
Notable Insights
- Choose a visible, open area like a park or parking lot exactly three miles away for easy recognition and access.
- Ensure the meeting point has multiple access routes to accommodate blocked roads or hazards.
- Select a durable public landmark such as a fire station or church that remains accessible during emergencies.
- Confirm the location is outside flood zones and away from downed power lines or other hazards.
- Test the route on foot to verify it takes 30–45 minutes and maintain a map in your emergency kit.
Choose Your 3-Mile Evacuation Meeting Point
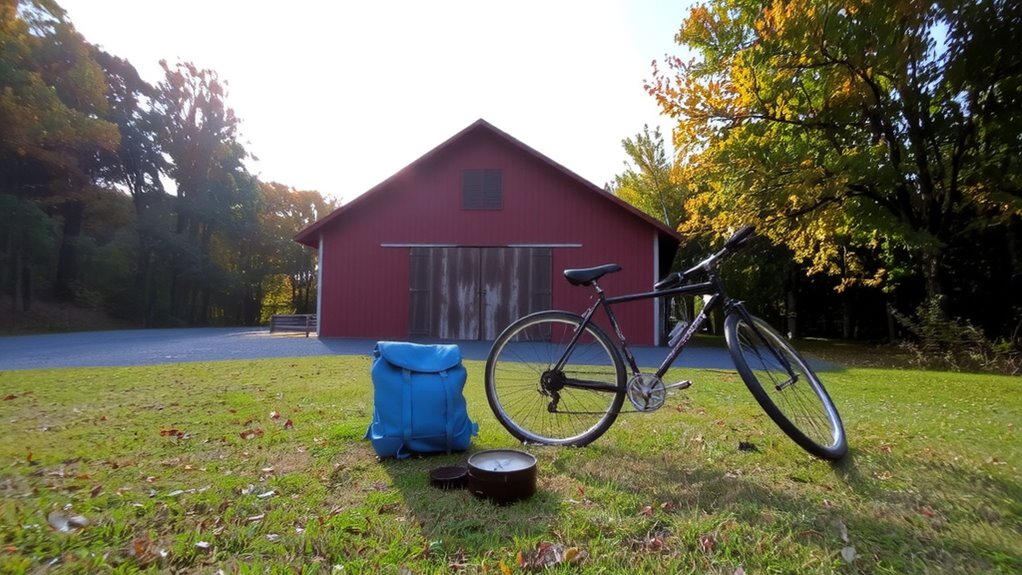
Three miles is about the distance you can cover in 30 to 45 minutes on foot, which makes it a practical radius for reaching a meeting point without overexerting yourself or relying on unreliable transport. You should pick a spot that’s accessible by multiple routes in case roads are blocked. Choose a visible, open area like a park or parking lot where evacuation signals-such as air horns, flashing lights, or radio alerts-can be easily recognized. Avoid buildings that might be unsafe or locked during emergencies. Guarantee the site allows for clear line-of-sight identification so family members can spot each other quickly. Carry personal identification at all times, since checkpoints or rescue teams may require it to verify identity. Relying on a fixed coordinate rather than a vague landmark reduces confusion. Test the route on foot at different times to assess lighting, terrain, and foot traffic.
Find a Safe and Central Location for Reuniting
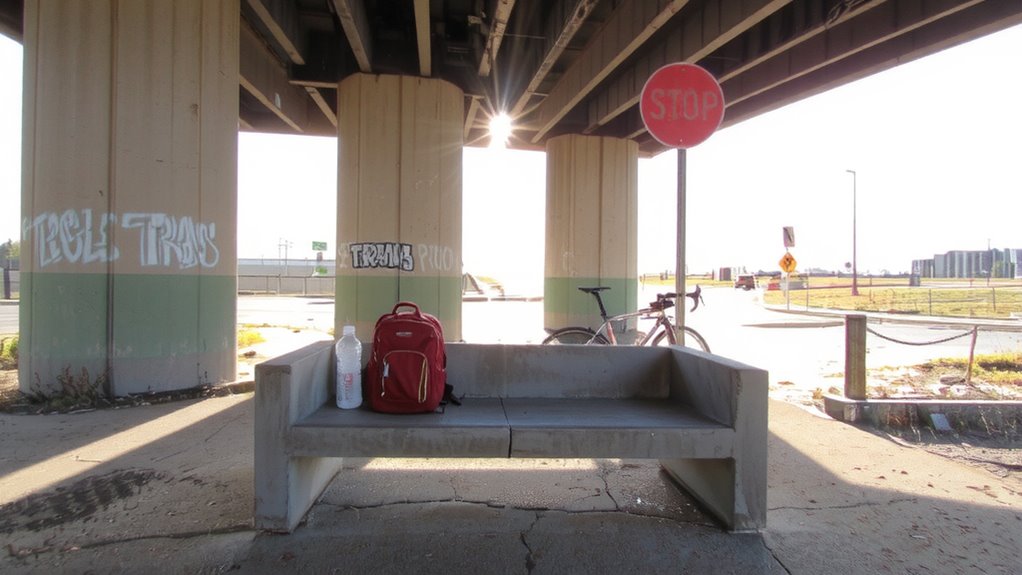
You’ll want to pick a spot that’s both safe and easy to reach from different directions, since emergencies can block your usual routes. Focus on landmark selection that’s visible, public, and unlikely to be compromised-like a church, fire station, or 24-hour convenience store with open sightlines. Avoid areas prone to flooding, downed power lines, or heavy traffic congestion. A central location increases reunion odds, especially if communication fails. That’s where communication backup matters: if phones are down, a predetermined, well-known site becomes your plan B. Consider accessibility by foot, bike, or car, and guarantee it’s within the three-mile radius.
| Feature | Why It Matters |
|---|---|
| Public visibility | Guarantees recognition under stress |
| Multiple access paths | Maintains reach if roads close |
| Non-residential | Reduces confusion and risk |
| Landmark durability | Supports reliable landmark selection |
Share and Store Your Family’s Emergency Plan
A solid emergency plan only works if everyone in your family knows it cold. Share the plan clearly-every member must understand the meeting hinter, emergency contacts, and communication methods. Write it down and store copies in your wallet, car, and phone. Use a printed card instead of relying solely on digital files, since power loss or damaged devices can happen. Texting often works when calls fail, so agree to use texts as your primary communication method. Program key emergency contacts into every family member’s phone. Update the plan every six months or after major changes. Practice the plan quarterly so responses become automatic. Storing the plan in multiple physical and digital locations guarantees access under stress. Clarity and repetition increase reliability when seconds count.
Gather Reunion Supplies to Bring With You
Keep a compact emergency reunion kit ready with essentials that cover shelter, signaling, and hydration-because arriving prepared beats scrambling when seconds matter. Emergency kits should prioritize reliability and portability, not excess. Include only what you can carry and need to survive for 24 hours. Communication devices guarantee you can confirm locations and status with family members. Choose tools with proven field performance and long battery or charge life. A high-decibel whistle can be heard over long distances, making it essential for attracting attention in low-visibility or noisy environments, and models like the Fox 40 Sonik Blast offer pea-less designs that work even when wet.
| Item | Purpose | Notes |
|---|---|---|
| Whistle | Signaling | Loud, waterproof, no batteries |
| Mylar blanket | Shelter | Reflects 90% body heat, weighs 2 oz |
| Hand-crank radio | Communication devices | Built-in flashlight, charges via crank |
| Water purifier straw | Hydration | Filters up to 1,000 liters, 0.2-micron |
Test each component annually. Replace outdated items. Emergency kits fail when ignored.
Run a Family Evacuation Reunion Drill
When seconds count during an evacuation, knowing where to meet can reduce confusion and save lives, so pick a spot that’s reachable within 15 minutes on foot from your home-like a designated tree, mailbox, or community landmark-and make sure every family member knows how to get there from school, work, or common daily routes. Run a reunion drill at least twice a year to test response time and familiarity. Use consistent emergency signals-like a whistle blast or flashlight blink pattern-to mark your arrival. A reliable signal is crucial, so consider using one of the best backpacking whistles for maximum audibility and durability in any condition. Best backpacking whistles are designed to be heard over long distances and in harsh weather. Establish basic communication protocols, such as checking in by name and confirming others’ status. Drills reveal gaps in planning, like delayed arrival times or misunderstood signals. Practice during different conditions-day, night, rain-to assess real-world performance. Adjust routes or signals if someone struggles to respond in under 12 minutes. A tested plan increases reliability when normal contact isn’t possible. Drills take less than an hour but improve coordination markedly.
Update and Test Your Meeting Point Plan
If your family hasn’t rehearsed the meeting point plan in the past six months, it’s likely out of sync with current routines-people change schools, jobs, or daily habits, and those shifts can make your original rally spot hard to reach or irrelevant. You should update the plan every quarter, adjusting routes and locations to match real-life movements. Test it biannually with a full drill that includes emergency signals like whistles or flashlights to confirm visibility and recognition under stress. Always pair this with a communication backup-hand-crank radios or printed contact lists-since cell networks often fail. Signal range, terrain access, and timing matter: a three-mile meeting point should take under 45 minutes to reach on foot. Reevaluate shelter options, fuel stores, and medical kits each test. Consistency in practice improves response speed. Assumptions kill; verification saves. Update, test, repeat. Consider including a best emergency signaling device to ensure your signal is seen or heard over long distances, especially in rugged terrain.
On a final note
You’ve picked a meeting point three miles away, shared the plan, and stocked supplies. Now test it. Run the drill under real conditions-time the walk, check visibility, note terrain challenges. A spot that looks good on paper might take too long or lack cover. Adjust based on results. Reevaluate every six months or after major moves. A solid plan lasts only if proven and updated. This one works-when it matters.