Assessing Scene Safety in a Remote Area With Active Avalanches
You’re in danger if you hear whumping sounds or see snow cracking underfoot-these mean the slab’s ready to slide. Check for shallow snowpack, rapid temperature shifts, or weak layers beneath. Probe with your pole or stomp test spots to assess stability. Stick to low-angle terrain, avoid gullies, and move one at a time. If recent slides or collapsing snow appear, leave now. Clear group communication keeps everyone aligned-and knowing what comes next could change your decision fast.
Notable Insights
- Watch for surface cracking or whumping sounds, which signal immediate avalanche risk and require rapid retreat.
- Probe snow with a pole or ski to detect slabs over weak layers indicating potential instability.
- Avoid gullies, open slopes, and cornices, favoring forested or low-angle terrain for safer travel.
- Evacuate immediately if recent avalanches, collapses, or persistent cracks are observed in the area.
- Test snow stability in multiple spots and communicate findings clearly to ensure group safety.
Know the Avalanche Danger Signs
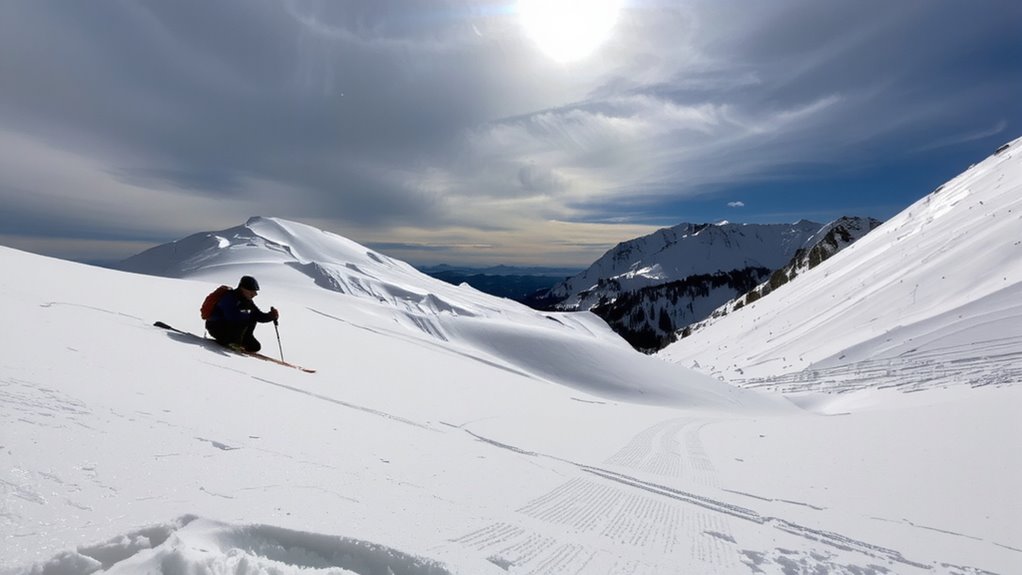
If you’re traveling in snow-covered backcountry terrain, recognizing avalanche danger signs is critical-ignoring them puts your survival at risk. You need to pay attention to obvious red flags like cracking snow and whumping sounds. Cracking snow means the surface layer is fracturing under your weight, signaling instability. A whumping sound-a sudden settling of the snowpack-means a weak layer has collapsed beneath you, often triggering slides. Both signs suggest the snow is primed to release. Your movement could be the final trigger. If you hear or see these, retreat immediately to safer terrain. These cues don’t guarantee an avalanche, but they dramatically increase the odds. Relying on observation is as essential as carrying safety gear. Ignoring them reduces your margin for error. There’s no second chance when the slope breaks. Your awareness is your first line of defense.
Spot Unstable Snow Layers Early
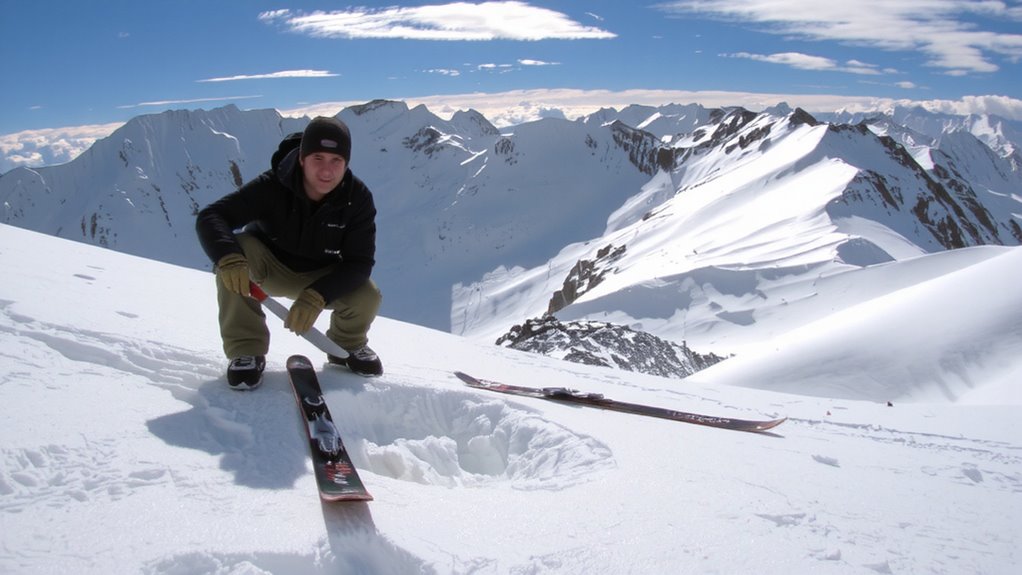
While you’re moving through snowy terrain, testing the snowpack regularly gives you the best chance to catch unstable layers before they fail. Pay attention to snowpack depth and temperature gradient-both strongly influence layer bonding. A rapid change in temperature within the snowpack often creates weak layers like depth hoar. Shallow snowpacks over persistent gradients are especially risky.
| Factor | Risk Indicator |
|---|---|
| Shallow depth | Less bonding strength |
| High gradient | Weak layer formation |
| Rapid temp change | Instability within 24h |
| Deep pack with weak base | Large avalanche potential |
| Surface melt refreeze | Crust slippage risk |
You won’t always see cracks or whumps, so probing and pit tests are essential. Early detection means avoiding slopes before conditions escalate.
Test Snow Stability With Your Gear
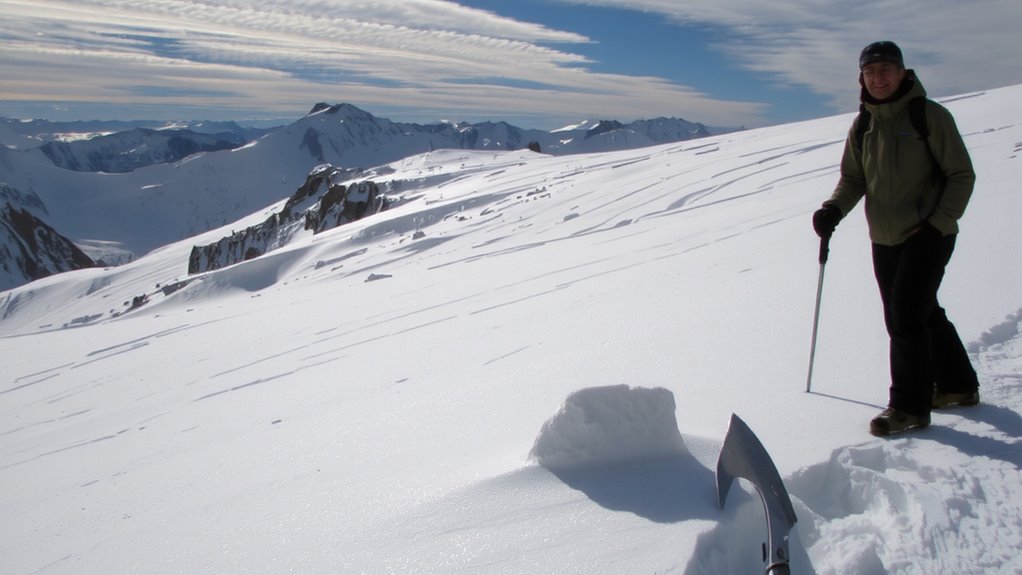
You can use your skis, poles, and even your body to test snow stability when instruments aren’t available. Start with snow probing using your pole or ski shaft to check for hard, dense layers beneath softer snow-sudden resistance often means a slab sits atop a weak layer. Perform load testing by stomping on slopes with increasing force. A collapsing layer or “whumpf” sound signals instability. Test multiple spots across a slope, as conditions vary over short distances. Skis distribute weight differently than boots, so use your edges to apply pressure while standing still, then gradually shift. Poles help isolate pressure points when pressed vertically into suspect snow. These methods aren’t perfect, but they’re measurable indicators. Snow probing reveals layer depth and hardness, while load testing simulates added stress. Together, they offer real-world data to inform decisions-fast, low-tech, and reliable when used consistently.
Choose Safer Routes in Avalanche Terrain
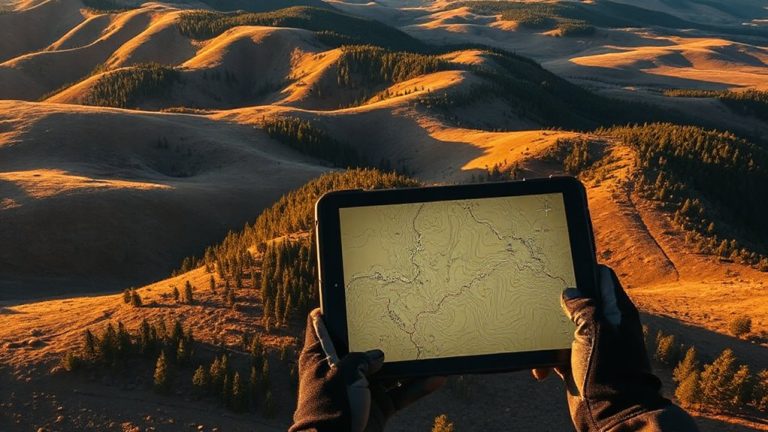
Now that you’ve tested the snow and gathered real-world data on stability, it’s time to use that information to pick your path carefully. You should rely on terrain mapping to identify low-angle slopes, dense tree cover, and natural barriers that reduce avalanche exposure. Avoid gullies, cornices, and open runs where snow can entrain quickly. Route optimization means balancing travel time with safety-sometimes the longer path is safer, and that’s a trade-off worth making. Stick to ridgelines or edges where possible, and cross slopes one at a time to minimize group exposure. Your map and compass, paired with GPS data, help confirm your position and prevent drift into hazardous zones. Real-time observation must guide adjustments-don’t commit to a planned route if conditions look unstable. Safer routing isn’t about speed; it’s about reducing risk using objective data and consistent evaluation.
Decide When to Evacuate an Avalanche Zone
If you notice increasing avalanche danger signs-like recent slides, collapsing snowpacks, or persistent cracking underfoot-it’s time to leave the slope immediately. Delay reduces your margin for safe evacuation timing. You’ve already done a risk assessment before entering the terrain, but conditions can change fast. Trust observable evidence over optimism. If the snowpack shows instability, your safest move is a quick, controlled exit along a pre-identified safe route. Hesitating increases exposure. Good evacuation timing means acting before the next trigger-possibly you-sets off a slide. It’s not about toughness; it’s about survival. You won’t outclimb a large avalanche. Every minute counts once red flags appear. Reassess continuously. Immediate retreat when conditions degrade isn’t failure-it’s effective risk assessment in action. Stay alert, stay mobile, and know when to abort.
Communicate Avalanche Risks With Your Group
Clear communication keeps the team aligned when snow conditions turn dangerous. You need to actively discuss avalanche risks so everyone understands the threat level. Group dynamics can shift quickly under stress, so assign roles early-one person monitors terrain, another tracks weather changes. Misaligned risk perception is common; someone experienced might accept slopes a novice wouldn’t. Confirm understanding by having each member state their assessment. Use simple terms: “This slope slid yesterday” or “Wind loaded the north face.” Avoid assumptions. If one person hesitates, stop and reassess. Tools like avalanche transceivers and inclinometers help ground conversations in data, not opinion. Shared decision-making reduces pressure to push forward. You’re not convincing-you’re verifying. When risk perception differs, delay travel until consensus forms. Safety depends on clarity, not confidence.
On a final note
You know the signs, tested the snow, and picked a route with lower exposure. If avalanches are still active, staying puts you at risk no gear can fix. Evacuate when instability is confirmed or communication breaks down. Your group’s safety hinges on clear calls, not hope. Turn back if the terrain offers no escape-real survival means knowing when not to push on.