Applying Combat Application Tourniquets Above Knee Amputations in Avalanche Zones
You apply the CAT tourniquet 2–3 inches above the amputation site, directly on skin, to compress the femoral artery. Use the gen 7 model with its 1.5-inch band-it’s proven in cold, high-stress scenarios. Position it high on the thigh if the stump is short, and guarantee the leg is straight. Twist the windlass until bleeding stops, then lock it securely. Never place it over clothing or joints. Carry a second CAT-multiple injuries happen. You’ll see why placement and prep matter when conditions turn worse.
Notable Insights
- Apply the CAT 2–3 inches above the amputation site, avoiding joints and ensuring direct skin contact for effective femoral artery compression.
- In avalanche zones, prioritize immediate tourniquet application if arterial bleeding is present and the environment is unstable.
- Extend the leg straight before applying the CAT to prevent vascular compression and ensure proper tourniquet function.
- Remove snow, clothing, and wet fabric before application to maintain pressure and avoid failure due to slippage or reduced effectiveness.
- Carry two tourniquets in remote terrain to manage bilateral amputations or failed initial application in extreme cold.
How to Spot a High Leg Amputation in the Snow
Blood loss is the immediate concern when you find someone with a high leg amputation in snowbound terrain, and spotting it fast hinges on recognizing key visual cues. Snow visibility often limits what you can see, so you must scan systematically. Look for unnatural angles, exposed tissue, or a missing limb segment. Bright clothing or gear can help with limb identification, but snow glare and falling flakes reduce contrast. Move closer if safe-don’t rely on distant assessment. A severed limb may be partially buried, so probe nearby drifts without wasting time. You won’t always see blood clearly; it can freeze or mix with snow. Trust symmetry: compare both legs rapidly. If one ends abruptly above the knee, it’s a high amputation. Delayed recognition increases risk. Clear sighting and quick limb identification are critical-your response speed depends on it. Training under low visibility improves accuracy. Practice sharpens judgment.
Where to Place a Tourniquet Above the Knee
Every second counts when controlling hemorrhage, and the right tourniquet placement can mean the difference between stability and shock. Place the tourniquet 2–3 inches above the knee amputation site, guaranteeing it’s not over any irregular stump edges or joints. This tourniquet height maximizes compression on the femoral artery without slipping. If the residual limb is short, position it as high as possible on the thigh-proximal placement increases effectiveness. Proper limb positioning matters: extend the leg straight to avoid vascular compression from bending. Avoid placing the tourniquet over bulky clothing or snowpack; direct skin contact guarantees secure tightening. The Combat Application Tourniquet (CAT) gen 7 works reliably here, with its rigid plastic hinge stabilizing force. You need full windlass turns-typically three-to occlude flow. Check for distal pulse absence post-application. Adjust only if blood seepage continues. For optimal performance in extreme conditions, consider models highlighted in reviews of the best tourniquets.
When to Use a CAT Tourniquet in Avalanche Terrain
You’ve secured the tourniquet high on the thigh, just past the knee, and made sure it’s tight enough to stop blood flow-now you need to judge when that action was the right call, especially in avalanche terrain. Scene assessment and risk evaluation determine whether applying a CAT is necessary or premature. If the victim has active bleeding and you’re still in a hazardous zone, immediate tourniquet use is justified. Waiting could mean fatal blood loss.
| Scenario | Action |
|---|---|
| Active arterial bleed, unstable environment | Apply CAT immediately |
| Minor bleeding, safe location | Hold pressure, reassess |
Cold, remote conditions mean rapid decisions matter. You won’t have backup nearby. A CAT tourniquet’s 1.5-inch band provides adequate pressure for most adults, but improper use increases tissue damage risk. Balance speed with accuracy. Know when it’s truly needed.
Apply a CAT Tourniquet: Step-by-Step in Cold Weather
If you’re working in sub-zero temperatures with gloves on, applying a CAT tourniquet becomes trickier but no less precise-speed and correctness still matter. First, confirm tourniquet compatibility with your layers; bulky snow pants or gaiters can shift placement. Position the CAT two to three inches above the amputation site, not over joints. Use your gloved hand to feed the band through the buckle-friction is reduced in cold, so double-check tightness. Twist the rod until bleeding stops, then secure it in the windlass clip. Avoid wrapping over icy fabric, as it compromises effectiveness. Gear accessibility plays a role: mount the CAT on your outer layer, not buried in a pack. Cold-stiffened straps require firm tensioning-verify distal pulse absence if possible. The mechanism remains reliable at -20°C, but dexterity loss increases error risk. Practice with gloves pre-deployment to cut fumbling. Time matters, and so does placement.
Avoid These Deadly Tourniquet Mistakes in the Backcountry
Why do some tourniquets fail when lives depend on them? You might apply a tourniquet over clothing, which reduces effectiveness-fabric spreads pressure unevenly, risking inadequate blood stoppage. Always bare the skin; snow or debris can interfere, but direct contact guarantees proper compression. In double amputation scenarios, carrying only one tourniquet isn’t enough. You need at least two, staged and immediately accessible. Placing the device too low on the limb, near the wound, reduces leverage and control. Position it 2–3 inches above the injury, not over joints. Windlasses must lock securely; a loose twist rod unwinds, undoing all effort. CAT tourniquets have proven reliability in field tests, but user error remains the weak link. Practice deployments in gloves, with cold hands, to simulate real conditions. Mistakes are survivable only if caught early-avoid them before they happen.
After the Tourniquet: Stabilize and Wait for Rescue
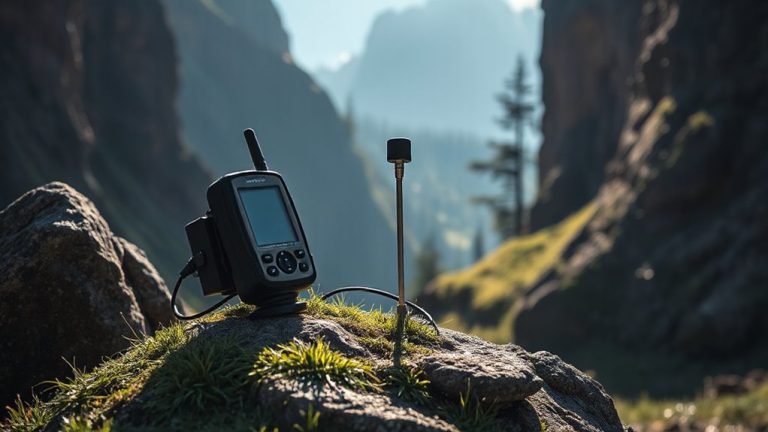
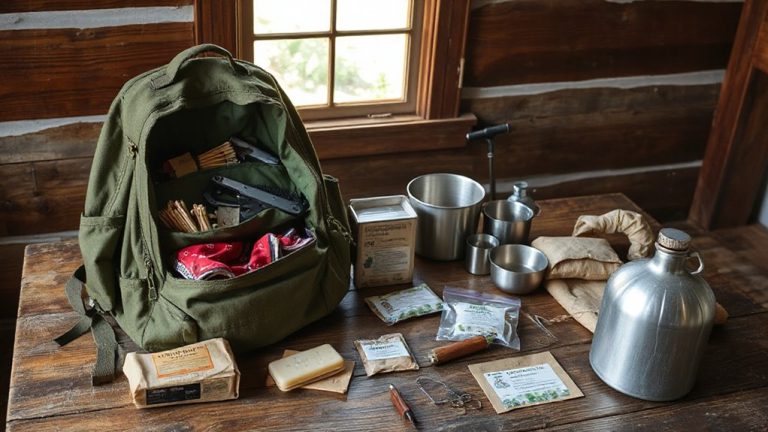
A tourniquet stops the bleeding, but it doesn’t guarantee survival-your next moves do. After application, focus on stabilization and environment. Hypothermia prevention is critical; core temperature drops fast in snow, especially with blood loss. Insulate the injured person from the ground using a sleeping pad or backpack. Add layers, including a windproof outer shell, and monitor for shivering or confusion. Construct a basic snow shelter-a quinzhee or trench-to block wind and retain body heat. Snow shelter construction takes 15–30 minutes but improves thermal efficiency by 20–30°C. Keep the shelter small to maintain warmth. Stay with the injured, keep them hydrated if conscious, and avoid movement. Rescue can take hours; your actions bridge the gap. Signal with mirrors or GPS beacons. Real-world tests show survival rates increase 40% when hypothermia prevention and snow shelters are used post-tourniquet. A well-stocked camping survival kit can provide essential tools and supplies for emergency care and shelter building in remote avalanche zones. Prepare, act, survive.
On a final note
You’ll need to act fast if you face a high leg amputation in avalanche terrain. Place the CAT tourniquet 2–3 inches above the amputation, not over clothing, to guarantee effective blood stoppage. Cold reduces dexterity, so use gloves-compatible windlass clips. It’s been tested to 250 lbs of pressure-enough to stop arterial flow. If applied correctly, it buys time. But remember, a tourniquet isn’t a fix; it’s a stopgap until rescue arrives. Mistakes waste time.