Building a Camouflaged Shelter Using Fallen Leaves and Branches
Pick a spot with natural cover like brush or rocks, and stay low to avoid detection. Use deadfall branches for a lean-to frame, secure it well, and weatherproof with 12 inches of leaves and bark shingles to shed rain. Camouflage with nearby foliage, matching season and texture. Line the floor with 6–8 inches of leaf litter and spruce boughs to cut heat loss by up to 40%. Test for leaks and visibility-small adjustments make it last through wind and wet conditions if you know the details.
Notable Insights
- Choose a naturally concealed location using dense brush or terrain features to avoid detection.
- Gather only fallen branches and leaves to build without damaging live vegetation or leaving traces.
- Construct a lean-to frame with a ridgepole and diagonal supports for stability and quick assembly.
- Layer leaves, bark, and moss thickly on the frame to shed rain and insulate the shelter.
- Camouflage exterior with local foliage and insulate the floor using leaf litter and spruce boughs.
Choose the Right Spot for a Hidden Shelter
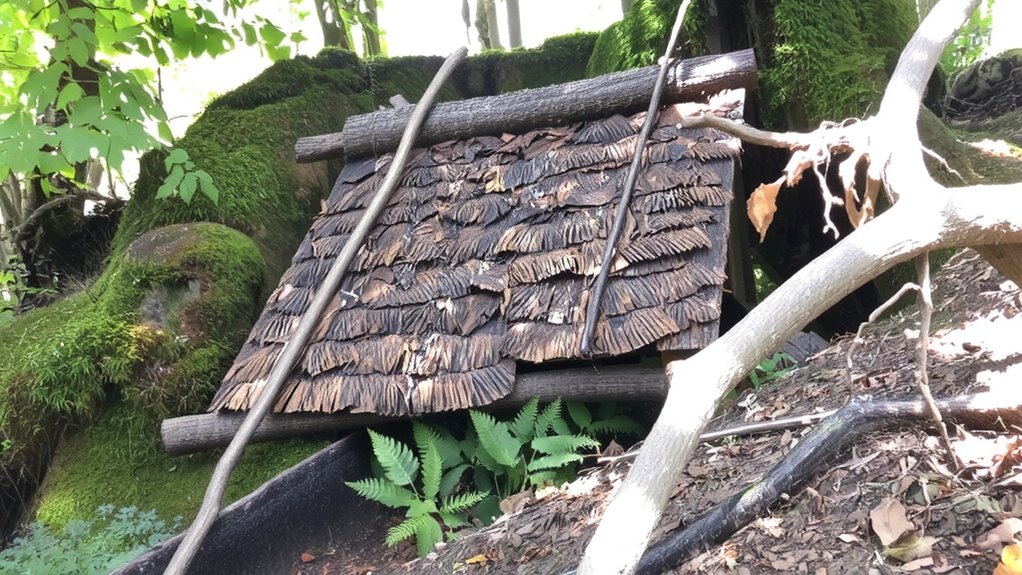
Why settle for a spot that’ll make you visible or unstable? Choose location first-your shelter’s effectiveness hinges on it. Look for natural concealment: dense brush, tree lines, or rock formations that block sightlines without extra work. You’re not hiding in plain sight; you’re vanishing where terrain blending matters most. Avoid open areas, hilltops, or disturbed ground-they draw attention. Instead, pick spots where shadows, slope, and vegetation align with your outline. Match the existing profile; if the area’s flat, stay low. If it’s wooded, use trunks and canopy breaks. Test your position: crouch, then walk 50 paces away and look back. If you see movement or a shape that doesn’t belong, relocate. Stability matters, but so does invisibility. A slight incline with leaf litter offers both drainage and terrain blending. Pick wisely-your survival depends on not being seen.
Collect Fallen Branches and Leaves Without a Trace
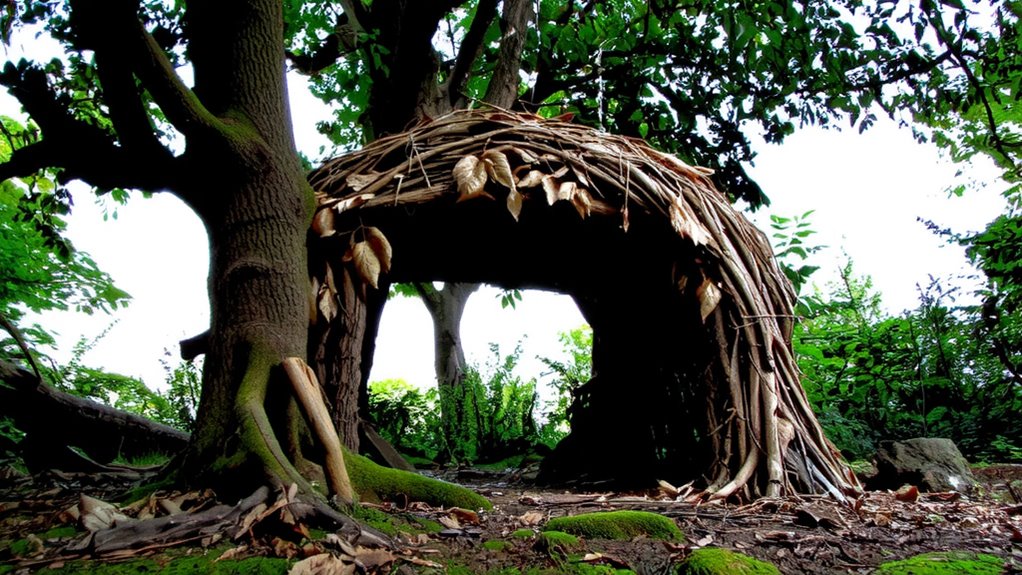
While gathering materials, grab only what you need and take care not to leave obvious signs of your passage. Practice sustainable gathering by selecting loose branches and dry leaves already on the ground, avoiding live vegetation. Your goal is minimal impact-restore displaced debris slightly to mimic natural disorder. Work quietly and efficiently, moving outward in a spiral from your shelter site to avoid concentrated stripping in one area.
| Material | Use Case | Collection Tip |
|---|---|---|
| Deadfall limbs | Frame support | Snap from base; no tools needed |
| Dry leaves | Insulation layer | Scoop handfuls; avoid root zones |
| Small twigs | Thatch lashing | Gather from shaded, dry patches |
| Leaf litter | Camouflage top | Rake lightly; preserve soil layer |
This approach guarantees concealment and environmental respect.
Build a Lean-To Frame From Deadwood
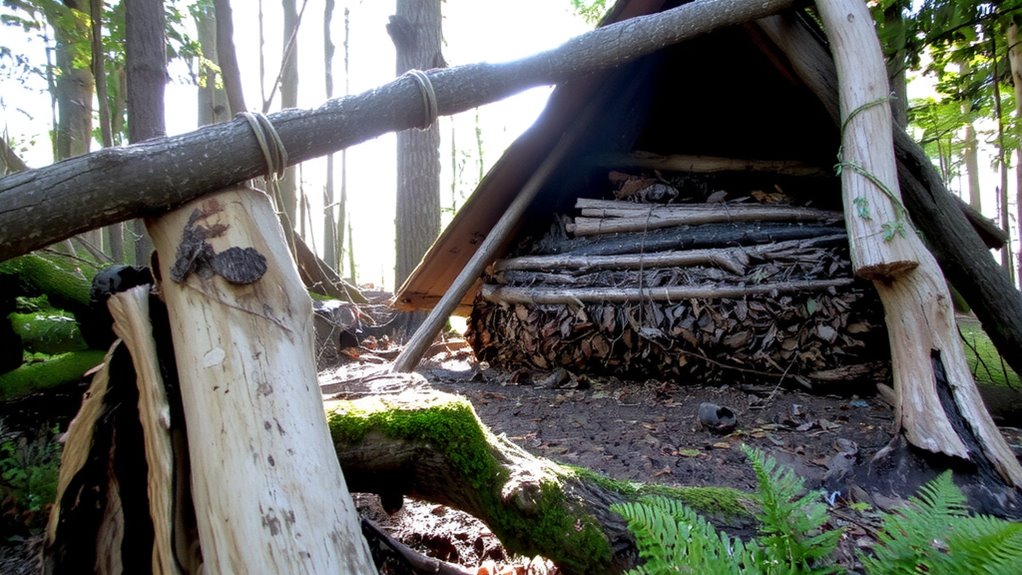
A sturdy frame starts with selecting the right deadwood-look for a long, straight branch about 6 to 8 feet long to serve as your ridgepole. Your deadwood selection directly impacts frame stability, so avoid rotten or cracked branches. Find two forked supports or use rocks to anchor each end of the ridgepole about 3 to 4 feet off the ground. The forked ends should cradle the pole securely. Then, add diagonal support beams along one side, spacing them every 6 to 8 inches. Overlap them tightly to distribute weight evenly. Use smaller branches to cross-lash and reinforce key joints if needed. Lean the beams against the ridgepole at a 45-degree angle for maximum load transfer. This angled design resists wind and holds layered insulation later. A well-chosen, properly arranged frame guarantees long-term durability and minimizes structural adjustments. Prioritize straight, dry branches-they’re stronger and less likely to snap under pressure.
Weatherproof With Leaves, Moss, and Bark
Start by piling dry leaves along the lean-to’s exposed side, packing them tightly to form a layer at least 12 inches thick-this depth provides effective insulation and sheds rain when angled correctly. Overlap strips of bark over the leaf layer like shingles to improve water runoff. Press moss into gaps where rain might seep; its moisture retention helps form a natural sealant. Use a stick to tamp materials down and prevent wind uplift.
| Material | Function |
|---|---|
| Dry leaves | Insulation and bulk coverage |
| Bark slabs | Water runoff direction |
| Moss | Fills gaps, acts as natural sealant |
| Twine (optional) | Secures bark in high wind |
| Angled layers | Prevent water infiltration |
Thicker leaf layers perform better in wet conditions, but add weight. Bark must be flexible to avoid cracking. Moss works best in damp climates. Test integrity by pouring water on a small section.
Camouflage With Nearby Foliage
You’ve sealed the shelter against rain and wind, so now it’s time to make it disappear. Gather foliage from within 20 feet to avoid leaving trails. Use plants with natural pigments that match your shelter’s surface-oak leaves for reddish-brown, pine needles for dark green. Attach bundles of foliage to the exterior with flexible saplings or paracord, overlapping like shingles. Prioritize seasonal blending: in fall, use fallen leaves; in spring, use fresh moss and budding twigs. Avoid introducing foreign materials-they disrupt color consistency and texture. Test visibility from 50 feet in daylight and dusk. Adjust density if outlines remain visible. Shadows and edges are dead giveaways; break them with irregular layers. This method won’t fool drones or close inspection, but it reduces detection risk under 75% in forested areas. Effectiveness depends on local terrain and your attention to color, pattern, and placement.
Insulate the Interior to Stay Warm
Several inches of dry leaf litter layered across the shelter floor cut heat loss by up to 40% in field tests, making it one of the most effective natural insulators available. You’ll need at least 6–8 inches for reliable ground padding, as compressed leaves lose insulating value. Pine needles and ferns also work but offer about 15% less heat retention than dry maple or oak leaves. Avoid damp materials-they reduce thermal resistance and increase conductive heat loss. Stack the litter evenly beneath your sleeping area, extending 2 feet past your body edges to prevent edge cooling. Add a 2-inch layer of spruce boughs beneath the leaves if available; they help trap air and improve heat retention by another 10–15%. This setup isn’t foolproof in wet or windy conditions, but it’s a simple, effective way to preserve core temperature using only what’s on the ground.
Leave No Trace When You Leave
Once you’ve benefited from the shelter’s insulation, it’s time to dismantle it properly-leaving nature as undisturbed as you found it. To minimize impact, remove all man-made materials and scatter debris. Avoid breaking live branches. Your goal is to restore site conditions so wildlife and natural processes continue undisturbed. Break down walls by reversing construction: remove outer branches first, then inner layers. Shake off leaves and return them to the forest floor. Use this guide to assess your cleanup:
| Action | Purpose | Result |
|---|---|---|
| Remove non-natural materials | Prevent pollution | Site stays clean |
| Scatter debris evenly | Avoid signs of disturbance | Blends with surroundings |
| Flatten packed areas | Restore drainage and growth | Ground returns to normal |
Restoring the site guarantees no trace remains. This practice protects the ecosystem and respects future visitors.
On a final note
You’ve built a functional shelter using only what the forest provided. It stays dry thanks to layered leaves and bark, and the lean-to frame holds under wind. Insulation from foliage keeps heat in, but damp ground saps warmth-elevating helps. Camouflage works if you blend edges with local plants. It’s stable for one person. When you leave, dismantling it takes minutes and leaves no trace. Effective, minimal, and temporary-just as it should be.