Building a Snow Cave Shelter in Deep Powder With a Survival Saw
Choose a leeward ridge with wind-packed snow-300–400 kg/m³ density-for stable blocks. Avoid slopes over 30 degrees or avalanche paths. Cut 3 ft x 2 ft x 1 ft blocks with a coarse carbide-tipped survival saw. Build a dome with a low, narrow crawl entrance to trap heat and reduce drafts. Add a fist-sized vent at the peak to prevent CO₂ buildup. Smooth the interior to limit melting. You’ll see how proper shape and placement improve survival safety.
Notable Insights
- Select a wind-packed snowdrift on the leeward side of a ridge for denser, more stable snow.
- Test snow stability by cutting a block and checking for clean breaks or layer separation before building.
- Cut uniform 3 ft x 2 ft x 1 ft blocks with a carbide-tipped survival saw for strong, manageable construction.
- Shape a low, narrow crawl-entry tunnel sloping downward to retain heat and block cold air.
- Dome the interior smoothly, add a ventilation hole at the peak, and clear the entrance before exiting.
Find a Safe Spot for Your Snow Cave
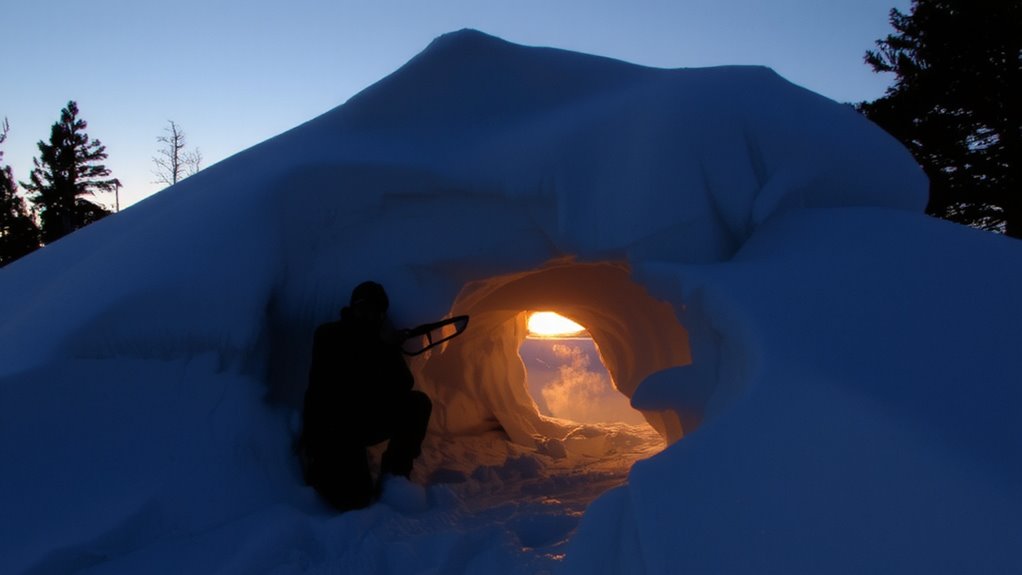
While you might be tempted to dig into the first deep snowdrift you see, choosing the right location matters more than effort saved. Proper snowdrift selection increases stability and reduces risk. Look for drifts on the leeward side of ridges, where wind has deposited snow evenly and densely. Wind patterns determine snow accumulation and structure-avoid areas with evidence of recent sluffing or cornices. Drifts formed by consistent wind packing are denser and safer. Stay clear of avalanche paths, tree wells, or slopes over 30 degrees. A solid snow cave starts with a solid foundation, and that begins with reading the terrain. Pick a spot with uniform, compacted layers. Your survival saw will cut better through well-settled snow. Good placement takes minutes to assess but impacts safety all night. Make the right call upfront, and your shelter stands a better chance when it counts.
Check Snow Stability to Avoid Collapse
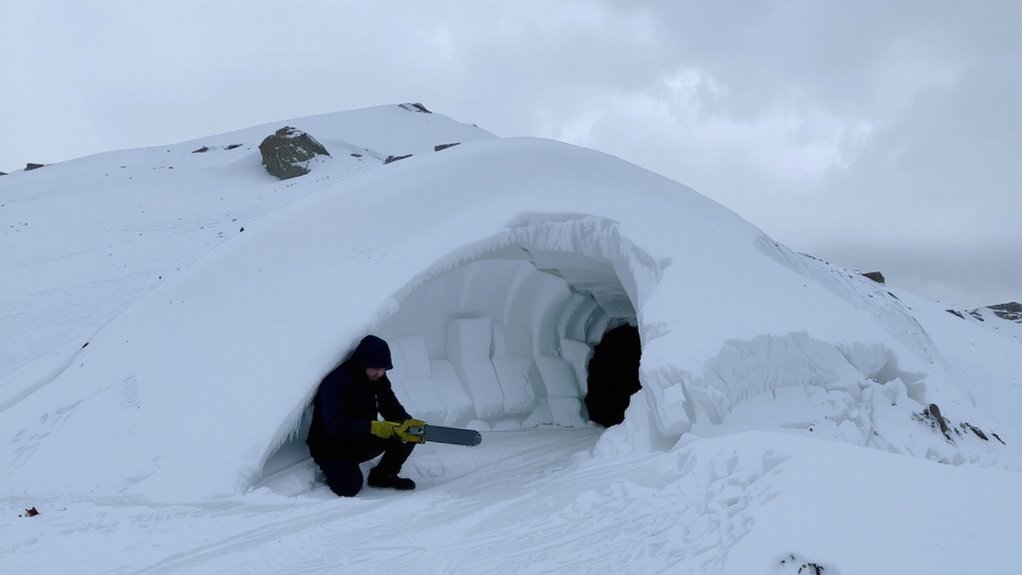
Since a collapse could be deadly, you need to test the snow before digging-start by cutting a block about 30 cm wide and 60 cm deep from your chosen drift. Isolate it on three sides, then tap the snow above to check for layer separation. If it breaks cleanly, the snow lacks cohesion and poses high avalanche risk. Stable snow should hold together, showing good bonding between layers. Poor stability means weak structural integrity, making a snow cave unsafe. Wind-packed snow usually performs better than loose or icy layers. Avoid areas with recent avalanche activity or visible cracks. If the block collapses under light pressure, pick another spot. Testing takes minutes but prevents disaster. Your life depends on the structural integrity of the snow-don’t assume it’s safe. Confirming stability reduces avalanche risk and guarantees the shelter can support weight without failing.
Cut Snow Blocks With Your Survival Saw
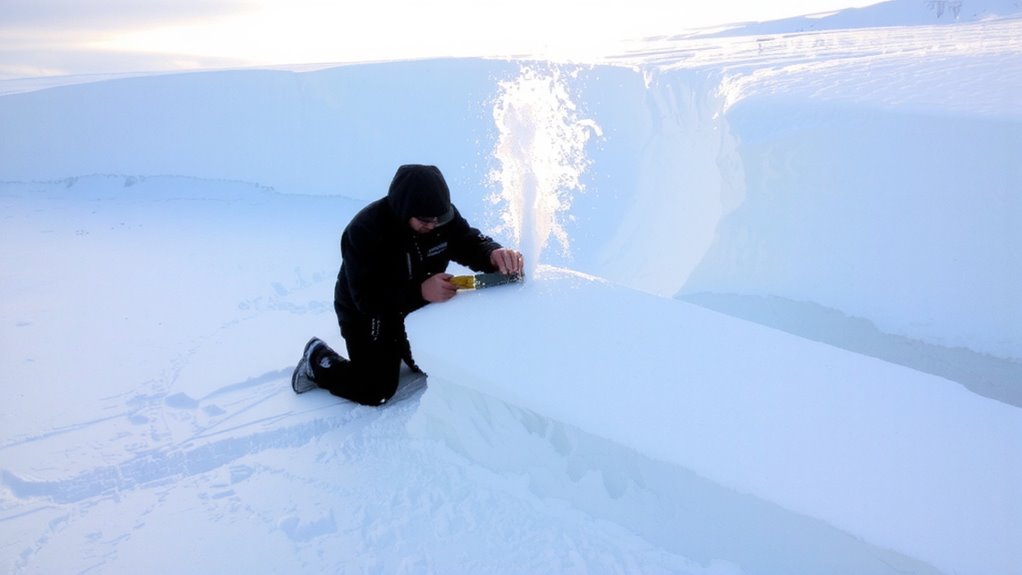
If the snow passes your stability test, you can start cutting blocks using a survival saw with a coarse, carbide-tipped blade-this type cuts faster and lasts longer in abrasive conditions than fine-toothed alternatives. Cut blocks roughly 3 ft x 2 ft x 1 ft; larger blocks are harder to move, smaller ones create weak joints. Ideal snow density is firm enough to hold its shape but soft enough to cut without binding-around 300–400 kg/m³ works best. Avoid loose powder or ice layers, as both compromise structural integrity. Each block should have square edges for tighter fits, minimizing gaps that reduce block insulation. Properly stacked, these blocks form a stable wall that traps air, enhancing thermal resistance. Carbide tips stay sharp over dozens of cuts, but inspect teeth periodically. If progress slows, clean the blade or rotate sections. Consistent block size and tight seams improve overall shelter performance. For reliable performance in extreme conditions, choose a saw model recognized among the best hand tree saws.
Shape a Low Entrance to Trap Heat
After stacking the snow blocks into a dome, shape the entrance low and narrow-ideally no taller than 18 inches and about 16 inches wide-so you’ll need to crawl in, but that’s by design. A low threshold minimizes cold air influx and boosts heat retention by trapping warm air inside. Cold air sinks, so the reduced opening prevents it from flowing freely into the shelter. Your body heat stays contained, raising the interior temperature by 15–25°F above outside levels. Keep the entrance tunnel slightly downhill to further block drafts. A narrow entry also strengthens structural integrity, reducing collapse risk. While crawling in feels inconvenient, the trade-off in warmth and safety is measurable and worth it. Avoid enlarging the opening-any gain in comfort sacrifices heat retention. This isn’t about ease; it’s about survival. A properly sized entrance with a low threshold is one of the most effective, no-cost upgrades for maintaining core temperature in a snow cave.
Add a Ventilation Hole for Safe Breathing
While your snow cave effectively traps heat, it still needs a small ventilation hole to prevent CO₂ buildup and guarantee safe air exchange. Use your survival saw to poke a fist-sized hole near the dome’s peak-this allows stale air to escape without significant heat loss. Proper airflow regulation maintains breathable conditions and reduces moisture that leads to ice buildup inside the shelter. Without it, condensation accumulates on walls, dripping or restricting space as it freezes. The hole should be just large enough to permit passive airflow but not so big that it compromises insulation. Test airflow by holding a match or light fabric near the opening; a slight draw indicates functional ventilation. You can adjust the size if needed, but remember: too much ventilation cools the interior, too little risks suffocation. This simple addition isn’t optional-it’s essential for overnight survival in deep powder.
Build a Dome-Shaped Interior for Warmth
Shaping the interior into a dome maximizes heat retention by minimizing surface area exposed to cold air, so you stay warmer with less body heat. You should carve the ceiling into a smooth arch, avoiding flat spots that collect cold air. An insulated ceiling traps warmth near you, especially when you position your sleeping area beneath the highest point. Smooth and firm compacted walls reduce heat loss and resist melting. Use your survival saw to refine rough surfaces, then hand-smooth the snow to seal air pockets. A dome shape naturally sheds structural stress, lowering collapse risk. Keep the interior just large enough for your body-extra space wastes heat. Dome height should allow slight sitting room, not full upright, to maintain efficient volume. This shape, combined with dense, compacted walls, creates a stable microclimate. Ventilation works better when warm air rises evenly under the insulated ceiling. Overall, the dome balances space, safety, and thermal efficiency without overbuilding.
Exit Safely and Leave No Trace
When you’re ready to leave the snow cave, clear the entrance from the inside before stepping out to avoid getting trapped by a collapsed tunnel. Check for overhead snow loads and move quickly but calmly. Your emergency exit planning starts before you dig-always keep a clear path to the surface and mark the exit with a ski pole or trekking staff if visibility drops. Once out, conduct a thorough environmental cleanup: fill in debris holes, scatter displaced snow evenly, and remove all trash, including food scraps and toilet paper. Leave natural features as you found them. This minimizes visibility and prevents wildlife disturbances. A survival saw used in construction should be wiped and stored properly. You’re not just exiting a shelter-you’re reducing your impact. Effective shelters balance safety and sustainability. Proper cleanup takes minutes but preserves the environment for others.
On a final note
You’ve built a functional snow cave using just a survival saw and deep powder. The shelter traps heat well, and the ventilation hole keeps air fresh. A low entrance reduces heat loss, while the dome shape holds steady under snow load. Cutting blocks by hand takes effort, but it’s doable in 2–3 hours. It’s not fast, but it’s reliable when weight and space limit gear. This method works-no extras needed.