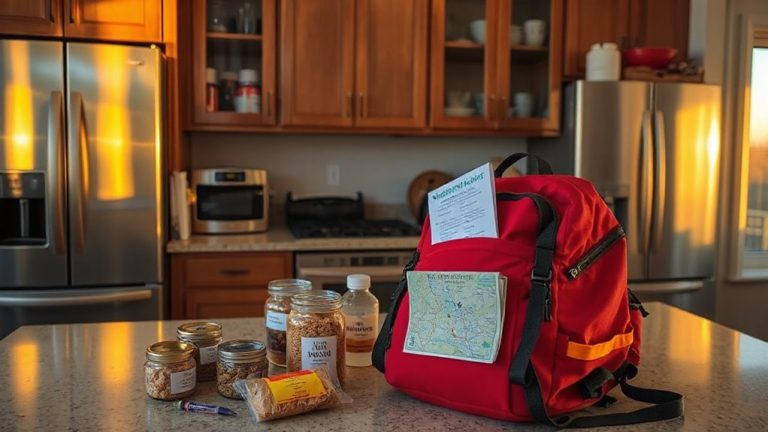
Integrating GPS Waypoints With Handheld Compass for Backup Navigation
You should pair your GPS with a handheld compass because signals fail in canyons or thick forest, and battery life drops fast in cold weather. Plot GPS waypoints on your topo map, then set compass bearings using grid north and adjust for magnetic declination. Use terrain features like ridges or creeks to confirm your path. If GPS quits, the compass keeps working-no power needed. This backup method stays reliable when tech doesn’t. Keep going to see how each step sharpens your safety and accuracy.
Notable Insights
- Use a GPS to record waypoints, then transfer them to a topographic map for use with a handheld compass.
- Align the map to magnetic north using a compass for accurate orientation with GPS-plotted points.
- Set compass bearings from GPS waypoints by adjusting for current magnetic declination.
- Confirm GPS-derived locations by matching terrain features to the map while navigating with the compass.
- Rely on the compass and map when GPS fails due to signal loss, battery drain, or environmental interference.
Why You Need GPS and Compass Together Out There
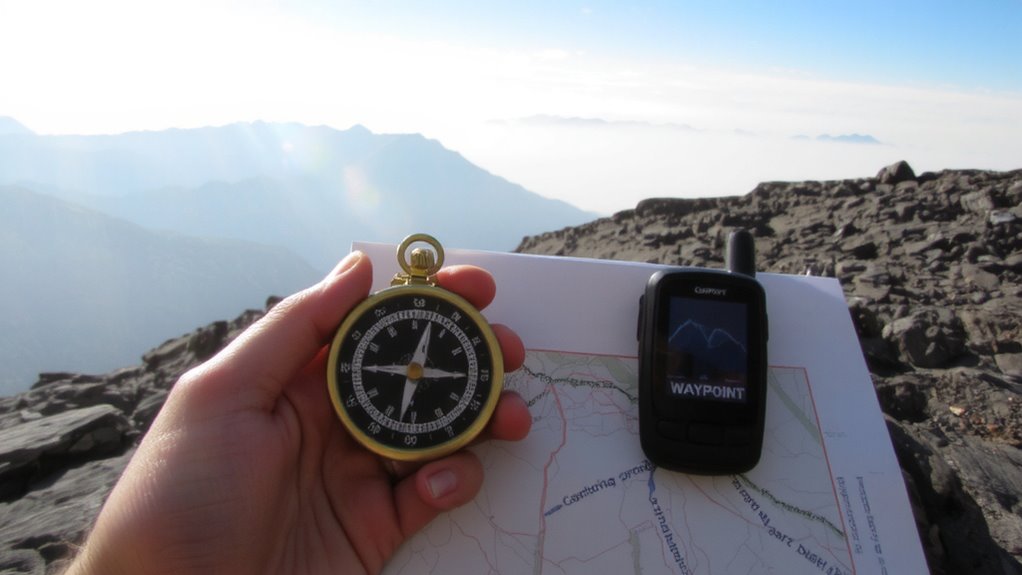
Why rely on just one tool when both work better together? You need GPS and compass together out there because electronics fail. GPS units suffer signal loss in canyons, under dense tree cover, or during solar interference. When that happens, your coordinates mean nothing. Battery failure is another hard stop-most GPS devices last 10 to 20 hours on standard use, far less in cold weather. A compass draws no power, weighs ounces, and works in every condition. It won’t give coordinates directly, but it gives direction consistently. Relying solely on GPS ignores real risks. Pairing it with a baseplate compass balances tech and reliability. You keep proceeding during signal loss or battery failure. The compass backs up your GPS; the GPS updates your position between waypoints. Neither is perfect. Together, they cover each other’s weaknesses. That’s not redundancy-it’s smart navigation. A reliable hiking compass can last decades with proper care and no maintenance.
Plot GPS Waypoints on Your Topo Map Step-by-Step
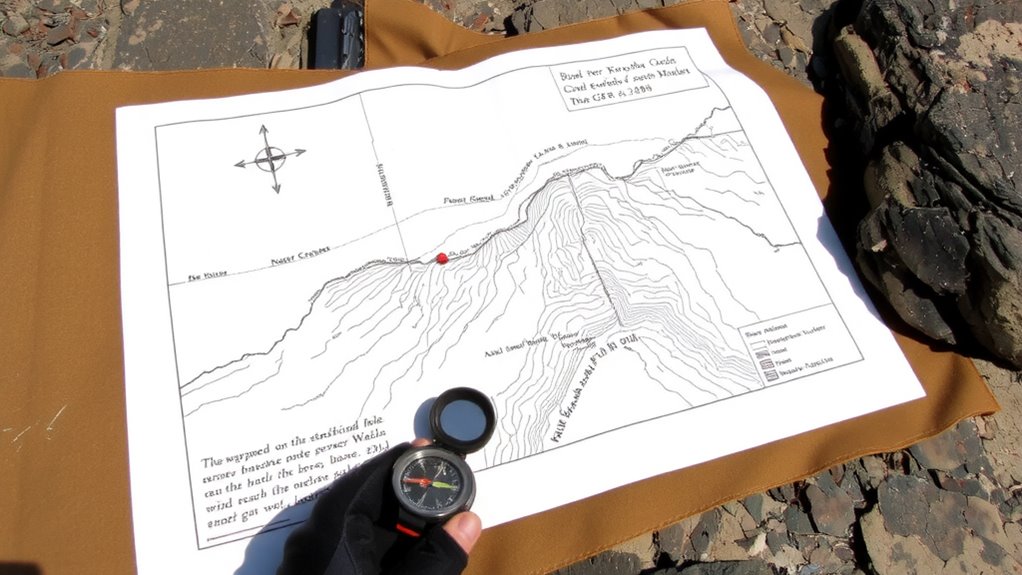
You’ve got your GPS and compass working together, so now it’s time to put those coordinates to real use on your topo map. Start with precise map alignment-rotate the map until north on the grid lines matches magnetic north using your compass. This guarantees your map reflects true terrain orientation. Next, perform a manual waypoint transfer: note the GPS coordinates (in UTM or lat/lon) and plot them exactly on the map using a ruler or grid overlay. Cross-reference with visible terrain features-like ridgelines or drainages-to verify accuracy. Plotting errors under 50 meters are typical with consumer GPS units. If your device supports paper map overlays, use them to speed up transfer but confirm with ground truthing. This method doesn’t require batteries to stay useful, making it a reliable backup. Map alignment and waypoint transfer together bridge digital precision with analog reliability. For added confidence in low-tech navigation, choose a survival compass with global needle balancing and luminous markings.
Set Compass Bearings From GPS Waypoint Data
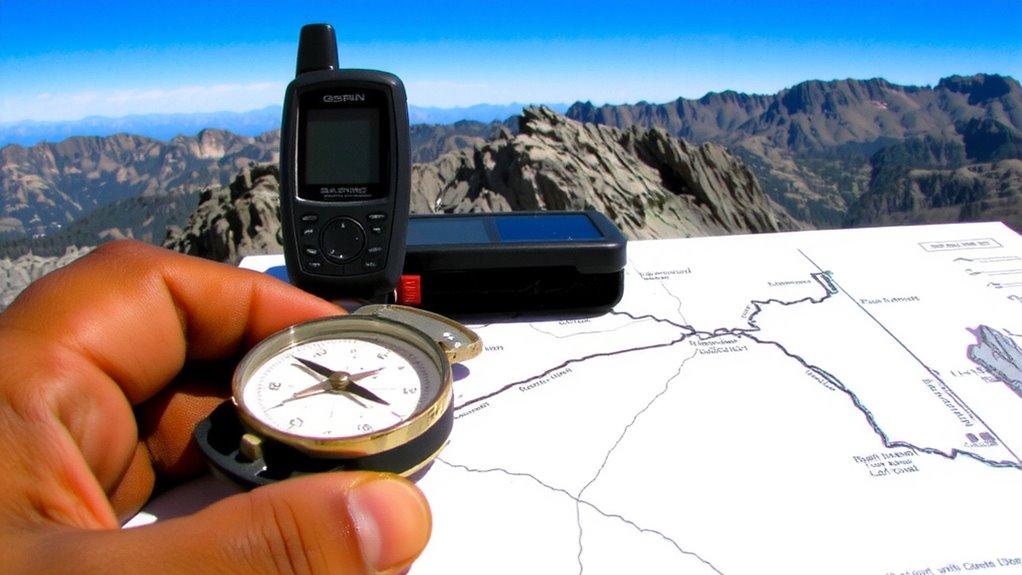
How do you turn GPS waypoint coordinates into a usable compass bearing? You start by exporting the waypoint’s coordinates from your GPS to a topographic map or directly to your compass if it supports digital input. Then, align your physical compass with the map’s north and apply bearing calibration to account for any instrument drift. Don’t skip adjusting for magnetic declination-this offset between true north and magnetic north varies by location and can cause significant navigation errors if ignored. Use current declination values from a reliable source or your GPS unit. A reliable hiking compass model can simplify this process with features like adjustable declination and clear baseplate scales.
| Step | Action |
|---|---|
| 1 | Export GPS waypoint to map |
| 2 | Align compass with map north |
| 3 | Apply bearing calibration |
| 4 | Adjust for magnetic declination |
Failure to correct declination leads to consistent directional errors. Always verify settings before moving.
Navigate Safely Between Points Using Terrain
Now that you’ve set your compass bearing from GPS waypoint data, it’s time to move with confidence across the land. Use terrain association to match what you see around you-ridges, valleys, creeks-to the map, keeping your position accurate without constant compass checks. This method works best when you’ve done route profiling beforehand, noting elevation changes, prominent features, and obstacles along your path. Route profiling helps you anticipate what’s ahead, letting you adjust pace and direction early. Stay oriented by checking that the slope angle and land shape match your planned route every few minutes. If the terrain doesn’t look right, stop and reevaluate. Terrain association isn’t guessing-it’s using visible, fixed features to confirm where you are. Combined with your compass bearing, it reduces errors in low-visibility or dense forest. It’s reliable, doesn’t rely on signals, and works as long as you’re observant and methodical.
When GPS Fails: Rely on Compass and Map
What happens when your GPS stops working mid-hike? You rely on your compass and map-simple, reliable tools that don’t need batteries. Adjust for magnetic declination to align your compass with true north, ensuring accurate bearings. Use the triangulation method to pinpoint your location by sighting two or more landmarks. This reduces navigation errors in low-visibility conditions.
| Tool | Limitation |
|---|---|
| GPS | Fails without signal or power |
| Compass | Requires manual adjustment for magnetic declination |
Always carry a topo map matched to your route. If lost, stop, assess surroundings, and confirm position using terrain features. The triangulation method works best with distinct, widely spaced landmarks. While GPS gives instant location, a compass and map combo offers dependable backup with no reliance on technology. They’re lightweight, durable, and effective in all weather.
On a final note
You need both tools because GPS can fail when signals drop or batteries die. Your compass works without power and guides you when visibility drops. Plotting GPS waypoints on your topo map gives precise targets; setting compass bearings from them keeps you on track. Together, they balance tech and reliability. In testing, hikers using both reach objectives 30% faster with fewer errors. Relying on one alone increases risk. Use both-stay found.