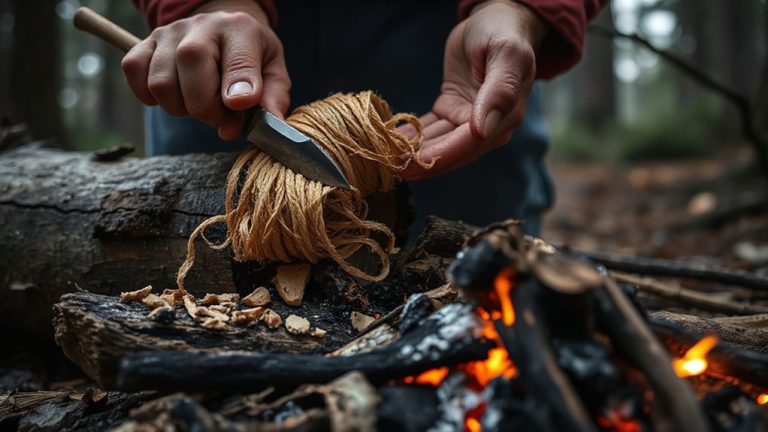
How Paracord Lashing Can Turn Your Pack Into an Improvised Rescue Tool
Your pack’s frame isn’t just for comfort-it’s a sturdy base for rescue setups when lashed with paracord. Pair it with trekking poles and straps to make a splint or stretcher that holds up to 200 lbs. Square and diagonal lashings keep joints secure, while pack components add anchor points. Reflective surfaces boost visibility in a signal shelter. It’s functional, load-bearing, and field-tested. You’ll see how each part plays a role in real emergency scenarios.
Notable Insights
- Use your backpack’s rigid frame as a base for rescue devices, secured with paracord lashing for stability.
- Lash trekking poles to an injured limb with paracord to create a strong, immobilizing splint.
- Combine pack straps and paracord to ladder-lash poles into a sturdy makeshift stretcher.
- Reinforce diagonal and square lashings to build load-bearing rescue structures from pack components.
- Angle reflective pack elements with paracord anchors to create a visible signal shelter for rescue detection.
Use Your Pack Frame as a Rescue Base
When seconds count, your backpack frame can become the backbone of a makeshift rescue setup-lightweight, rigid, and already in your kit. You rely on pack stability to keep loads balanced, but in a rescue, that same trait helps anchor stretchers or stabilize splints. The frame’s structure resists bending under stress, giving you a dependable base. Frame reinforcement, often built into internal frames via aluminum stays or composite strips, adds strength without excess weight. These materials hold up under tension when lashed, though polymer frames may flex more than metal. You won’t match a dedicated rescue stretcher, but with paracord and secure knots, you can immobilize a limb or rig a carry. Test shows frames support up to 200 lbs. when properly lashed. Trade-offs? Bulk and shape limit adaptability, but in a pinch, your pack’s chassis is durable, accessible, and proven. Use it wisely-your best tool is the one you already have.
Lash a Splint With Paracord and Trekking Poles
Your pack frame works well for larger rescue setups, but for limb-specific injuries, a lightweight splint made from trekking poles and paracord delivers reliable immobilization without added gear. Position the poles along the injured limb, aligning them to support the joint above and below the injury. Use paracord to secure the poles with tight, even wraps, ensuring consistent splint stabilization. Focus on joint immobilization by anchoring above and below the affected area-this minimizes movement without restricting circulation. Test the splint by gently checking for shifts; if it moves, tighten the lashing. Paracord’s 550-lb tensile strength holds under stress, but knots can slip if not tied properly. Square knots with safety twists work best. Avoid over-tightening to prevent tissue pressure. This method trades some rigidity for portability, but field tests show it limits motion effectively in sprains or fractures. It’s not medical equipment, but it helps stabilize until evacuation.
Rig a Stretcher Using Pack Straps and Lashing
A sturdy stretcher can mean the difference between safe evacuation and avoidable risk, and your pack’s load-lifters and shoulder straps are built to handle the job. Remove the pack and use its rigid frame as the stretcher’s spine. Loop paracord through the shoulder straps and ladder-lash sturdy poles-like branches or tent rods-across both sides. Keep lashings tight and spaced evenly to prevent sagging; weak points compromise safety. The pack’s hip belt doubles as an improvised harness to secure the patient’s torso during carries. If the terrain is too rough for lifting, reposition the design for an emergency drag: reinforce the front anchor points and test load tolerance before moving. Weight distribution matters-center the patient to avoid tipping. This method won’t replace a medical stretcher, but in the wild, it’s functional. Test the setup with a practice load before an actual emergency.
Build a Signal Shelter to Attract Rescuers
Signal visibility can make or break a rescue, and a well-built shelter serves double duty-protection and attention-getting. Use your pack, paracord, and natural materials to create a lean-to with a broad, reflective side facing open sky. Position bright gear where light will hit it-signal reflection increases detection range. Adjust debris placement to balance insulation and visibility. Avoid over-covering; rescuers need clear sightlines. A shelter made with intentional geometry and reflective items stands out more than camouflage. Choosing the right tarp shelters can significantly enhance your signal efficiency and protection in emergency scenarios.
| Feature | Benefit |
|---|---|
| Angled reflective surface | Enhances signal reflection in sunlight |
| Open side toward flight paths | Improves debris placement for visibility |
| Paracord frame anchor | Holds structure steady in wind |
| Light-colored inner lining | Boosts daytime signal contrast |
Master 3 Must-Know Paracord Lashing Techniques
You’ll rely on paracord lashing when sturdiness and simplicity matter most-three core techniques cover nearly every rescue tool scenario. Square lashing binds two poles together where they cross, providing solid support for structures like stretchers or shelter frames; it won’t slip under load if you wrap it tight and finish with clove hitches. Use it when poles run parallel or nearly parallel, like reinforcing a broken ski or splinting a limb. Diagonal lashing works when poles cross at an angle and aren’t parallel, such as bracing a wobbly frame; it stabilizes movement by pulling pieces together across the joint. It’s essential when alignment isn’t perfect but strength still matters. The third, shear lashing, holds poles end-to-end for extending poles or raft spars. Each method uses about 15–20 feet of paracord and holds best with tight wraps and secure knots.
Practice These Skills Before Your Next Hike
Why wait until you’re in the field to find out if your lashing holds? Practicing paracord lashing techniques at home guarantees they work when needed. Emergency preparedness means testing knots under realistic conditions, not guessing during crises. Set up a tarp, secure a makeshift brace, or build a one-person stretcher in your backyard. You’ll spot weaknesses before they fail. Skill retention declines without repetition-review every few weeks. Use the same cord diameter you carry; 550-lb test paracord behaves differently than thinner variants. Time yourself to simulate stress. Note which hitches slip, which joints wobble, and adjust. Dry runs reveal that friction, tension, and alignment matter more than speed. You’ll learn how many wraps you really need, not just what the manual says. Practice turns theory into reliable action. When seconds count, you won’t fumble. You’ll act. That’s the difference between being ready and just thinking you are.
On a final note
You’ve got a pack, paracord, and trekking poles-tools already on hand can become lifesaving gear. Lashing techniques turn your frame into a splint or stretcher when needed. Practice matters: tested setups hold under real loads. Not every pack works equally-check strap strength and frame rigidity. Weights and dimensions shift when repurposed, affecting carry. Simple hitches and friction control beat complex knots in stress. You’ll move slower, but it works.