How to Clean and Dress a Deep Laceration in the Wilderness With Limited Supplies
First, make sure the area’s safe and stop any life-threatening bleeding with firm pressure. Use clean water to flush the wound for at least 30 seconds-boil or filter it if unsure. Clean around the cut with sterile gauze or boiled cloth, working outward. Cover it with the cleanest absorbent material you have, like gauze or boiled cotton. Watch for redness, swelling, or pus. Most infections show within 48 hours, and early signs mean it’s time to get help.
Notable Insights
- Ensure scene safety by checking for hazards like unstable terrain or weather before approaching the injured person.
- Control life-threatening bleeding with direct pressure, elevation, and a tourniquet if necessary, applied 2–3 inches above the wound.
- Irrigate the laceration thoroughly using clean, preferably boiled or filtered water delivered under pressure for at least 30 seconds.
- Clean the skin around the wound with sterile or boiled-dampened cloth, wiping outward in circular motions to avoid contamination.
- Dress the wound with sterile or boiled absorbent cloth, monitor for infection, and avoid non-sterile materials like moss or leaves.
Check the Scene and Stop Immediate Danger
While evaluating the surroundings comes first, you’re only wasting time if you don’t act fast-your safety and the injured person’s depend on it. Scene safety is non-negotiable. Before approaching, conduct a quick hazard assessment: look for unstable terrain, fallen power lines, animal threats, or ongoing weather risks. If the environment remains dangerous, move the injured person only as much as necessary to neutralize immediate threats. Your priority isn’t perfect conditions-it’s creating a stable, workable space. Don’t assume a site is safe because it looks clear; test your footing, scan overhead, and check for hidden dangers like slippery moss or venomous wildlife nearby. Rushing into treatment in a hazardous zone risks two casualties instead of one. A thorough hazard assessment takes under 30 seconds but prevents avoidable harm. Stay alert, stay mobile, and reevaluate scene safety continuously-conditions change, and so should your awareness.
Stop Bleeding With Firm Pressure
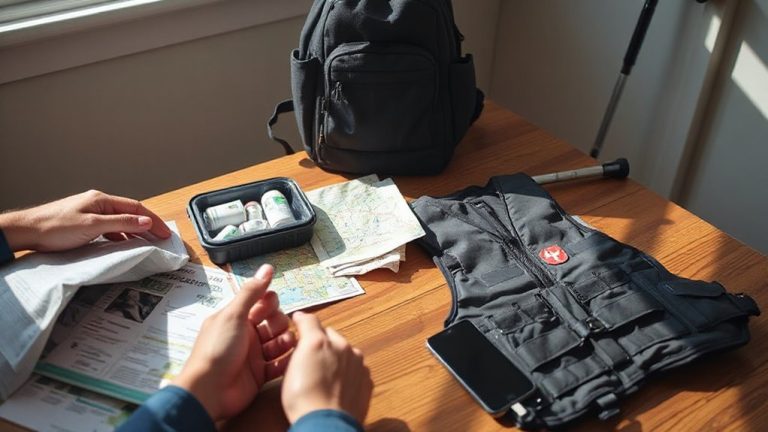
If the wound’s still bleeding, apply firm, direct pressure right away-this is the most reliable way to slow or stop heavy blood loss in the field. Use a clean cloth or dressing, pressing steadily over the wound until bleeding stops. Don’t peel it off to check-the clot may break. If blood soaks through, add another layer and keep pressing. Elevate limb above heart level if possible; this reduces blood flow and helps control bleeding. If bleeding doesn’t slow after several minutes of pressure and elevation, you may need to apply tourniquet. Place it 2–3 inches above the wound, not over a joint, and tighten only until bleeding stops. Note the time it’s applied. A tourniquet stops major blood loss but risks tissue damage if left on too long. Monitor closely. These steps are proven under stress and with minimal gear, based on field performance, not theory. A well-stocked wilderness first aid kit can provide critical supplies like tourniquets, gauze, and antiseptics in emergency situations.
Flush the Wound With Clean Water
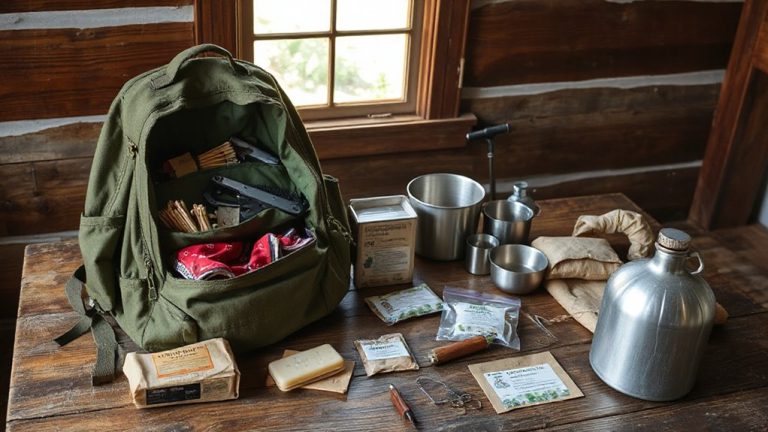
Use clean water to flush the wound thoroughly-it’s the most effective way to remove dirt, debris, and bacteria when you’re off the grid. Prioritize water sourcing from the cleanest available source, like a flowing stream or purified supply, to reduce contamination risks. If you’re unsure about purity, boil water for one minute or use a reliable filtration system-otherwise, you risk introducing pathogens. Let water flow steadily over the wound for at least 30 seconds; this mechanical action lifts out particles better than wiping. Avoid stagnant pools or muddy banks-they increase contamination risks markedly. If pre-packaged saline isn’t available, clean drinking water works fine. Never reuse water that’s already passed over the wound. Gravity-fed irrigation, like a punctured water bag, delivers pressure without added tools. Effective irrigation doesn’t require special gear-just volume, cleanliness, and method. A portable water filtration system can ensure access to clean water in remote locations.
Clean Around the Cut With Safe Materials
After flushing the wound, clean the skin around the laceration with materials you can trust-sterile gauze pads or clean cotton cloths work best because they won’t shed fibers or introduce new contaminants. Use a sterile technique: handle supplies with clean hands or gloves and work outward from the cut in circular motions to avoid dragging debris back toward the wound. If sterile gauze isn’t available, boiled and cooled cloth can suffice. You can dampen the cloth with natural antiseptics like diluted honey or cooled, strong tea, both shown to inhibit bacterial growth in field testing. Avoid alcohol or hydrogen peroxide-they damage tissue. These methods reduce infection risk without modern supplies. Effectiveness depends on consistency and cleanliness. Even in remote settings, maintaining sterile technique improves outcomes. Clean around the cut thoroughly but gently. You’re not cleaning the wound again-just the surrounding area. This step is essential for safe dressing.
Cover the Wound With the Cleanest Cloth
The best cloth for covering a deep laceration is one that’s sterile, tightly woven, and absorbent-like a commercial first-aid dressing or a bandage made from boiled cotton fabric if nothing else is available. Your wound dressing must protect the site while minimizing contamination. Cloth selection directly impacts healing and infection risk, so prioritize cleanliness over convenience. Avoid wool or heavily textured fabrics that shed fibers. Even in the wild, a clean T-shirt tear is better than dirty gauze. A well-stocked first aid kit ensures access to sterile dressings and essential supplies in remote settings.
| Material | Absorbency | Risk Level |
|---|---|---|
| Commercial gauze | High | Low |
| Boiled cotton | Medium | Low |
| Unwashed cloth | Low | High |
| Paper towel | Medium | High |
| Leaf or moss | Poor | Very High |
Use only what you can trust. A poor wound dressing fails regardless of placement.
Watch for Infection Without Antibiotics
You’ve covered the wound with the cleanest material available, but that’s just the start-now you need to keep a close eye on how the injury responds over the next few days. Infection is a real risk, especially without antibiotics. Check the area at least twice daily. Look for signs of redness spreading beyond the wound edges or warmth radiating from the site. Increased swelling after the first 24 hours is a clear warning. Pus, worsening pain, or a foul odor means the body’s fighting something serious. Fever or red streaks leading away from the cut suggest the infection is spreading and needs urgent attention. Even with clean gauze and careful dressing changes, nature doesn’t offer second chances. If symptoms progress, evacuation becomes necessary. Prevention matters, but vigilance saves lives.
On a final note
You’ve cleaned the wound and stopped the bleeding, but infection is still likely without antibiotics. Cover it with the cleanest cloth you have and change it daily. Watch for redness, swelling, or pus-signs you’re losing the fight. In the wild, healing takes longer, so stay alert. This method works in a pinch but won’t replace proper medical care. Know its limits.