How to Plan for Evacuation When You Have a Service Animal With Special Needs
You’ll need pet-friendly shelters that allow service animals with special needs and provide climate control, sanitation, and water access. Choose transport like a minivan or SUV with enough space for your animal and any assistive devices. Pack a 72-hour go-bag with food, meds, collapsible bowls, and waste supplies. Keep vet records and service documentation in a waterproof, accessible folder. Designate a backup handler and run evacuation drills to test readiness-each step guarantees reliability when conditions change.
Notable Insights
- Identify pet-friendly emergency shelters that accommodate service animals with special needs and permit handler access.
- Choose transport like SUVs or minivans with ample space and low entry for ease of access.
- Maintain updated medical records, mobility equipment lists, and accessibility needs for quick reference.
- Assemble a 72-hour go-bag with food, water, meds, and supplies tailored to the animal’s condition.
- Designate a trained backup handler and keep emergency documents in waterproof, accessible formats.
Find Pet-Friendly Emergency Shelters
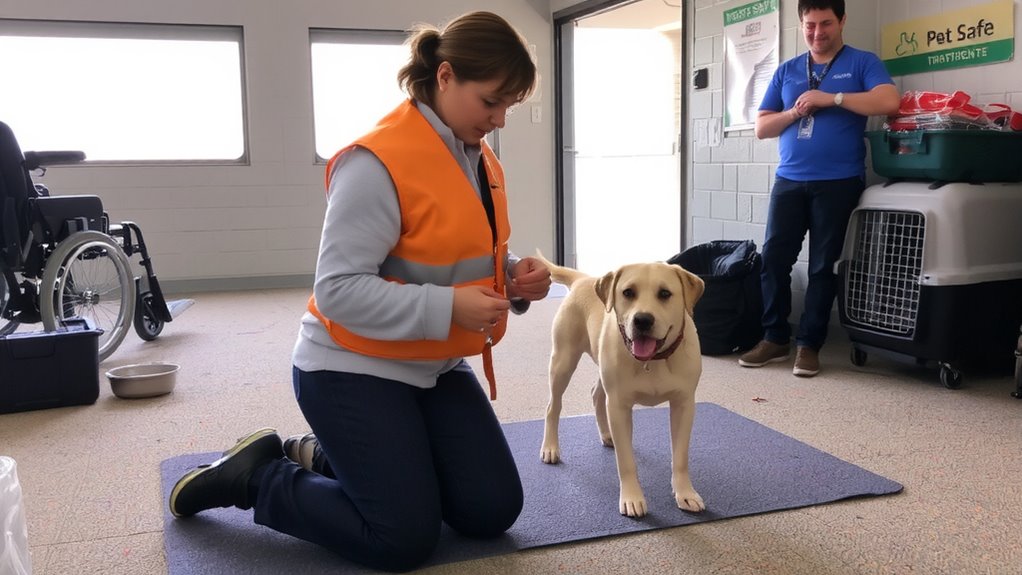
Where will you go if an evacuation order comes and your service animal has special needs? You’ll need a pet-friendly emergency shelter that accommodates both your requirements and your animal’s. Not all shelters allow animals, and those that do often enforce strict shelter rules limiting access based on size, breed, or species. Some may only accept pets in carriers or separate from owners, which isn’t feasible for service animals. Pet allergies among other evacuees mean facilities might restrict animal locations or require quarantine zones. You must verify if the shelter has designated areas that allow ongoing handler-animal contact. Check whether the site provides climate-controlled spaces, sanitation supplies, and access to water. Relying on general pet shelters without confirming these factors risks your animal’s ability to function-and your access to necessary support when seconds count.
Pick Transport That Fits Your Service Animal
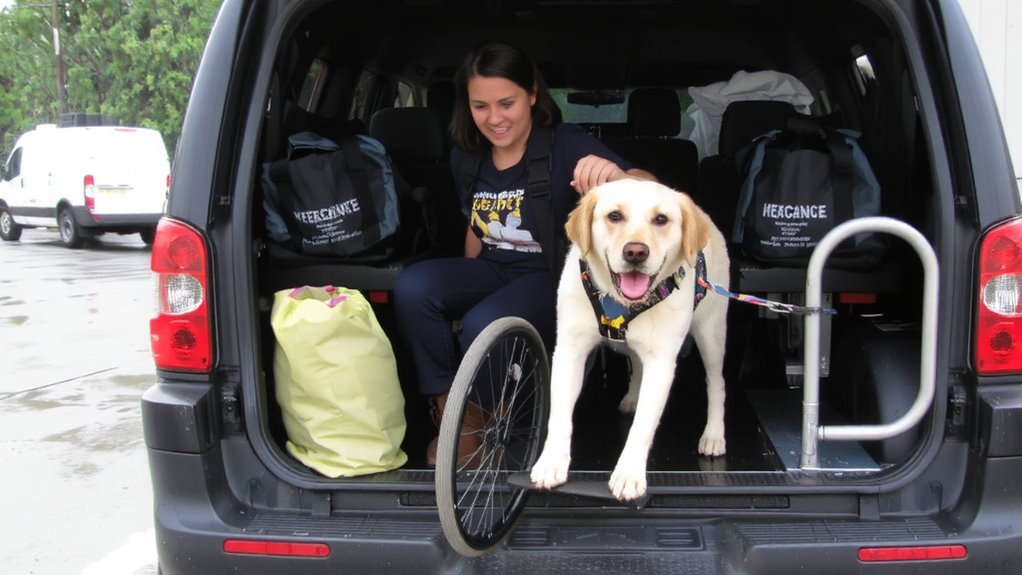
You’ve confirmed the shelter accepts service animals with special needs, but getting there depends on transport that accommodates both your animal’s size and medical requirements. Choose a vehicle type that allows safe entry and exit, especially if your animal uses a cart or needs support. Full-size SUVs and minivans often provide enough room, while sedans may not meet space requirements. Measure your animal’s standing height and length, including assistive devices, then compare with cargo area dimensions. A vehicle with a ramp or low step-in height improves access. Test-fit your setup during a trial run. If you rely on public or emergency transport, verify space requirements in advance-some buses or vans designate specific zones for service animals but may lack climate control or secure partitions. Don’t assume ride-shares will work; drivers can decline large animals. Plan for your vehicle type to be available and fueled, and keep backup options with confirmed space requirements.
Map Your Service Animal’s Medical and Mobility Needs
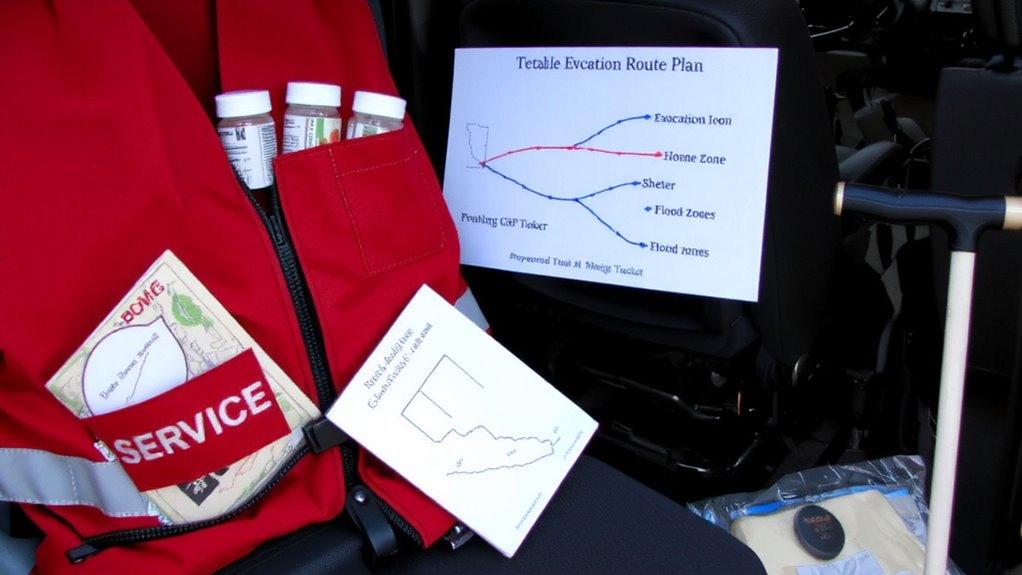
If your service animal relies on medication, mobility aids, or scheduled treatments, mapping those needs accurately is critical for an effective evacuation. Start by organizing up-to-date veterinary records, including diagnoses, prescriptions, and dosing schedules-these guarantee continuity of care during displacement. Note any mobility limitations and document them alongside recommended equipment, such as harnesses or wheelchairs. Conduct an accessibility assessment of potential shelters, transport routes, and temporary housing to confirm they accommodate your animal’s physical requirements. This assessment should evaluate entrance ramps, floor surfaces, restroom access, and space for movement. Identify facilities equipped to handle medical needs and verify staff training in assisting service animals with disabilities. Avoid assumptions-confirm access in advance, even if policies claim compliance. Real-world conditions often differ from official guidelines. Planning with precise, documented needs increases compatibility with emergency infrastructure and reduces delays when time matters.
Pack a Go-Bag for Your Service Animal
A go-bag isn’t optional-it’s insurance. You need emergency supplies ready the moment evacuation hits. Pack at least 72 hours of food, water, medications, and any mobility aids your service animal relies on. Include a collapsible bowl, waste bags, and a first-aid kit tailored to your animal’s condition. Choose a durable, lightweight bag with padded straps for your comfort during prolonged carry. Test it during drills to assess weight distribution and access-travel safety depends on mobility and readiness. Store items in waterproof containers to protect against leaks or weather. Keep the bag near an exit, not buried in a closet. Update contents every three months-check expiration dates, rotate perishables. A well-stocked go-bag reduces stress, maintains care continuity, and supports both your safety and your animal’s function when every second counts.
Have Health and Service Papers On Hand
Keep your service animal’s health and service documents in a sealed, waterproof folder that’s easy to grab-just like the go-bag you already packed. This includes vaccination records, vet certifications, and official service animal identification. These papers serve as emergency documentation, proving your animal’s status during evacuations. Without them, you risk delays or denial of shelter access, even though federal law supports your access rights. Photocopies aren’t enough-some shelters demand originals or notarized versions. Store digital backups on a phone or cloud, but assume devices may fail. A laminated packet fits in most emergency kits and withstands moisture. Access rights mean nothing if you can’t verify them under pressure. Test the system: grab it fast, open it easily, read key info at a glance. This small step has real impact when seconds count.
Name and Prep a Backup Handler
Even when you’re prepared, unexpected situations can separate you from your service animal, so naming and prepping a backup handler is a critical step that guarantees continuity of care. Choose someone reliable from your emergency contacts who’s willing and able to step in. They need to know your animal’s routines, medical needs, and service tasks. You can’t assume they’ll figure it out-provide clear instructions and assure they’ve had backup training, even if just basic. This isn’t about preference; it’s about function. A handler without proper prep increases risk during evacuation. Confirm they can access medical records and understand behavior cues. Include them in your planning discussions, but don’t overcomplicate it-focus on measurable actions. Test comprehension with simple drills. If they can’t follow through under low stress, they won’t during high stress. Naming a backup is only useful if the training matches the need.
Run a Full Evacuation Drill With Your Animal
You’ve lined up a backup handler and walked them through the basics-now it’s time to test the whole system under real-world conditions. A full evacuation practice isn’t optional; it reveals how animal behavior changes under stress. Use the drill to simulate alarms, loud noises, and alternate exit routes. Note how your animal responds and adjust your plan accordingly. Include all gear, leashes, and medical supplies to verify readiness. The goal is consistency, not speed.
| Element | Check? |
|---|---|
| Backup handler present | Yes/No |
| Emergency kit packed | Yes/No |
| Route clear and accessible | Yes/No |
| Animal shows stress signs | Yes/No |
| Communication plan used | Yes/No |
Visit Evhttps://www.ready.gov/animals for federal guidelines. Test every 3 months.
On a final note
You need a plan that accounts for your service animal’s specific needs during evacuation. Pack medical records, medication, and food in a labeled go-bag. Confirm shelters allow service animals and pre-arrange transport that fits size or mobility aids. Train a backup handler and run full drills-real conditions expose gaps. A well-tested plan doesn’t rely on assumptions; it uses verified routes, supplies, and clear roles to guarantee both safety and functionality when minutes count.