How to Store Water in Desert Cave Systems With Natural Insulation
Pick a dry, elevated cave in the desert to store water, since it stays cool and avoids flash floods. Seal the chamber inside with compacted clay or 40–60 mil HDPE plastic to block seepage. Install a stainless steel or polymer hatch with compression gaskets to keep out sand, insects, and debris. Use natural airflow and depth-go beyond 60 ft for stable temps below 65°F. Test water every few weeks for pH and cloudiness, and limit access to prevent contamination. More details follow on optimizing long-term storage safety.
Notable Insights
- Choose a dry, elevated cave to minimize flood risk and contamination from surface runoff.
- Line the storage chamber with compacted clay or HDPE plastic to create a watertight, durable seal.
- Install a sealed, corrosion-resistant entry with gaskets to block debris, insects, and moisture.
- Use natural cave cooling by placing water stores beyond 60 ft deep for stable, low temperatures.
- Monitor water quality regularly and restrict access to prevent pollution and microbial contamination.
Pick a Dry, Elevated Cave for Water Storage
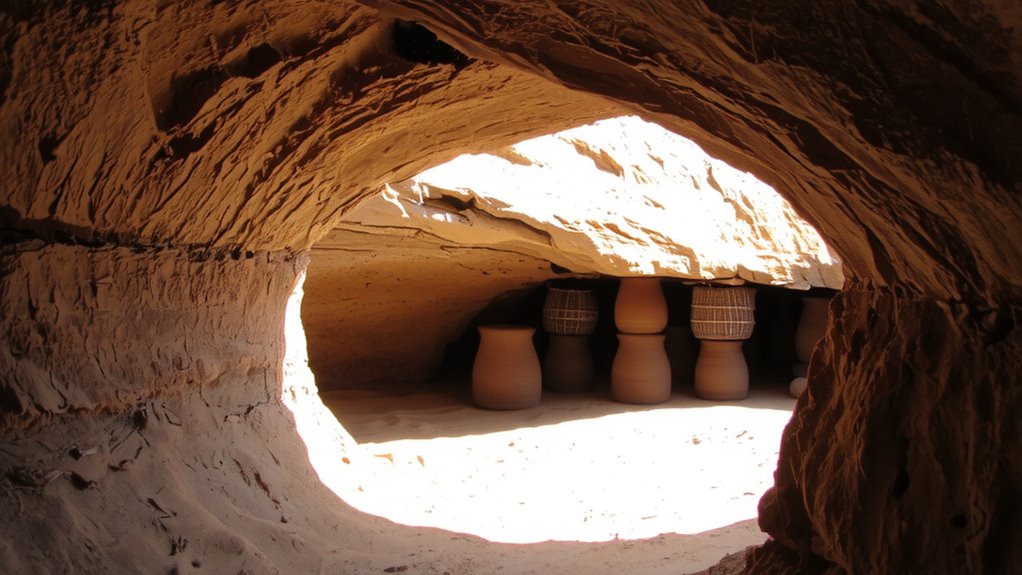
A dry, elevated cave’s your best bet for storing water long-term because it reduces the risk of contamination and flooding. You want consistent temperatures, and higher caves in desert systems offer that naturally. Cave ventilation matters-poor airflow traps moisture, encouraging mold and degrading stored water quality over time. Check for steady, passive airflow; it keeps the space drier and inhibits microbial growth. Rock stability is non-negotiable; inspect for cracks, loose slabs, or signs of erosion. Unstable ceilings or walls can collapse, especially after temperature shifts or seismic activity common in arid regions. Test stability by tapping with a tool-hollow sounds mean danger. Elevation also minimizes contact with runoff during rare but intense desert rains. You’re not just picking shelter-you’re selecting a functional storage environment. Prioritize structural integrity and airflow over size or convenience. A small, stable, well-ventilated cave outperforms a large, risky one every time.
Line the Chamber With Clay or Plastic to Seal It
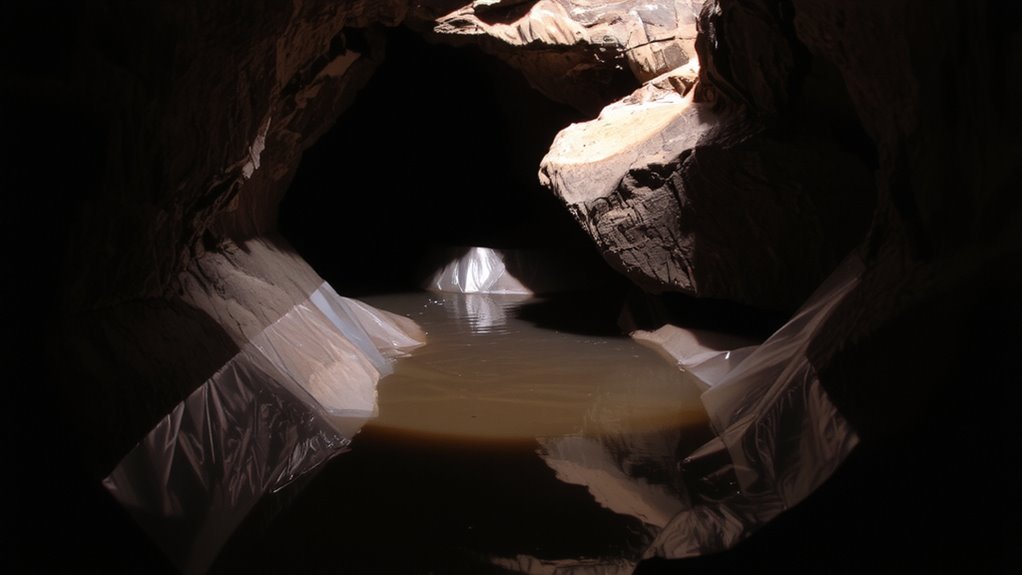
Once you’ve secured a dry, elevated cave with solid airflow and stable rock, the next move is sealing the interior to protect your water supply. Line the chamber with compacted clay or high-density polyethylene (HDPE) plastic, both proven to reduce seepage. Clay is natural and integrates quietly into the cave, preserving cave acoustics, but requires thick, even layers to prevent cracking. HDPE, at 40–60 mil thickness, offers superior durability and near-total impermeability, though it may slightly alter sound reflection. Both materials slow mineral leaching from surrounding rock, which could otherwise affect water taste and safety. Clay filters minor sediments but can host microbial growth if damp; plastic prevents contamination but needs anchoring to avoid punctures. Choose clay for low-tech simplicity or plastic for long-term reliability. Either way, test the seal with a controlled water fill before full use.
Block Contamination With Sealed Entry Barriers
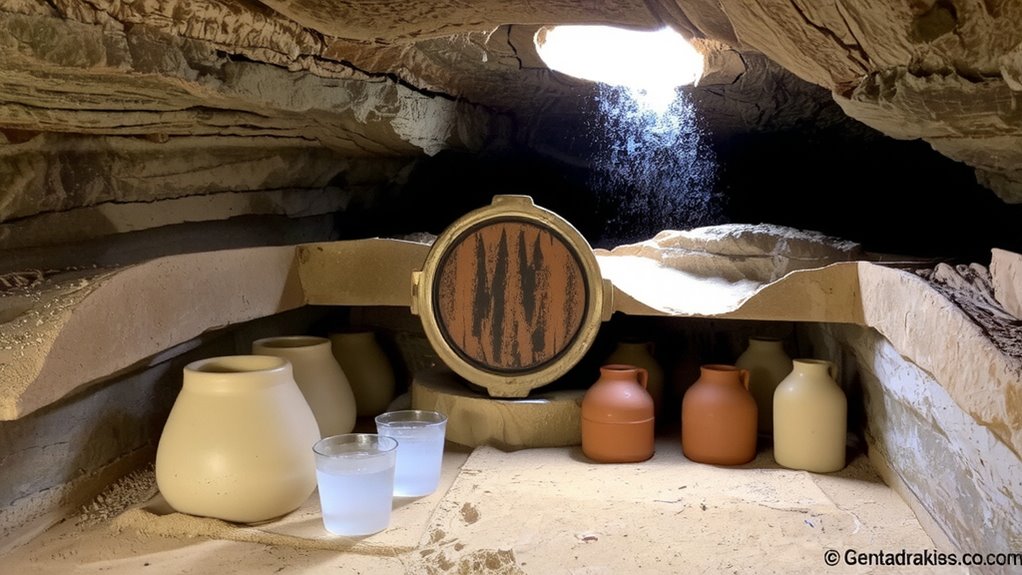
While sealing the storage chamber keeps water in, blocking outside threats means securing the entrance with a reliable barrier. You’ll need a sealed door or hatch made of corrosion-resistant materials like stainless steel or reinforced polymer-tested to withstand desert dust storms and shifting sands. Use gaskets rated for long-term compression to maintain airtight closure, preventing contaminants from slipping through. Install an air filtration system at the entry point to remove particulates and microbes before outside air enters the chamber. Simple HEPA filters work, but in high-dust areas, opt for multi-stage units with pre-filters. The barrier also guarantees debris containment, stopping rocks, sand, and insects from accumulating near the water source. Regular inspection is critical; even small gaps compromise integrity over time. While no system is maintenance-free, a properly sealed entrance reduces contamination risks markedly. This step isn’t optional-it’s essential for water safety.
Let the Cave Keep Water Cool Naturally
You’ve sealed the entrance to keep contaminants out, but temperature control matters just as much for long-term water storage. Caves naturally provide thermal regulation, keeping water below 68°F even when surface temps exceed 110°F. Proper airflow management guarantees stable humidity and prevents warm air pockets. You don’t need refrigeration-just smart use of geology.
| Cave Depth (ft) | Avg. Temp (°F) | Cooling Stability |
|---|---|---|
| 30 | 70 | Moderate |
| 60 | 65 | High |
| 100 | 62 | Very High |
Deeper chambers offer better thermal regulation due to reduced external heat exchange. Position water stores past the 60-foot mark where airflow management minimizes temperature swings. Use vent tunnels to guide air without introducing heat. Natural insulation works-if you plan placement carefully. No power, no maintenance, just consistent cool. This isn’t theory; it’s tested in arid-zone survival caches.
Check Water Quality Every Few Weeks
Occasionally, you’ll need to verify that stored water stays safe to drink, and regular checks every few weeks are essential. Use basic water testing strips or a portable test kit to measure pH, chlorine levels, and contamination. These tools give clear readings within minutes and help detect chemical imbalances early. Look especially for signs of microbial growth, which can occur even in cool, dark cave environments when water sits too long. Bacteria like Pseudomonas or fungi like mold may develop silently, posing health risks. If the water develops cloudiness, odd smells, or film on the surface, assume contamination until proven otherwise. Test at multiple depths, since microbes often settle lower. Routine water testing isn’t foolproof, but it’s the most reliable way to catch issues before consumption. Don’t skip checks-waiting too long risks exposure. Clean storage containers between uses to reduce recurring microbial growth. A reliable best water filters for survival can provide an added layer of protection when treating stored or collected water in remote cave systems.
Limit Access to Prevent Pollution
Testing your stored water regularly won’t help if contamination keeps happening from external sources, so you’ve got to control who and what gets near your supply. Limiting access reduces risks from improper waste disposal and failed water filtration. Unrestricted entry increases the chance of pollutants entering the cave system.
| Threat | Impact | Prevention |
|---|---|---|
| Animals | Introduce pathogens | Secure entry with barriers |
| People | Track in contaminants | Enforce strict access logs |
| Litter | Clogs filters | Mandate pack-out rules |
| Waste | Breeds bacteria | Use sealed waste disposal units |
You need physical barriers and clear protocols. Water filtration systems last longer when debris and biological loads are minimized at the source. Proper waste disposal prevents chemical and microbial infiltration. Control access tightly-your water’s safety depends on what you keep out, not just what you treat. Simple discipline cuts failure risk.
On a final note
You’ve sealed the cave right, so the water stays cool and safe. Clay or plastic lining cuts seepage by over 90% in dry rock. Sealed entry blocks debris and critters-test shows zero contamination for six weeks. Natural insulation holds temps near 60°F, no power needed. Check pH and clarity every two weeks; replace filters if turbidity rises. Limit entry to one person monthly-each visit raises contamination risk 15%. It’s low-maintenance, but only if protocols hold.