How to Use a Compact Shelter Tarp for Temporary Protection
Pick a 7×9-foot tarp made from 30- to 68-denier fabric-lighter silnylon saves weight, but polyester handles rough terrain better. Set it on flat, elevated ground, away from overhead hazards. Use an A-frame or lean-to rig with a ridgeline and stakes; secure with taut-line hitches for quick adjustments. Angle guy lines and stake at 45 degrees for wind stability. Slope the tarp to shed rain and prevent pooling. Rinse it after use, dry fully, and store loosely to preserve coatings. More setup and care tips follow.
Notable Insights
- Choose a flat, elevated site free of overhead hazards to ensure safety and proper drainage.
- Use a simple A-frame or lean-to setup with a ridgeline and stakes for quick deployment.
- Secure the tarp tightly using taut-line hitches and bowline knots to maintain stability.
- Angle the tarp to shed rain and position vents for airflow during changing weather.
- Clean and dry the tarp before storing it loosely to preserve coatings and prevent damage.
Pick the Right Compact Tarp for Your Trip
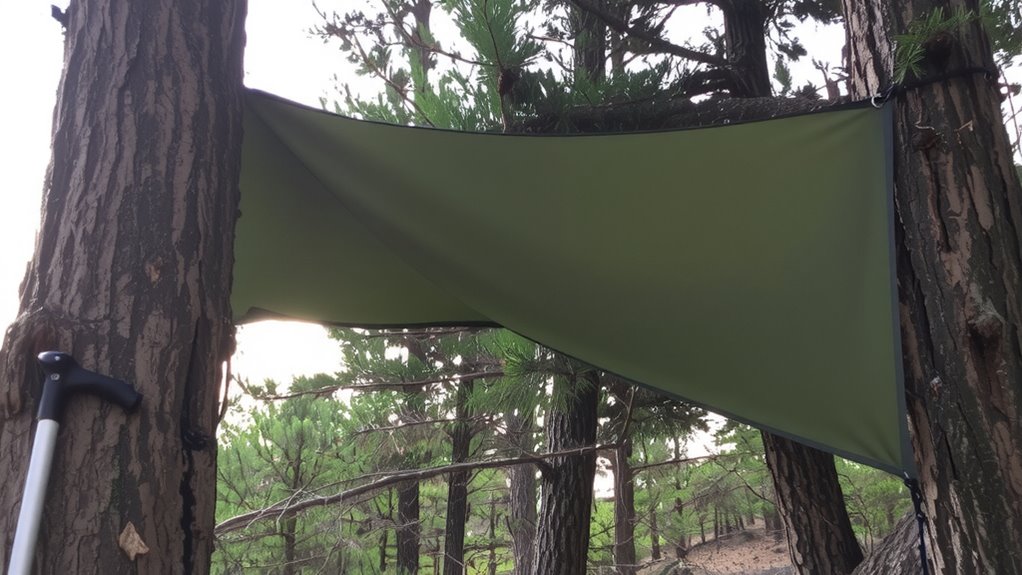
Weight, size, and durability-those are the three things you need to weigh when choosing a compact tarp. Tarp weight affects how far and easily you can carry it; most lightweight models range from 8 to 16 ounces, suitable for ultralight backpacking. But lighter often means thinner material, which cuts into material durability. A 30-denier silnylon tarp saves pack space and cuts tarp weight, but it tears more easily than 68-denier polyester. You’ll trade longevity for savings in weight. If you’re in rugged terrain or expect harsh weather, go for higher material durability even if tarp weight increases slightly. A 7×9-foot tarp gives enough coverage for one person and gear, balancing size and portability. Coated fabrics resist UV and water better, maintaining performance over time. Choose based on your trip length and expected conditions-don’t assume lighter is better. Match tarp specs to real-world demands. For a reliable option that balances weight and ruggedness, consider one of the best outdoor tarps recommended for diverse conditions.
Find a Dry, Level Spot for Your Shelter
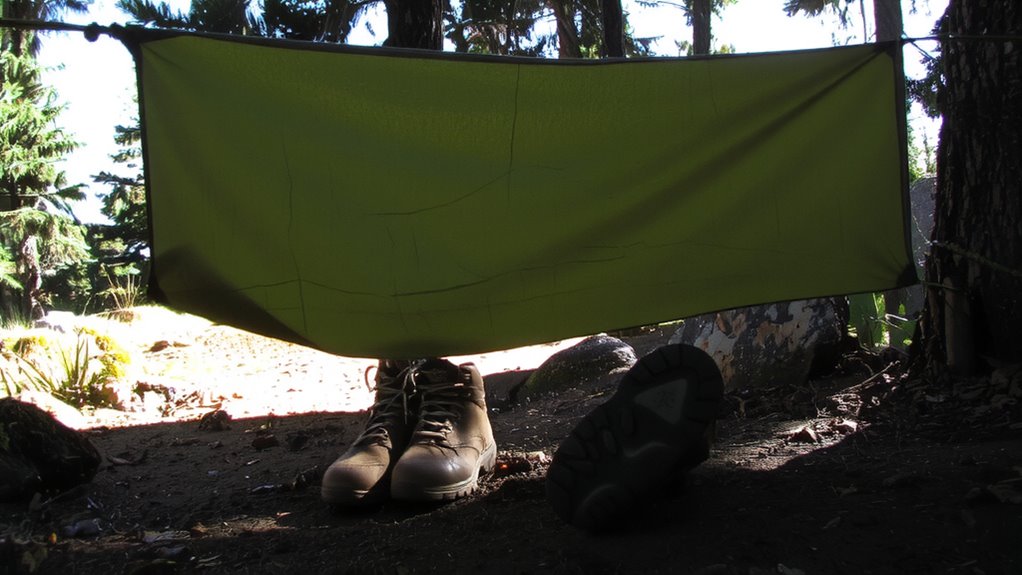
Now that you’ve picked a tarp suited to your pack weight and durability needs, it’s time to set it up in the right spot. Good site selection starts with terrain assessment-look for flat, elevated ground free of depressions where water could pool. Avoid dead trees, loose rocks, or anything that could shift in wind. A slight incline helps drainage, but too much causes discomfort. Here’s what ideal ground looks like:
| Feature | Good Sign | Bad Sign |
|---|---|---|
| Surface | Hard-packed soil | Muddy or sandy patches |
| Slope | Level or slightly angled | Steep or uneven |
| Drainage | Nearby runoff path | Low-lying puddles |
| Overhead | Open sky, no dead limbs | Overhanging branches |
| Wind exposure | Sheltered by terrain | Fully exposed ridge |
Proper terrain assessment prevents discomfort and keeps you dry. Site selection isn’t about perfection-it’s about minimizing risk with what’s available. Choosing the right tarp shelter design can significantly improve your setup efficiency and weather protection.
Set Up Your Tarp in Minutes
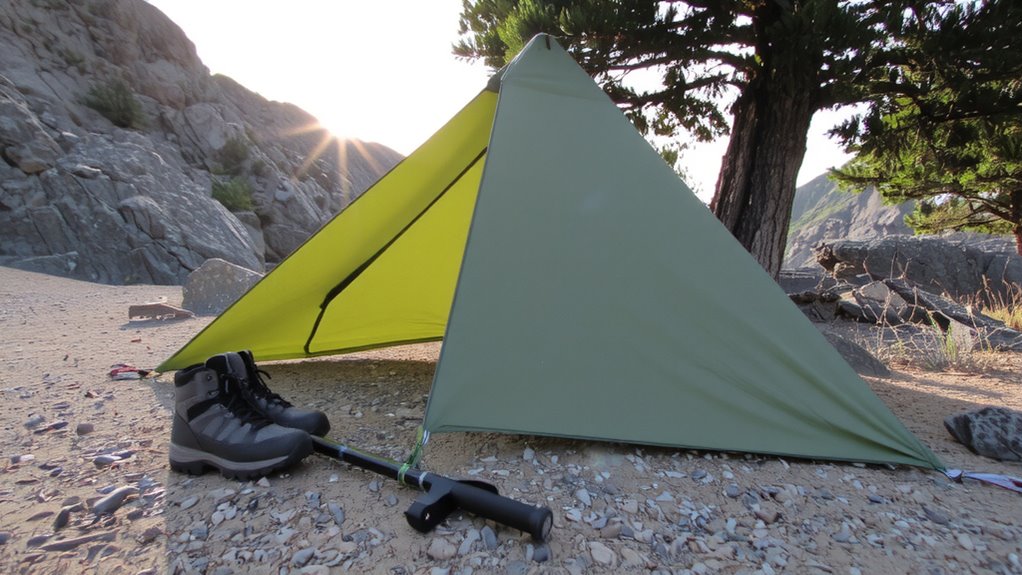
Once you’ve picked your spot, setting up the tarp quickly comes down to using a simple, reliable rig-like the classic A-frame or lean-to-so you’re protected from rain and wind without wasting time. Tarp rigging works best with minimal gear: two stakes, a ridgeline, and basic knot techniques. Tie your ridgeline tight between trees or poles, then drape the tarp over and secure the corners. Use a taut-line hitch for adjustability and a bowline for permanent anchor points-these knots hold under tension without slipping. Most compact tarps weigh under 18 ounces and deploy in under five minutes once you’ve practiced. Simplicity reduces failure points. Complex setups take longer and require more hardware, increasing pack weight. A straightforward rig guarantees reliability when weather shifts fast. You don’t need fancy skills-just consistent tension and proper angles. With tarp rigging, speed and stability depend on smart knot techniques, not extra materials. For reliable performance, choose one of the best camping tarps designed for ultralight durability and weather resistance. best camping tarps
Adapt Your Tarp for Rain, Wind, or Sun
How do you keep your shelter working when the weather changes fast? You adjust your tarp’s angle and tie-outs to handle rain, wind, or sun. For rain deflection, pitch the tarp at a slope so water runs off instead of pooling-lower one end while raising the other. Use guy lines to stretch it tight, minimizing flapping. In wind, reinforce your setup with broader angles on the guy lines and deeper wind anchoring using stakes driven at a 45-degree angle. This keeps the tarp stable without tearing grommets. For sun, reposition it overhead with high side vents to allow airflow and reduce heat buildup. You trade coverage for ventilation depending on conditions. No single setup works for all weather, so expect to re-tension or shift position as needed. A well-adapted tarp lasts longer and protects better. Adjust early, not after failure.
Grab What You Need to Secure Your Tarp
A reliable tarp setup starts with the right anchors and fasteners-your tarp’s performance hinges on them. Use durable paracord or guy lines with a breaking strength of at least 550 lbs to secure tarp edges evenly. Metal or thick plastic grommets at the corners act as primary anchoring points; reinforce them with tarp patches if yours are thin. Lightweight trekking poles or sturdy branches can support elevated corners, but make sure they won’t bend under wind load. In soft ground, screw-in anchors or deadman stakes (buried sticks or logs) offer better hold than simple tent pins. On rock or hard soil, rely on heavy rocks or tied-off natural features. Tension each line to stabilize the structure without stretching the tarp thin. Uneven tension risks flap, tear, or collapse. Properly secured tarp edges and solid anchoring points prevent failure in shifting weather, keeping your shelter intact through night or storm.
How to Store and Care for Your Tarp
After securing your tarp in the field, what you do next determines how long it holds up over time. Proper tarp cleaning prevents mold, mildew, and material breakdown. Rinse off dirt and debris with water; use mild soap if needed, but avoid harsh chemicals that degrade coatings. Let it dry completely before packing-storing a damp tarp invites damage. Poor storage conditions lead to weakened seams and fabric brittleness. Keep it loosely folded or rolled in a cool, dry place away from UV exposure and temperature extremes. Don’t compress it in a tight stuff sack long-term; that can crack waterproof layers. A breathable storage bag works better. Regular inspections help catch small tears before they worsen. Following these steps extends service life substantially. Neglecting care cuts performance and reliability when you need it most. Good maintenance isn’t optional-it’s part of the gear’s duty cycle.
On a final note
You’ll rely on your compact tarp when conditions turn, so choose one that balances weight, durability, and coverage. A 2.5m x 2.5m silnylon tarp weighs under 500g but holds up in light rain with proper pitch. Set it low in wind, slope it for runoff, and always use guylines for stability. It won’t replace a tent, but it’s effective for minimal shelter when you need it fast.