Creating a Water Reserve That Supports Off-Grid Brewing and Beverage Making
You’ll need at least 20 inches of annual rainfall or a reliable aquifer to sustain off-grid brewing. A 1,000 sq ft roof yields 600 gallons per inch of rain, and a single 5-gallon beer batch uses up to 35 gallons. Store water in food-grade polyethylene or stainless steel tanks-above-ground for easy access, below-ground for insulation. Use carbon filters and UV treatment to guarantee safe, consistent water. Test regularly, especially after storms, to maintain quality. There’s more to optimizing your system effectively.
Notable Insights
- Ensure at least 20 inches of annual rainfall for viable rainwater harvesting to support brewing needs.
- Size water storage to hold at least two weeks’ supply, accounting for 25–35 gallons per 5-gallon beer batch.
- Use food-grade polyethylene, stainless steel, or fiberglass tanks based on durability, cost, and UV exposure.
- Treat water with filtration and UV or reverse osmosis to meet safety standards for brewing and consumption.
- Prioritize groundwater via solar-powered wells if rainfall is insufficient, and test water quality regularly.
Identify Your Off-Grid Water Sources
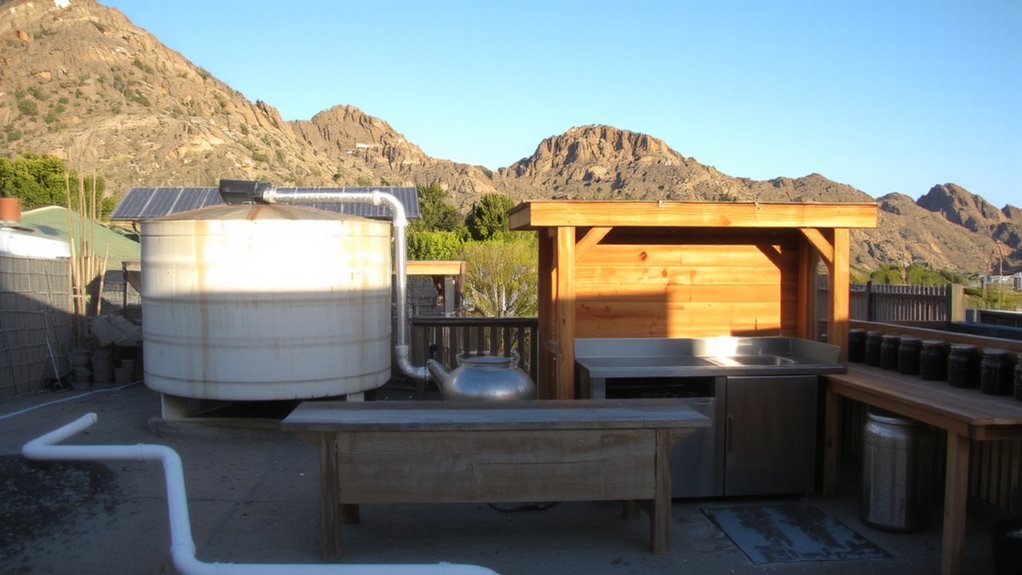
Where will your water come from when the grid’s down? You’ll need reliable off-grid sources, and two stand out: rainwater harvesting and groundwater extraction. Rainwater harvesting works well if you get at least 20 inches of annual rainfall-you can collect it with gutters and store it in food-grade tanks. A 1,000 sq ft roof yields about 600 gallons per inch of rain. But it’s seasonal, so you’ll need storage. Groundwater extraction, via a hand pump or solar-powered well pump, delivers steady supply if you have an accessible aquifer. Bore depth matters-shallow wells (under 50 feet) are easier to tap, but deeper ones offer cleaner water. Neither method supplies water on demand like city mains, so both require maintenance and testing. Use sediment filters and regular chlorine checks. Each has trade-offs: rainwater is free but intermittent, groundwater is reliable but needs investment.
Size Your Water Reserve for Brewing Needs
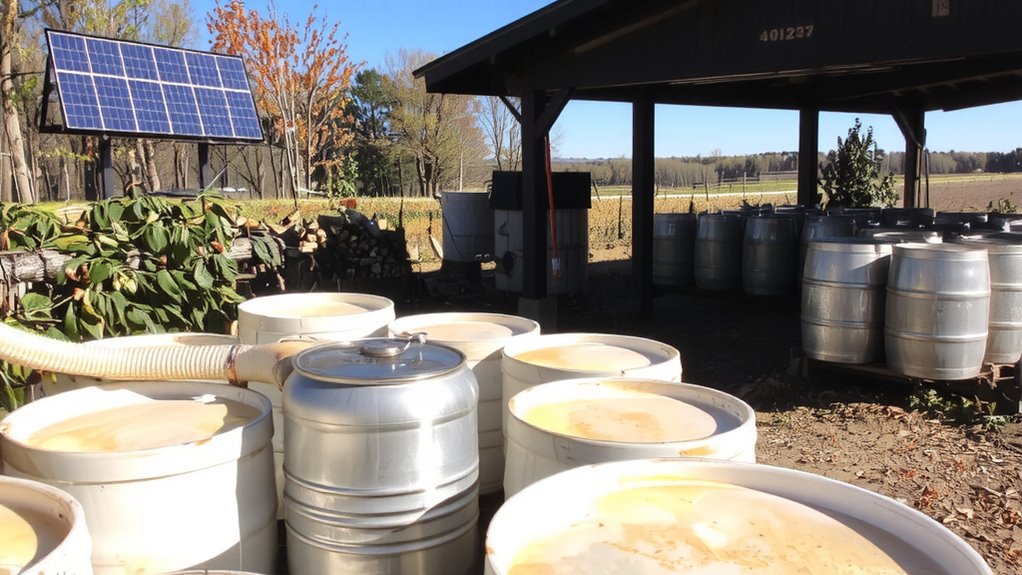
You’ll need at least 5 to 7 gallons of water for every gallon of beer brewed, so plan your reserve accordingly. Your water capacity must account for brewing, cleaning, and cooling-skimping here limits output and risks batch failure. A typical 5-gallon batch requires 25 to 35 gallons total, meaning a 50-gallon reserve only allows for one or two brews before refill. That’s tight if your source is seasonal or slow. Size your reserve to hold at least two weeks’ projected use to buffer against supply gaps. Larger capacity reduces refill frequency, easing reserve maintenance, but demands more space and initial investment. Balance space, source reliability, and batch volume. Overestimate slightly-running dry mid-brew wastes ingredients and time. Track usage over three cycles to fine-tune capacity. Accurate sizing isn’t about excess; it’s ensuring consistent operation when grid support isn’t an option.
Pick Storage Tanks for Your Water Reserve
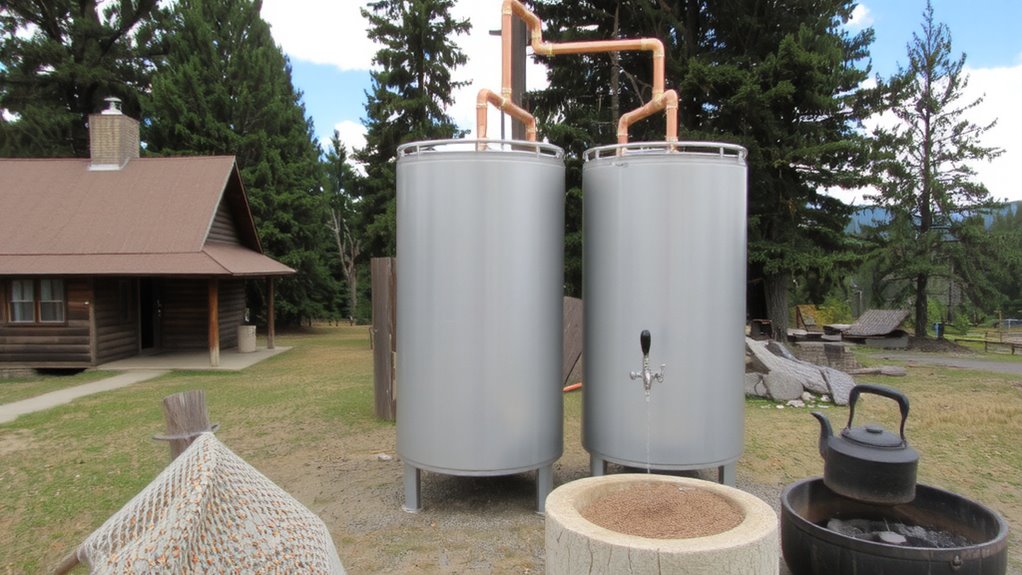
Once you’ve calculated how much water you’ll need, the next step is choosing the right tank to hold it. You’ve got options, but not all tanks are equal. Tank materials like polyethylene, stainless steel, and fiberglass each bring trade-offs. Polyethylene is lightweight and affordable but can degrade in UV light. Stainless steel resists corrosion and lasts longer, though it’s heavier and pricier. Fiberglass offers durability and UV resistance but can be brittle if mishandled. Consider installation methods carefully-above-ground tanks are easier to access and maintain, while below-ground models save space and insulate better but require excavation and more complex plumbing. Portability matters if you plan to move the system. Match the tank’s placement to your brewing setup, ensuring it’s level and supported. A poorly installed tank risks leaks and contamination, regardless of material. Choose based on your site, use, and maintenance plan. For home use, consider starting with one of the best water storage tanks for home use.
Make Your Water Safe to Brew With
How clean is your water, really? Before brewing, you need to confirm it’s safe and suitable. Start with contamination testing to identify bacteria, heavy metals, or chemicals-results guide your next steps. You can’t brew consistently if your water’s unstable. Once tested, use water filtration to address issues: a carbon filter removes chlorine and organics, while reverse osmosis handles nitrates and dissolved solids. Not all filters perform the same-check pore size and flow rate. A 0.2-micron absolute filter captures bacteria, but viruses may still pass without UV treatment. Combine filtration with ongoing testing to maintain quality. Re-test every few months or after heavy rains if using rainwater. Your beer, coffee, or kombucha will reflect what’s in the water, so don’t skip verification. Safe brewing starts with water you’ve tested and filtered-not assumed. For reliable performance, consider one of the top water filter systems based on expert testing and real-world use.
Build a Weatherproof Water Reserve
If you’re storing water for off-grid brewing, it has to stay clean and accessible regardless of weather. Use a rigid, food-grade polyethylene tank rated for potable water-it’s durable and UV-resistant. Install it on a level, stable base and wrap it with tank insulation to prevent freezing and algae growth. Insulation cuts temperature swings that degrade water quality. Position the tank where roof runoff won’t pool nearby. Implement drainage planning: grade the ground away from the tank and surround it with a 6-inch gravel trench to divert rain and snowmelt. Elevate the tank slightly so you can access spigots without bending. Avoid low spots where water collects. A sealed lid with a fine mesh screen keeps out debris and insects. These steps guarantee your reserve stays functional year-round. For added protection during transport or relocation, consider using a waterproof storage container designed for potable water applications.
Brew Coffee, Beer, and Kombucha Off-Grid
Why rely on grid power when your brew depends on it? Off-grid brewing demands smart choices in water filtration and energy efficiency. You can brew coffee with a hand-powered pour-over and filtered rainwater. For beer, use a propane burner-cuts energy use versus electric kettles. Kombucha thrives at ambient temps, needing only clean, pH-balanced water from your reserve. Each step relies on consistent water quality and minimal power input.
| Beverage | Water Filtration Needed | Energy Efficiency Tip |
|---|---|---|
| Coffee | Charcoal filter | Use solar kettle |
| Beer | Multi-stage filter | Batch brew with propane |
| Kombucha | Basic sediment filter | Ferment without heating elements |
Prioritize systems that conserve water and reduce fuel use. A Berkey filter handles 99% of pathogens; pair it with gravity-fed setups. Test filtration output monthly. Propane stoves offer steady heat with measurable BTU savings. Natural fermentation beats electric heaters. Your survival setup shouldn’t waste resources-every watt and drop counts.
On a final note
You’ll need a reliable water reserve to brew off-grid, sized to your usage-30–50 gallons supports small batches. Use food-grade polyethylene tanks; they last longer than steel in wet climates. Filter water to 0.5 microns and treat with chlorine or UV to prevent contamination. Keep tanks shaded and insulated to reduce algae and freezing. Gravity-fed systems with hand pumps work when power fails. This setup supports coffee, beer, and kombucha without backup grids.