Developing a Pre-Packaged Evacuation Kit for Each Family Member
You should build a separate evacuation kit for each family member, tailored to their medical needs, age, and assigned emergency role. Use durable 600D polyester backpacks under 15 lbs, color-coded for quick ID, with role-specific gear on external loops. Every kit needs 2L of water, a 12-piece first aid supply, Mylar blanket, and hand-crank flashlight. Include meds, allergy info, and food for dietary restrictions. Store them near bedrooms or the front door. You’ll see how small adjustments greatly improve response when seconds count.
Notable Insights
- Assign each family member a role-specific emergency pack with color-coded, durable bags for quick identification.
- Customize kits to address individual medical needs, including medications, allergies, and mobility aids.
- Include core survival items like water, purification tools, first aid supplies, and emergency shelter in every kit.
- Adapt contents by age and pet requirements, adding child-sized masks, senior supports, or pet carriers and food.
- Store kits in accessible locations and maintain them with monthly checks and biannual evacuation drills.
Build a Personal Evacuation Kit for Every Family Member
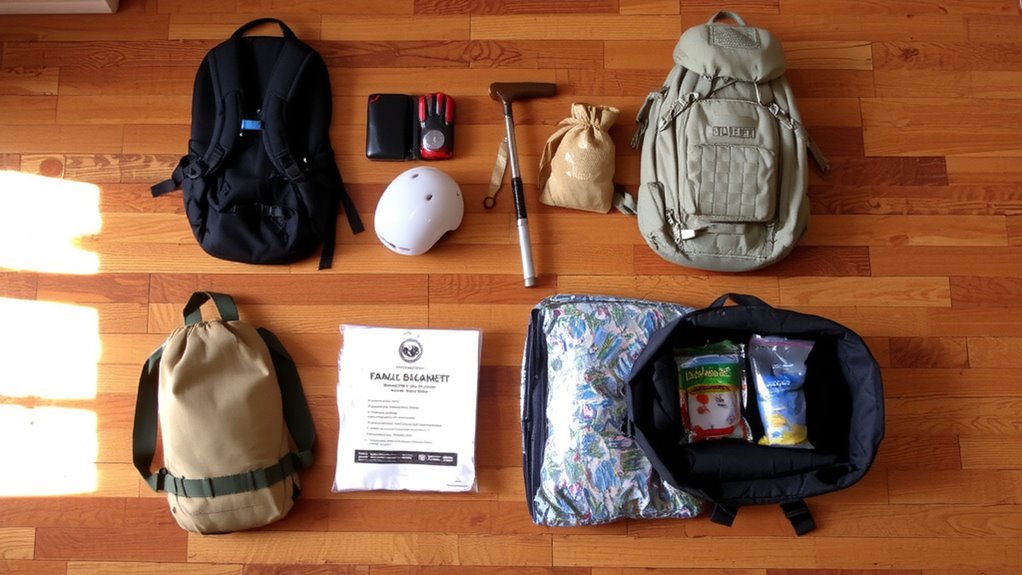
Your family’s evacuation kit starts with one simple rule: pack for the person, not the panic. Assigning emergency roles guarantees each kit aligns with duties-like medical lead or child supervisor-so contents match real responsibilities. A well-labeled, color-coded pack based on kit aesthetics improves recognition under stress, reducing fumbling during exits. Use durable, 600D polyester bags with external loops for tools; they withstand rough handling and allow quick attachment of role-specific gear. Include a whistle, N95 mask, and 72-hour water pouches (2L per person). Avoid decorative items-function dictates every choice. Kits should weigh under 15 lbs for mobility. Standardize layouts across members so anyone can grab and go. Test kits monthly with a timed unpack-repack drill. Visibility, weight, and role-based layout directly impact effectiveness. Simple, consistent design beats novelty every time. For reliable load-bearing performance, choose a backpack with a survival backpack design that supports extended wear and heavy-duty use.
Identify Each Person’s Emergency Needs
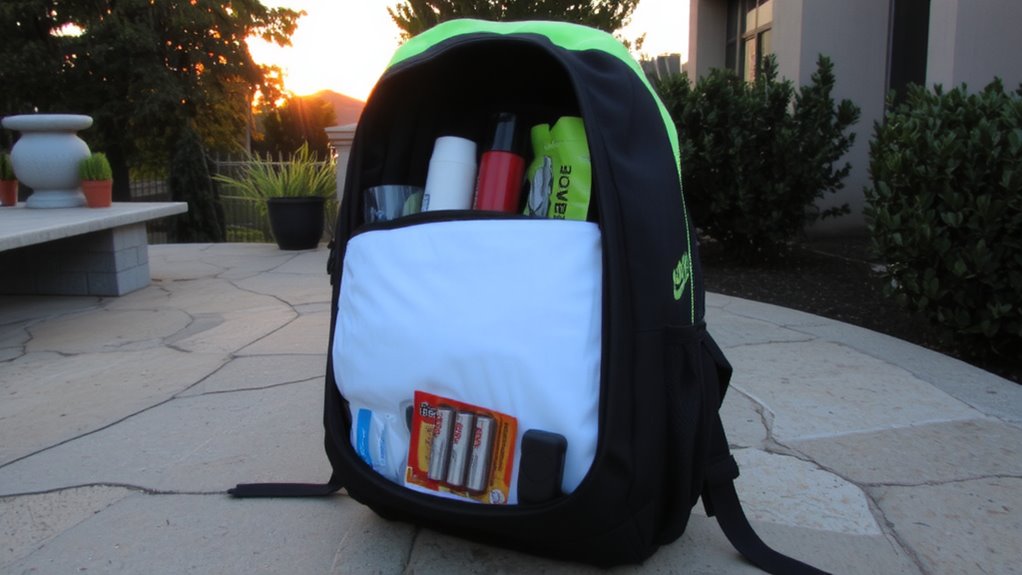
Every family member has distinct physical, medical, and developmental needs that directly shape what goes into their evacuation kit. You must account for medical conditions like diabetes, asthma, or mobility limitations, as these dictate specific supplies and medications. Someone with insulin dependence, for example, will need temperature-stable storage and backup dosing options. Children or elderly members may require adaptive tools or hearing aids. Include a current list of prescriptions, allergies, and emergency contacts. Dietary restrictions also influence food choices-gluten-free, nut-free, or low-sodium requirements mean standard emergency rations might not work. Plan for at least 72 hours of safe, accessible nutrition. Assess sensory sensitivities or cognitive challenges that could affect communication during stress. No universal kit fits all. Tailoring for individual health and dietary needs guarantees functionality when resources are limited. Your kit’s effectiveness depends on this personalization.
Pack the Essential Items in Every Evacuation Kit
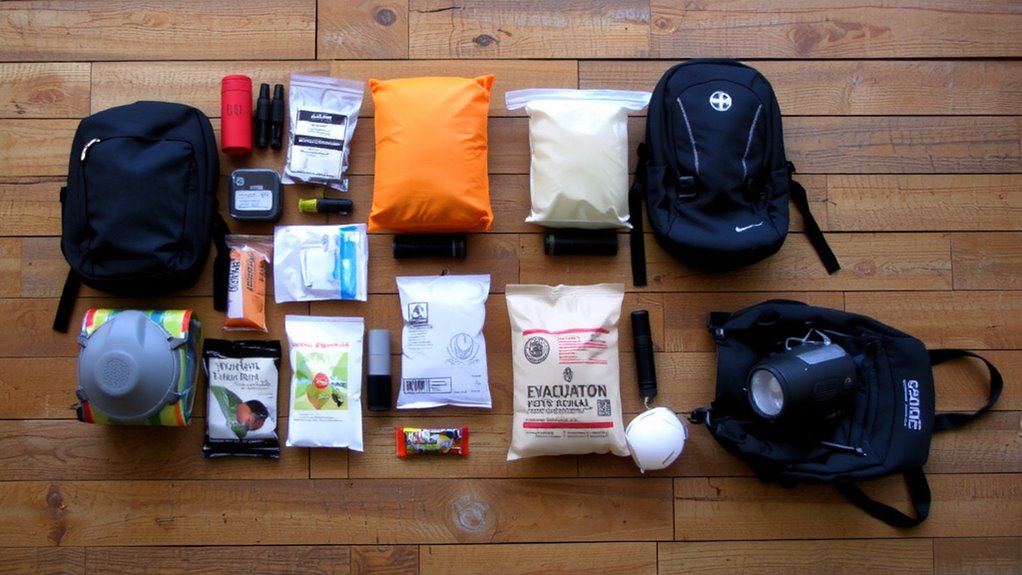
Once individual needs are mapped out, the next step is assembling a core set of supplies that work for any emergency scenario. You’ll need at least one gallon of water per person per day; pack water purification tablets or a compact filter to extend your supply. A standard 12-piece first aid kit is the minimum-include adhesive bandages, antiseptic wipes, gauze pads, and medical tape. Add pain relievers, tweezers, and a thermometer. A durable Mylar blanket retains body heat better than cotton. Pack a hand-crank flashlight with USB output; it works when batteries fail. Include a multi-tool with pliers, knife, and screwdriver-tested models like the Gerber Suspension deliver consistent performance. A waterproof match case and ferro rod ignite fires in wet conditions. Energy-dense food bars provide 1,000 calories per pack and last five years. These items meet baseline survival needs without excess. For optimal warmth and reliability, choose the best Mylar blankets based on durability and heat retention performance.
Customize Evacuation Kits for Kids, Seniors, and Pets
How do you make sure your evacuation kit works for everyone in your household when needs vary so widely? You tailor each one. For kids, include child specific gear like small-sized masks, snacks, and comfort items-tested for durability and ease of use during stress. Seniors may need extra medications, hearing aid batteries, or non-slip footwear; choose supplies that fit known health requirements. For pets, pack food, leashes, and up-to-date pet medical records to guarantee treatment access if separated. Use waterproof, labeled containers to protect sensitive items. These additions don’t increase weight unnecessarily but greatly improve usability. Customization isn’t optional-it’s functional. A well-matched kit reduces delays, prevents omissions, and supports faster, safer evacuations. Each adjustment reflects real-world conditions, not assumptions. Plan based on age, mobility, and medical needs. That’s how you make sure every member survives the same way: completely prepared. A critical addition for any family emergency kit is trauma-ready supplies, such as hemostatic gauze for severe bleeding control, commonly included in military-grade first aid kits.
Store Evacuation Kits Where They’re Easy to Grab
You’ve customized your evacuation kits for kids, seniors, and pets-now make sure they’re actually usable when seconds count. Accessibility is critical: store each kit in a location tied to its user, like near bedrooms or by the front door. Poor storage placement can delay escape, so avoid basements, garages, or high shelves. Quick retrieval matters most during disorienting events, so kits should sit within arm’s reach of common exits. Use a portable design-backpacks or duffel bags with sturdy handles and shoulder straps-to allow fast carrying. Transparent labeling helps identify contents without opening. Test the setup by grabbing all kits at once during daylight and again in the dark. Adjust placement if any kit feels awkward or obstructed. Consistent access across all household members improves response efficiency. A well-placed kit isn’t just convenient-it’s functional insurance.
Practice Your Family’s Evacuation Drill
When was the last time your household actually practiced getting out the door in under three minutes? Most families overestimate their readiness. Run a drill at least twice a year to test your evacuation routes and confirm everyone knows their family roles. Start the timer and go-no warnings, no delays. Use the same exits you’d use in a real emergency, and designate a meeting spot 100 feet from the house. If one route is blocked, switch to your backup. Assign roles clearly: one person grabs the kits, another checks rooms, a third helps children or pets. Rotate duties so everyone can perform under stress. Drills reveal gaps-like slow exits or confusion over responsibilities. Testing proves what works. A practiced family moves faster, stays calmer, and reduces risk. Real-world performance trumps plans on paper.
Update Evacuation Kits After Big Life Changes
Every major life change-like adding a baby, moving, or adopting a pet-means your evacuation kit probably won’t cover what you actually need. A home renovation might shift escape routes or storage, making old supplies inaccessible. Major shifts require a full kit reassessment and an insurance review to confirm coverage matches your current situation.
| Life Change | Kit Adjustment | Related Action |
|---|---|---|
| New baby | Add formula, diapers, blanket | Update medical info |
| Pet adoption | Pack food, leash, carrier | Verify pet-friendly shelters |
| Home renovation | Relocate kit to new exit path | Recheck tool and light placement |
| Relocation | Recalculate water and meds | Conduct new insurance review |
Review contents annually and after any major event. Simple updates now prevent failure later.
On a final note
You’ve packed the basics, but check each kit monthly-batteries die, food expires, and clothes wear out. Tailor contents to age, health, and climate; a child’s kit needs medication and comfort items, while seniors need extra hearing-aid batteries and prescription backups. Keep kits near exits or bedrooms. Test the weight-over 15 pounds becomes hard to carry under stress. Replace damaged items immediately. A functional kit saves time, not lives-your plan does that.